Administrator Guide
Admin Setup & Onboarding
Everything you need to stand up a new community in Palmetto Guard — from your organization profile to issuing the first pass at the gate or kiosk. Work through the steps in order; each builds on the last.
Overview
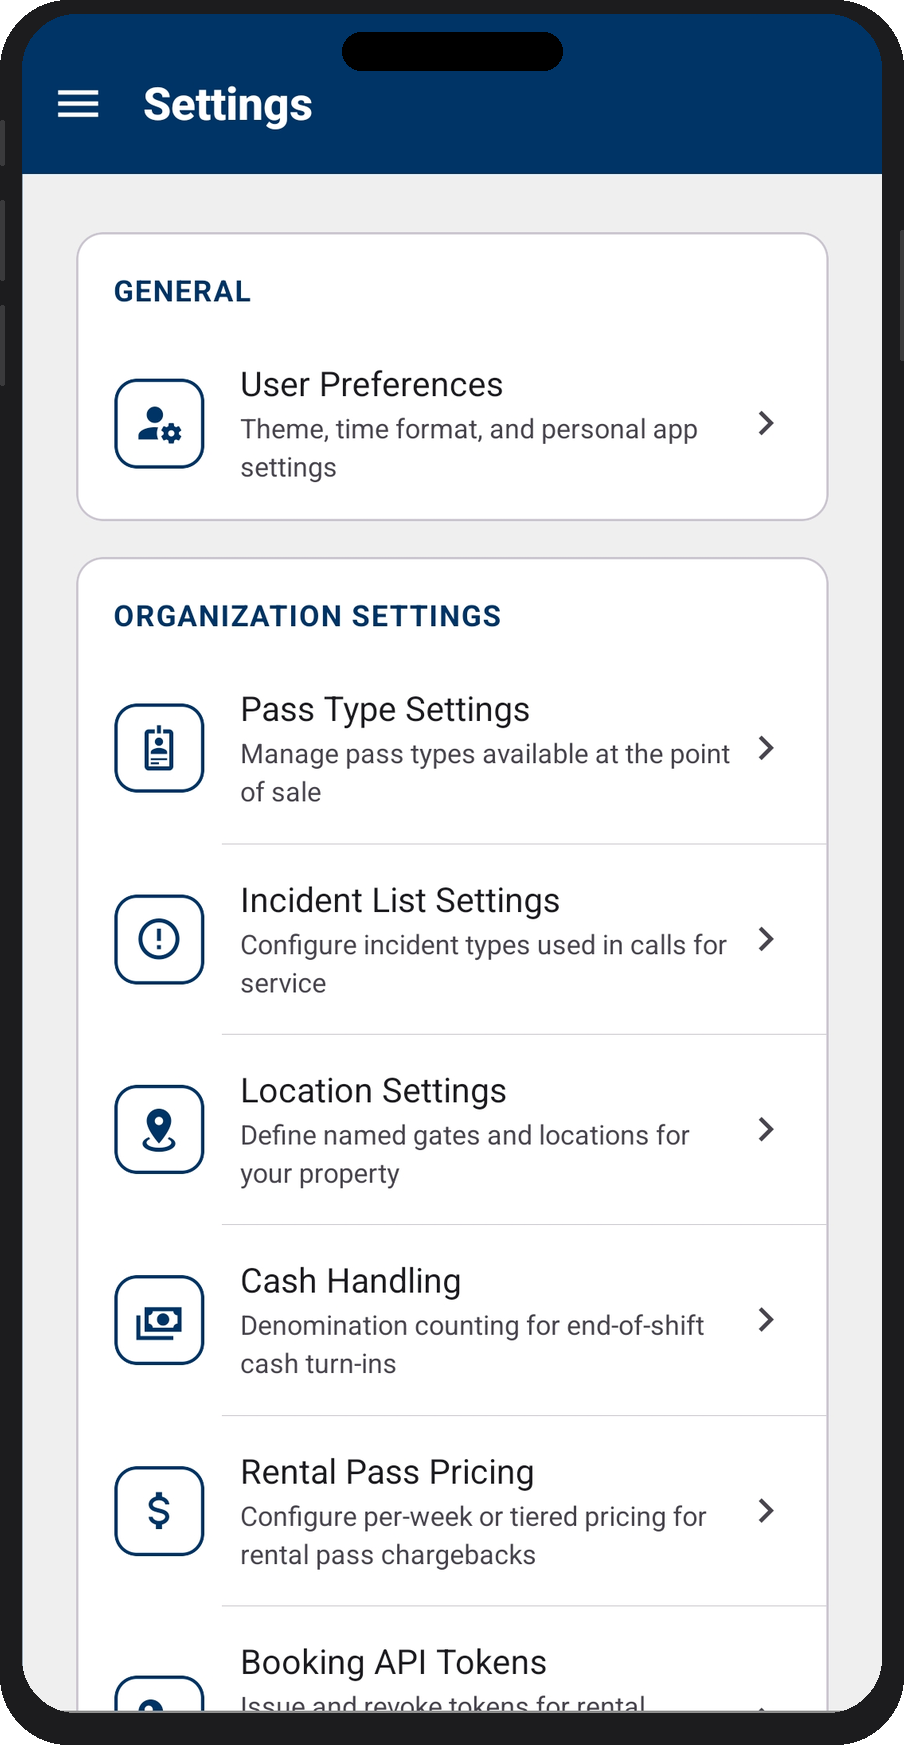
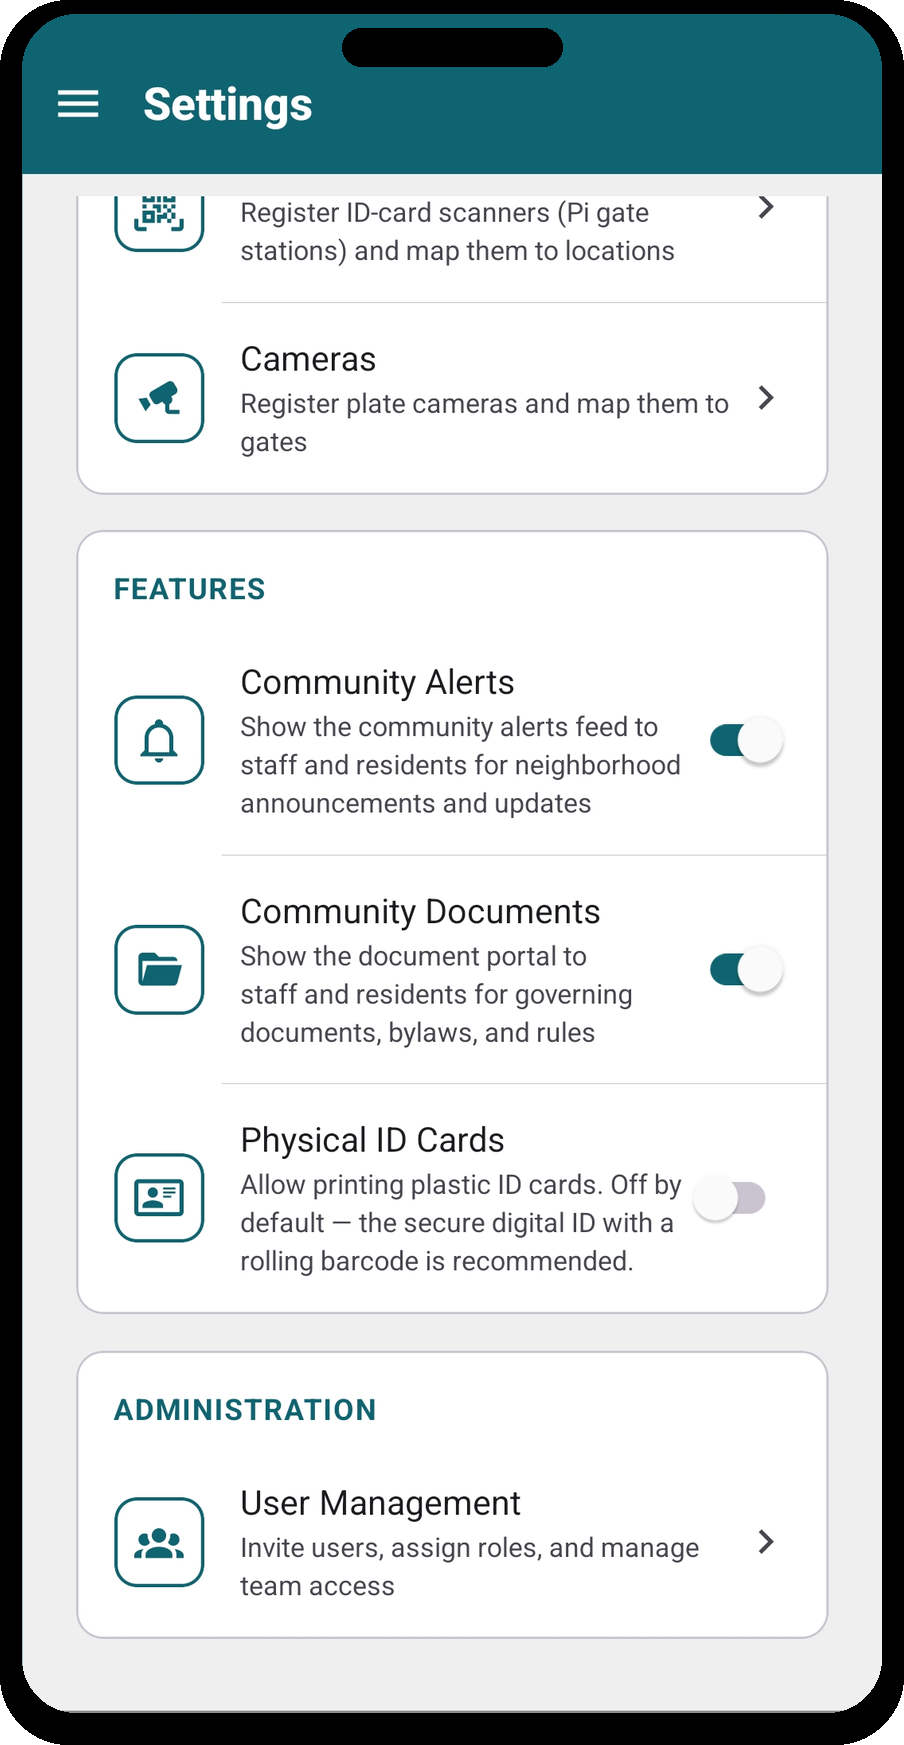
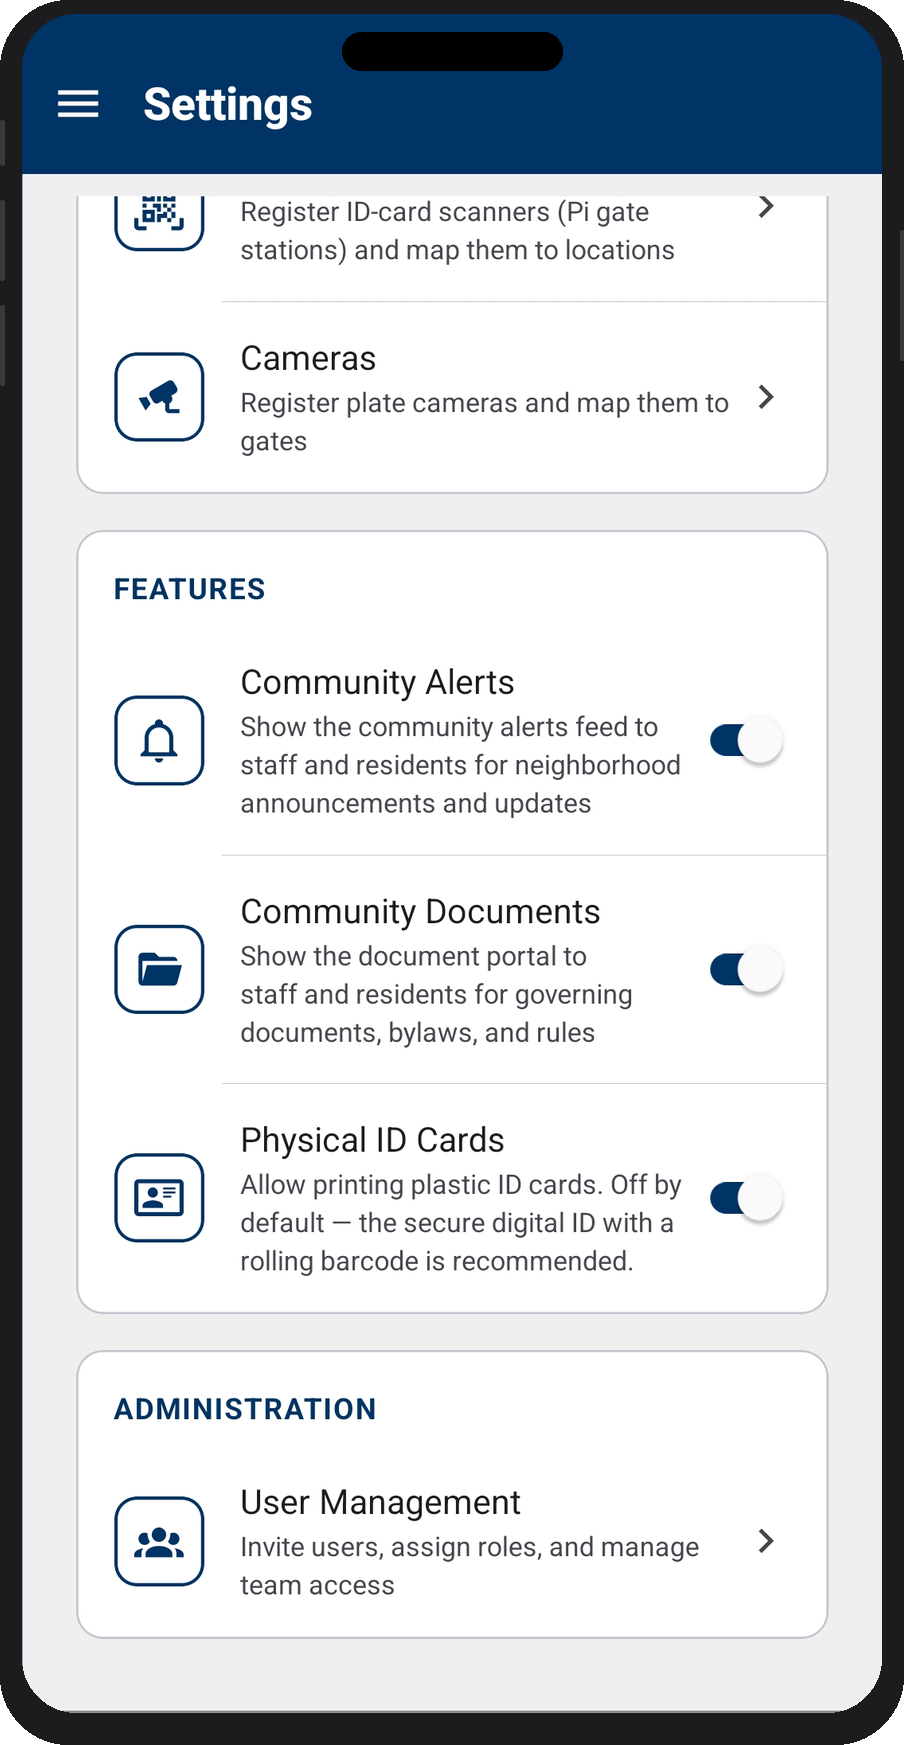
Most configuration lives under Settings, organized into four groups: General, Organization Settings, Hardware, and Administration. This guide follows a recommended setup order rather than the on-screen order.
Recommended setup order
- Sign in and secure your account
- Set up your organization profile and branding
- Invite your team and assign roles
- Add properties, titles, and passcodes
- Add companies and vendors
- Configure pass types
- Define gates and locations
- Set rental pass pricing
- Connect payments (Square)
- Add label printers
- Set up kiosks
- Configure citations (SC traffic tickets)
- Issue booking API tokens (optional)
- Run the go-live checklist
1 · Sign in and secure your account
You'll receive an invitation email to join your organization. Follow the link to set your password, then sign in.
- Use a strong, unique password.
- Under Settings → General → User Preferences, set your theme and time format. These are personal and don't affect other users.
2 · Organization profile and branding
Your organization record holds your community's identity and the defaults used across passes and citations.
- Name, city, and state — how your community appears throughout the app.
- Primary color and logo — used to brand passes and printed materials.
- Citation prefix — a short code (e.g.
PG) prepended to citation numbers.
3 · Invite your team and assign roles
Go to Settings → Administration → User Management to invite users, assign roles, and manage team access.
- Invite users by email; they'll receive a link to set their password.
- Assign roles to control what each person can do — viewing, creating, editing, deleting, and which areas they can reach.
- A person can belong to more than one community; their role is scoped to each community separately.
4 · Properties, titles, and passcodes
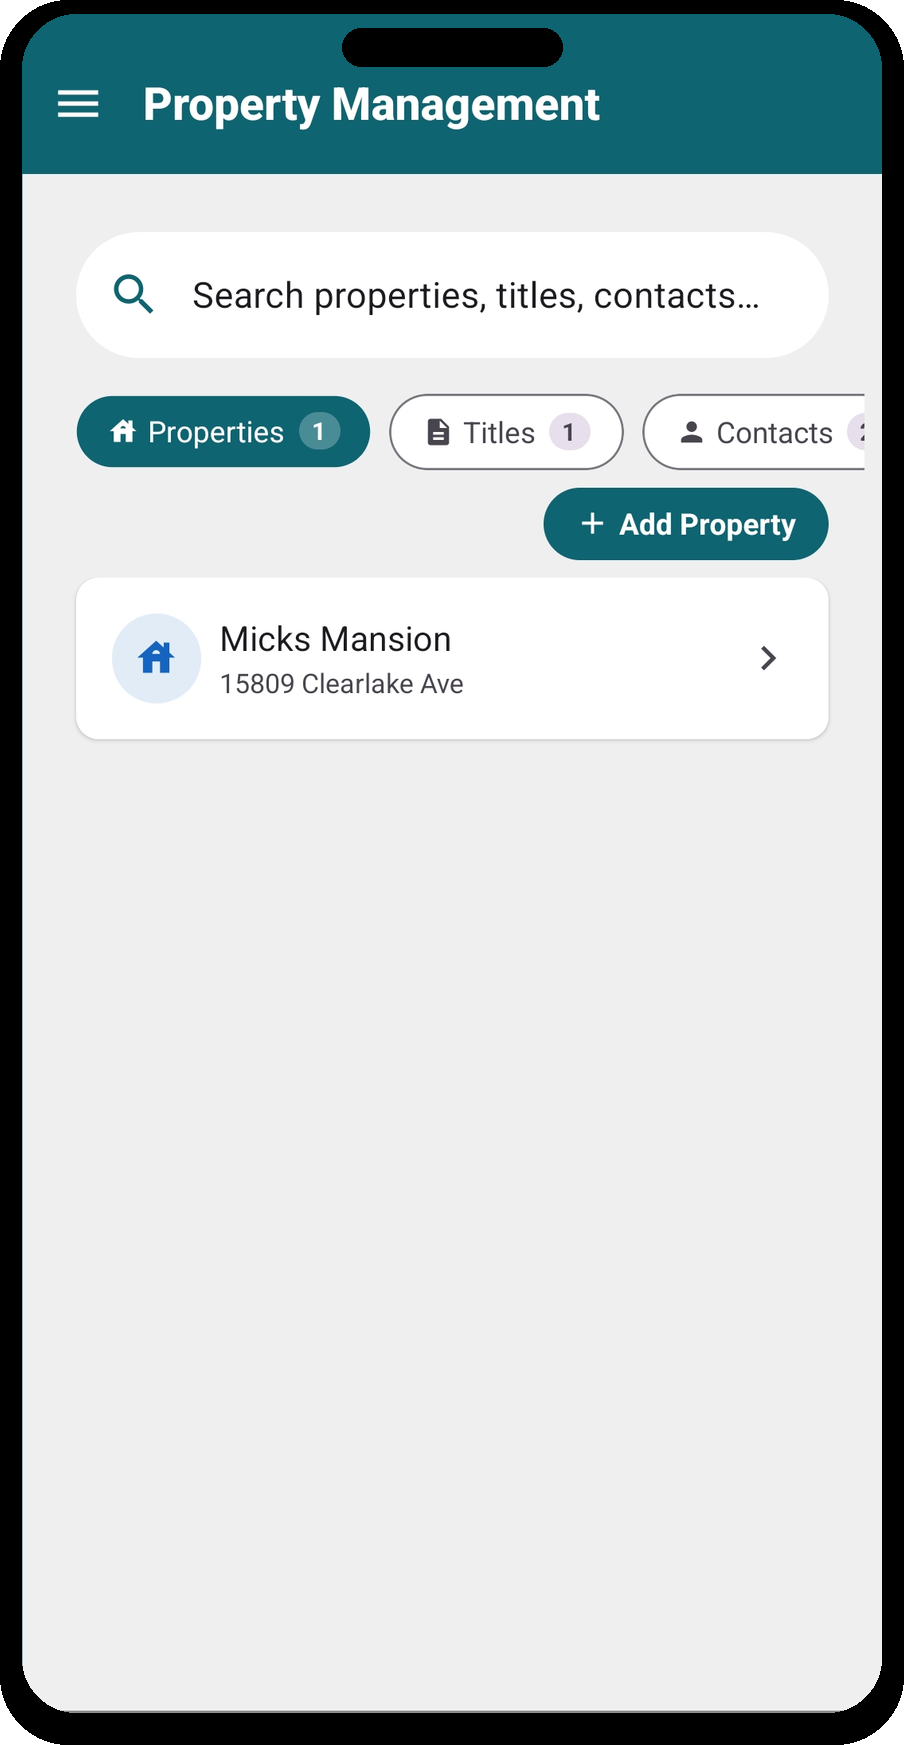
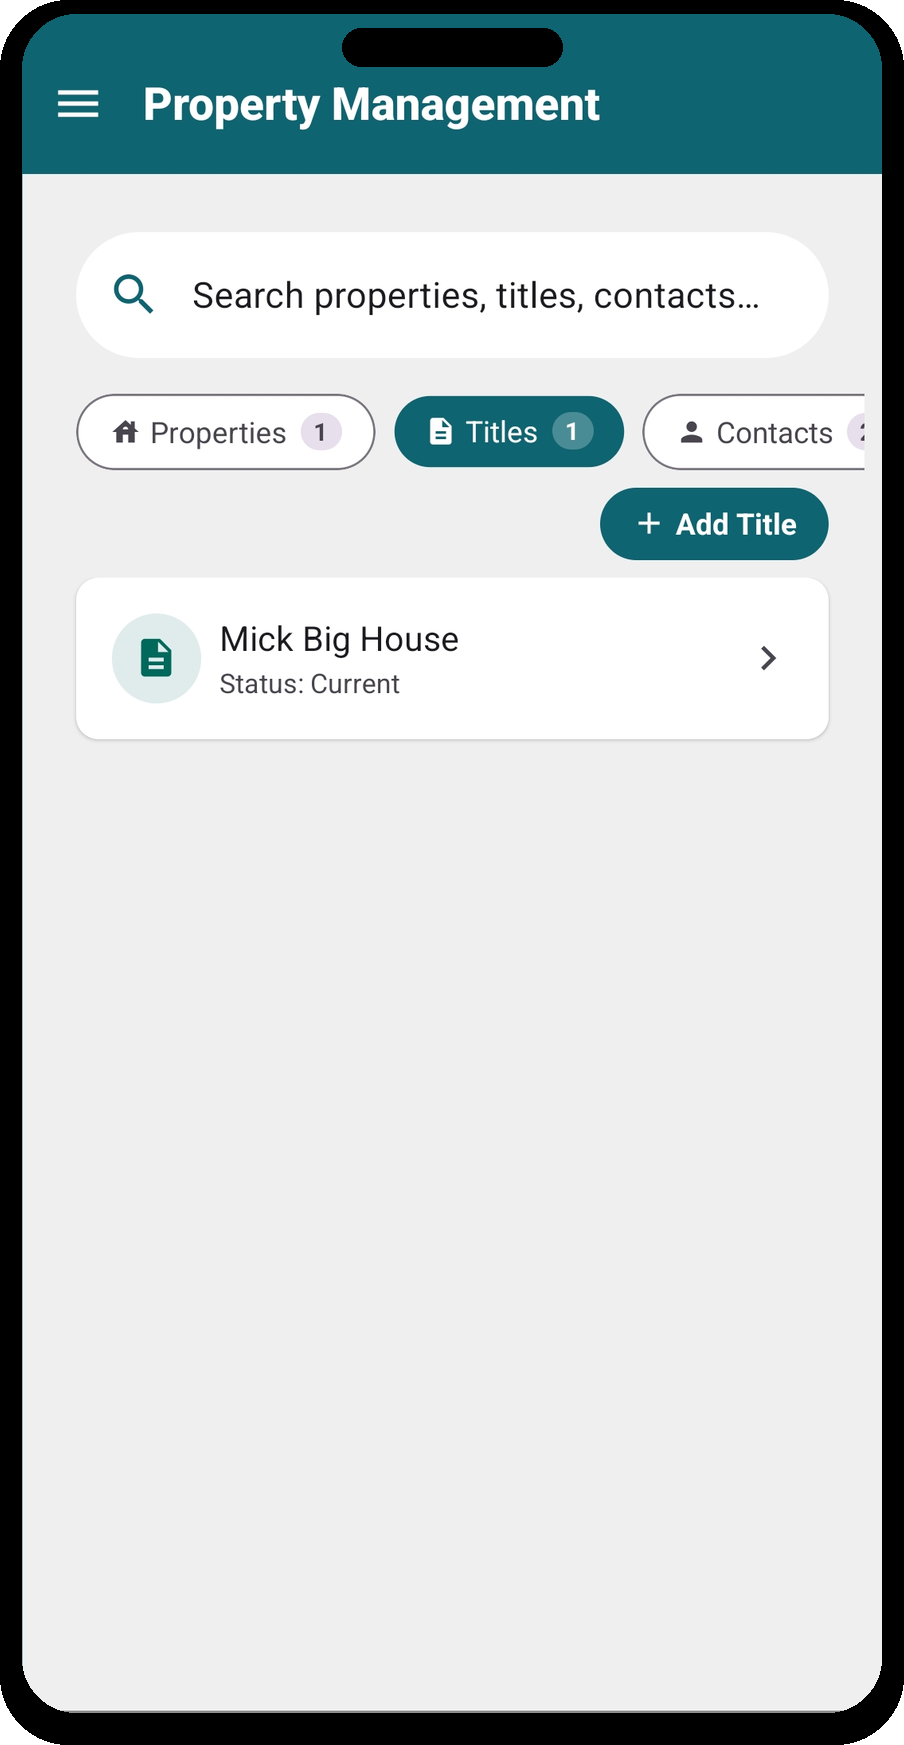
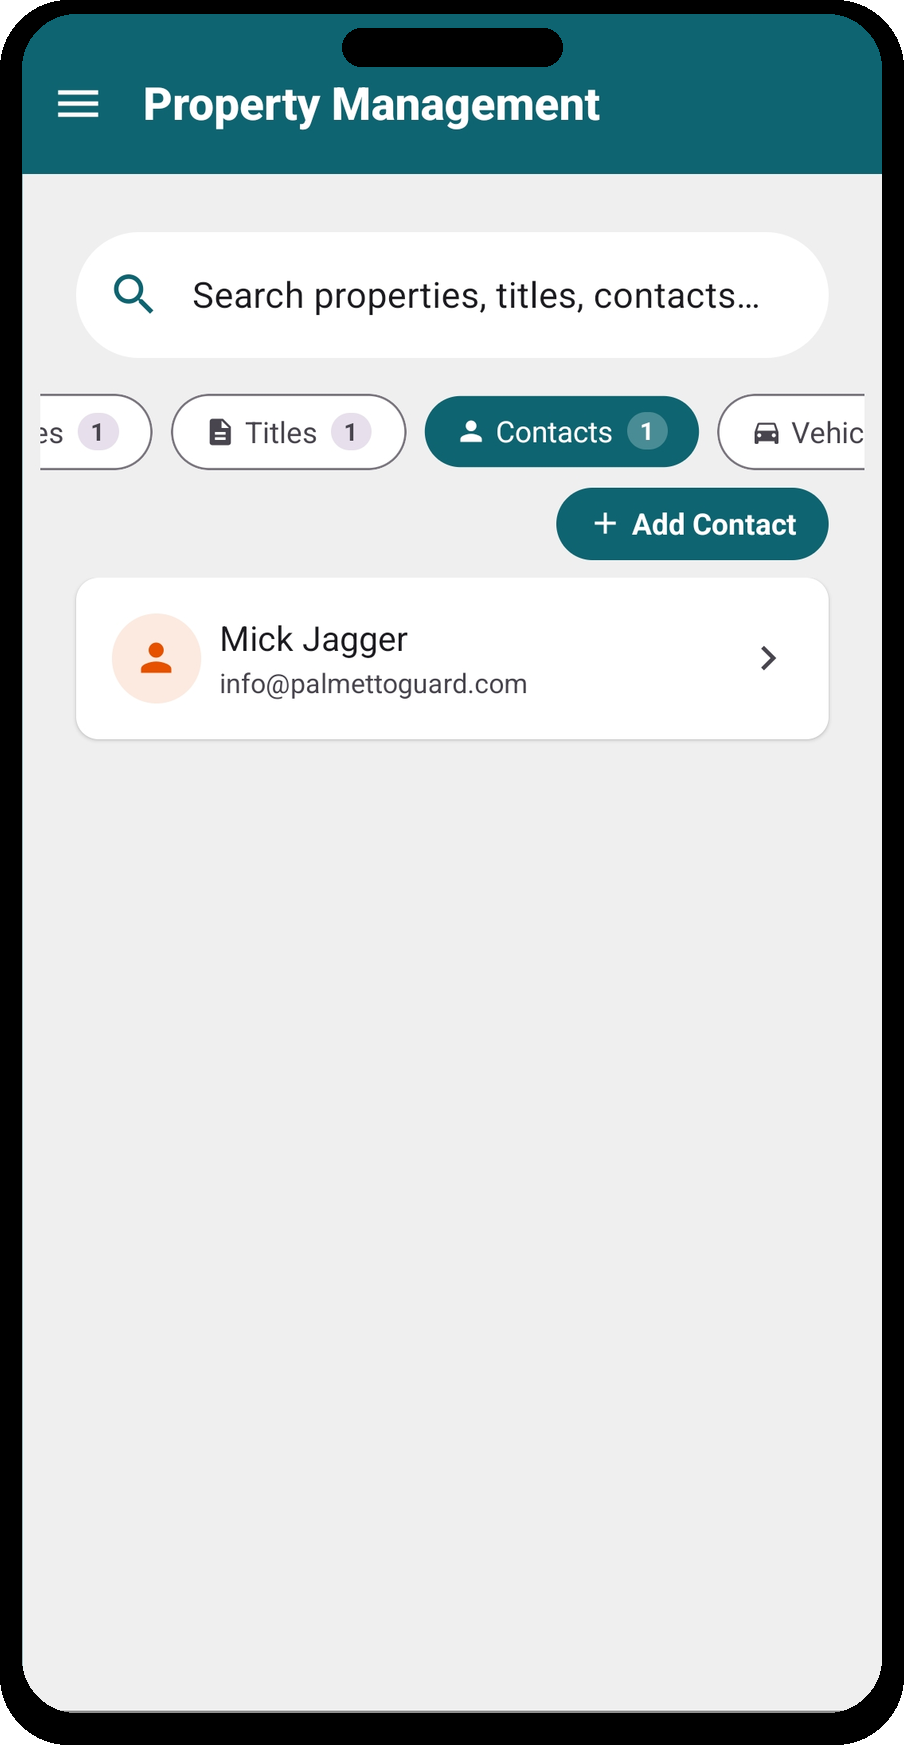
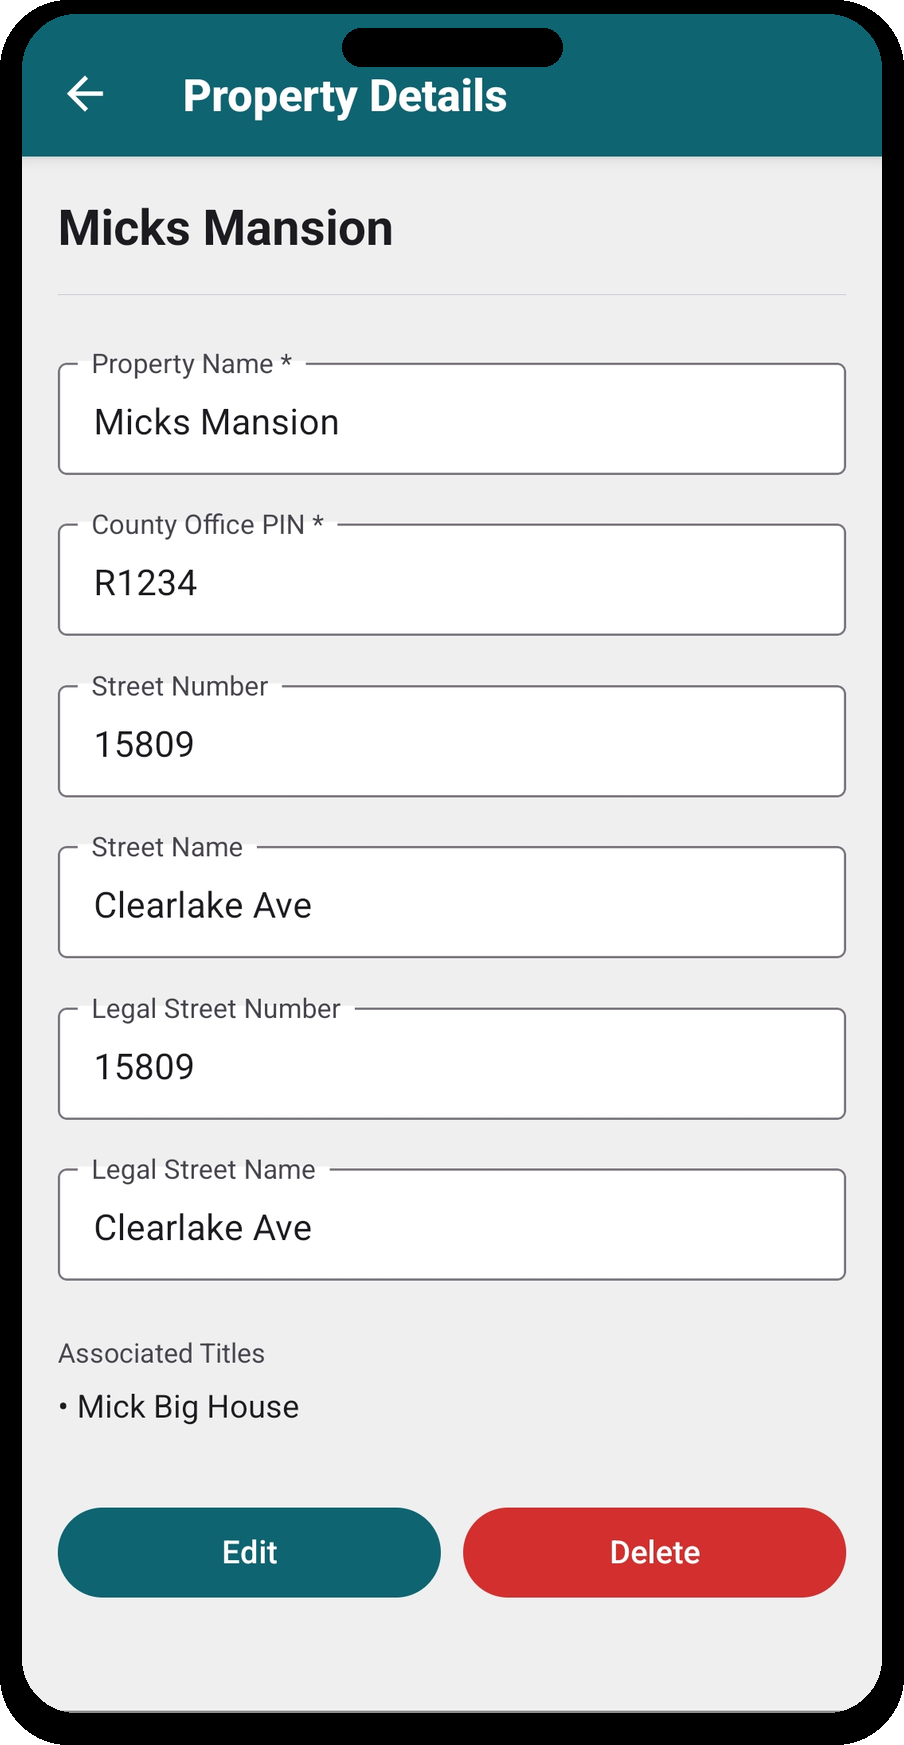
This is the backbone of your community. Almost everything — guest passes, rental passes, vehicles — links back to a property and its title.
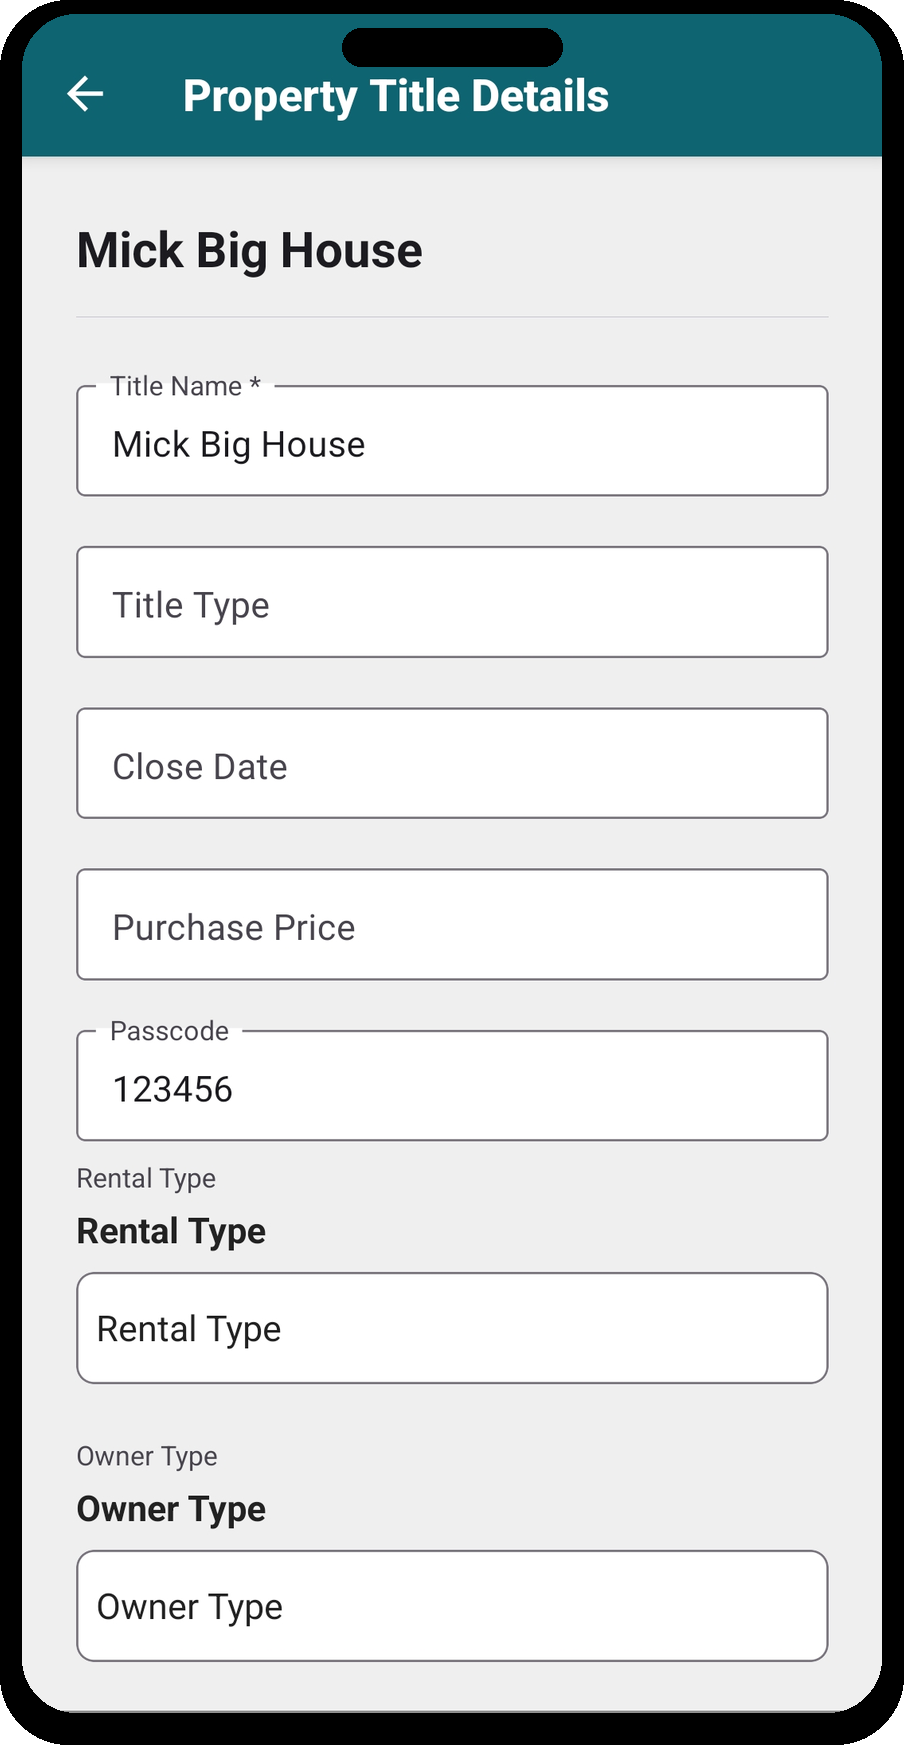
| Concept | What it is |
|---|---|
| Property | A physical address or lot in your community. |
| Title | An ownership/occupancy record on a property, with an Owner Type, Rental Type, and Status (e.g. Current). Rental-managed units reference the responsible rental management company. |
| Passcode | The owner/unit code on a current title. Staff (and the booking API) use it to look up the correct unit when issuing passes. |
| Vehicles | Registered vehicles associated with a property/title for clearances. |
Setup steps:
- Add your properties.
- Add a title to each property, set its Status to current, and assign the passcode.
- For rental-managed units, set the rental management company on the title (add the company first).
5 · Companies and vendors
Add the businesses that operate in your community from your Companies list. Each company has a type:
ContractorVendor HOAManagement Company Rental ManagementLandscaping SecurityUtilities Other
- Rental Management companies are special: you bill rental-pass chargebacks to them, assign them to property titles, and issue them booking API tokens.
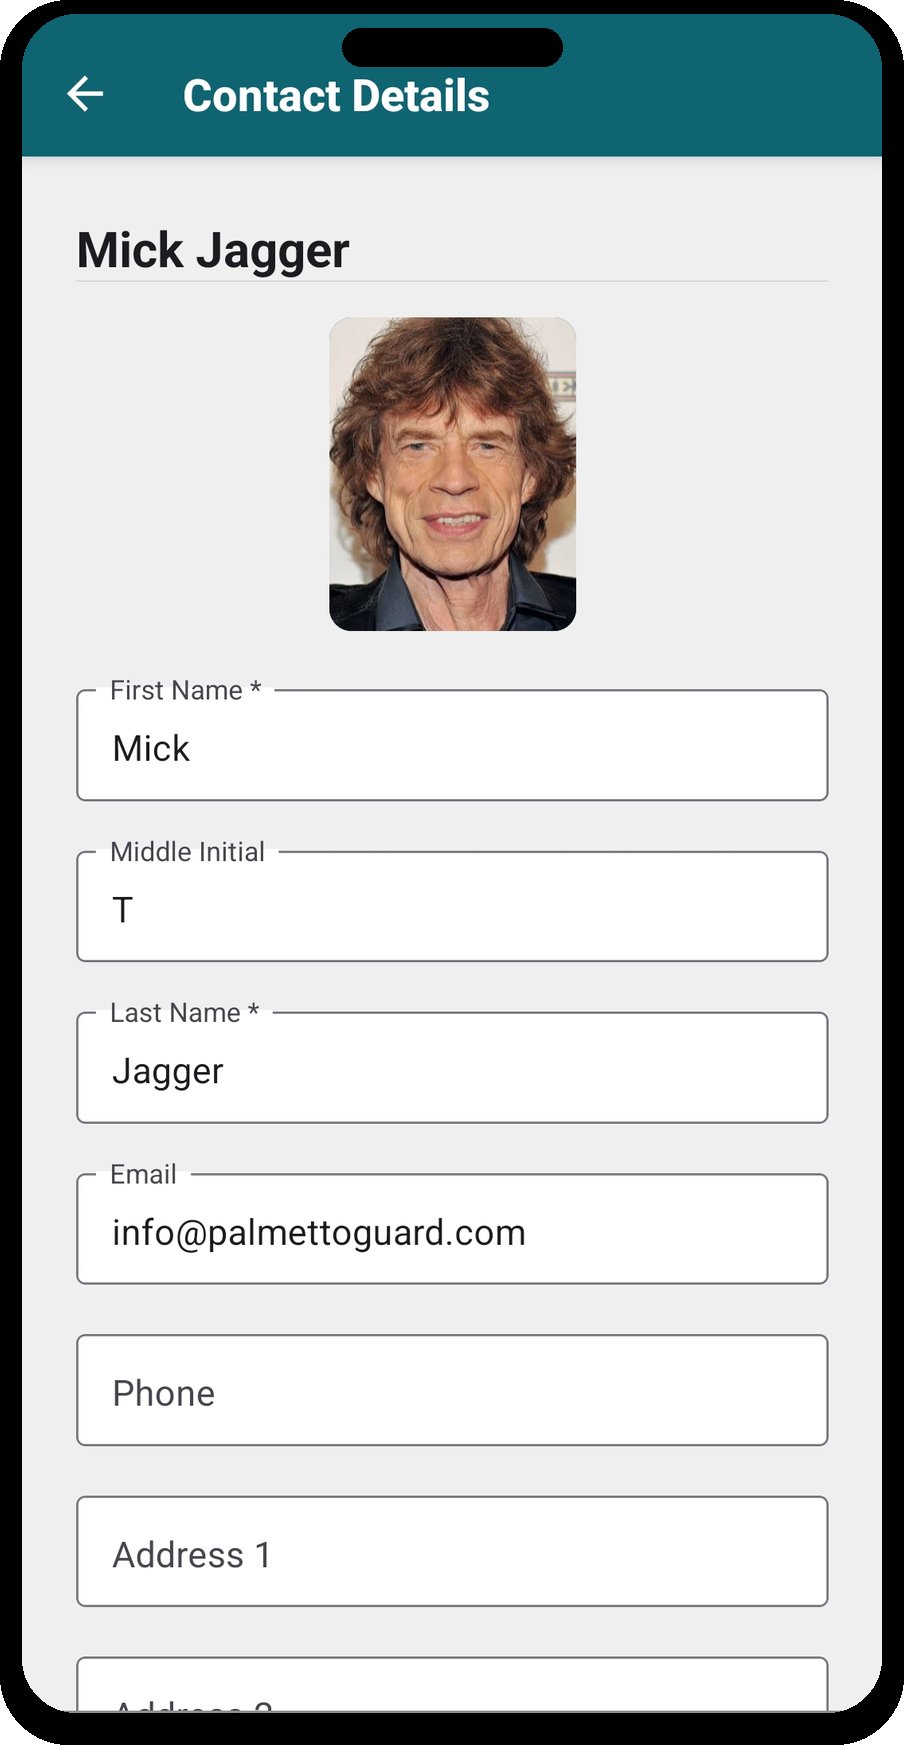
- Add each company's contact email, phone, and address so they appear correctly on reports and communications.
6 · Pass types
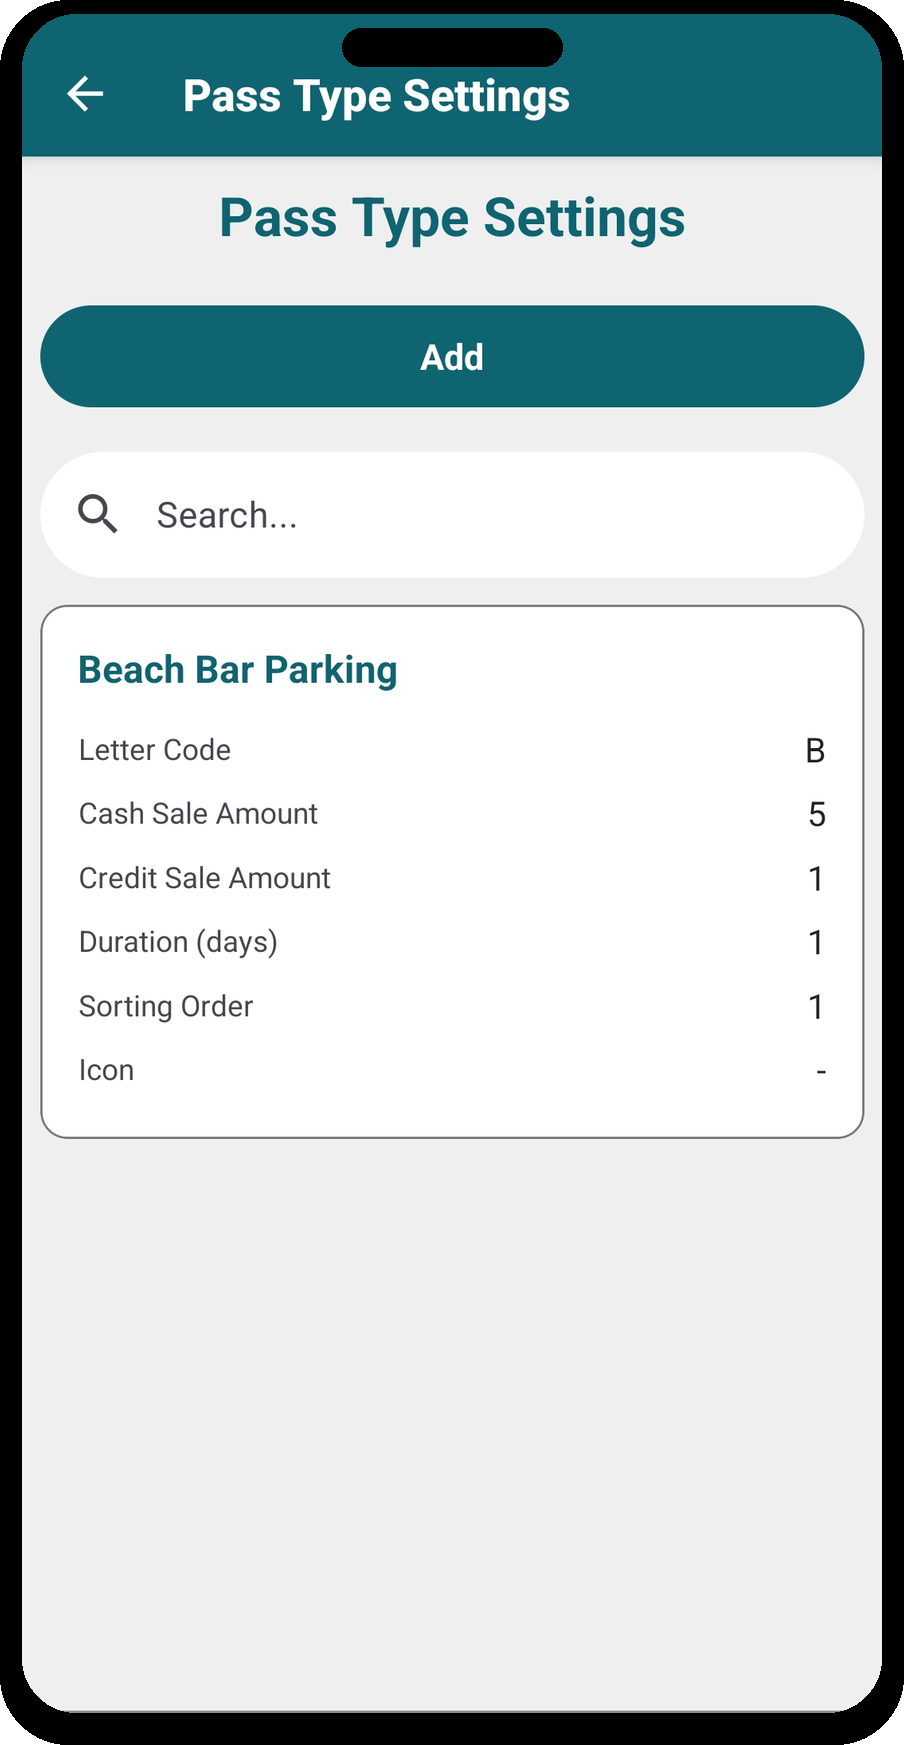
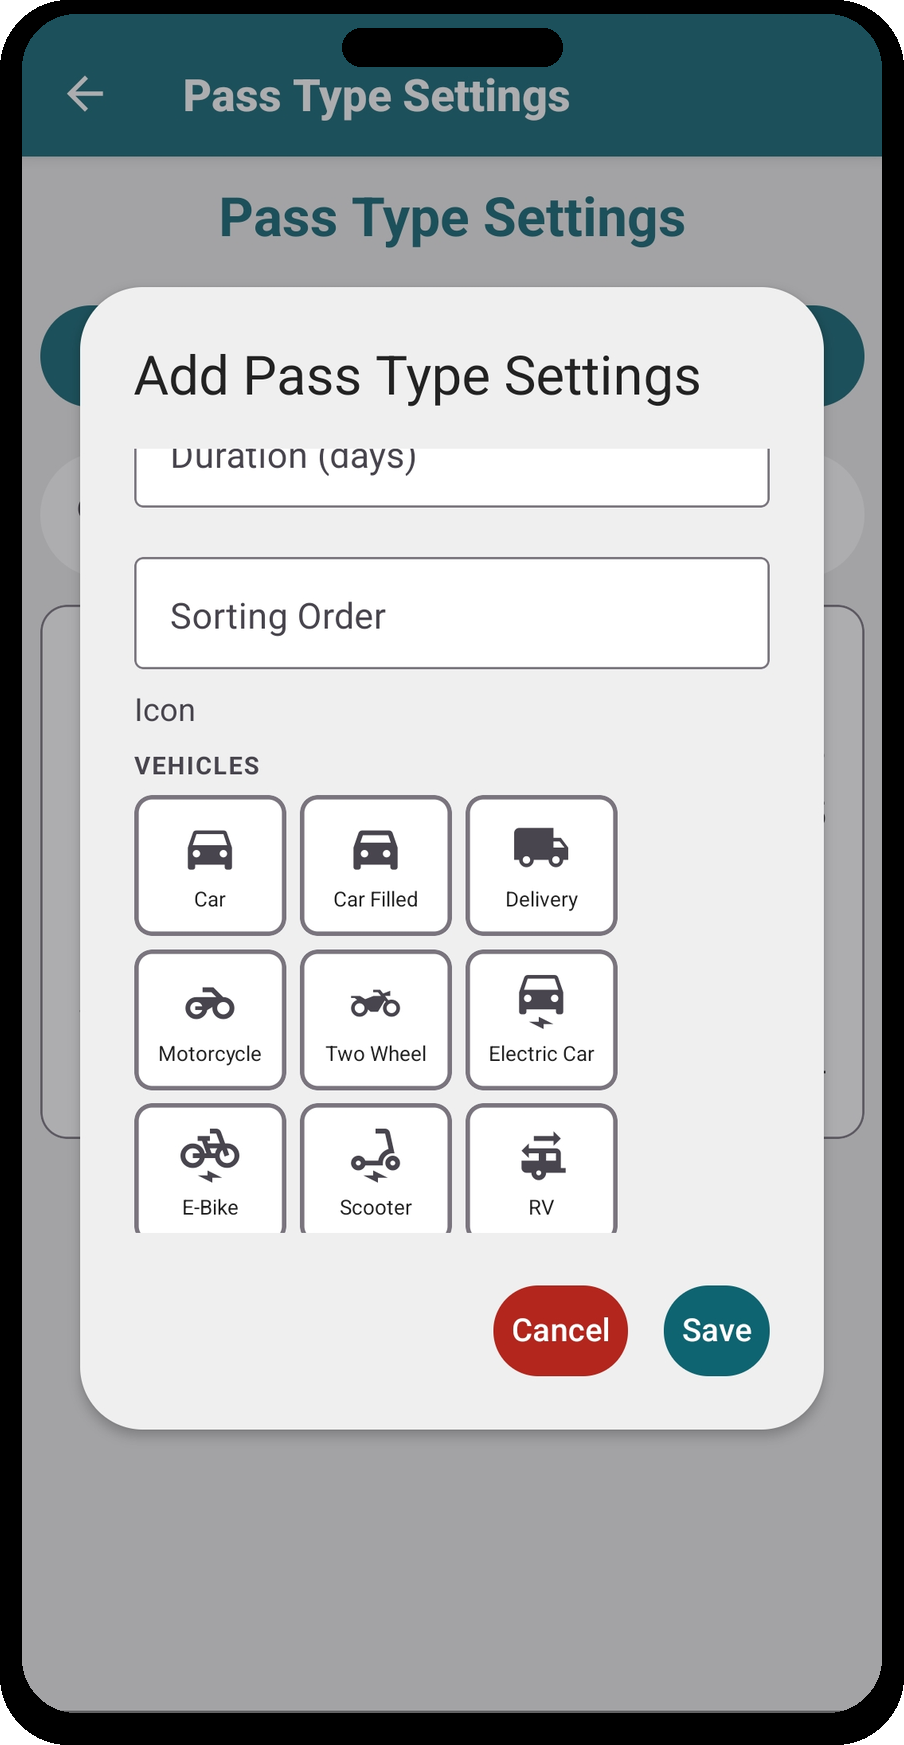
Go to Settings → Organization Settings → Pass Type Settings to manage the pass types available at the point of sale.
- Define the kinds of passes your community issues and sells (day passes, guest passes, seasonal passes, and so on).
- Pass types drive what staff can sell on the Point of Sale screen and at the kiosk.
7 · Gates and locations
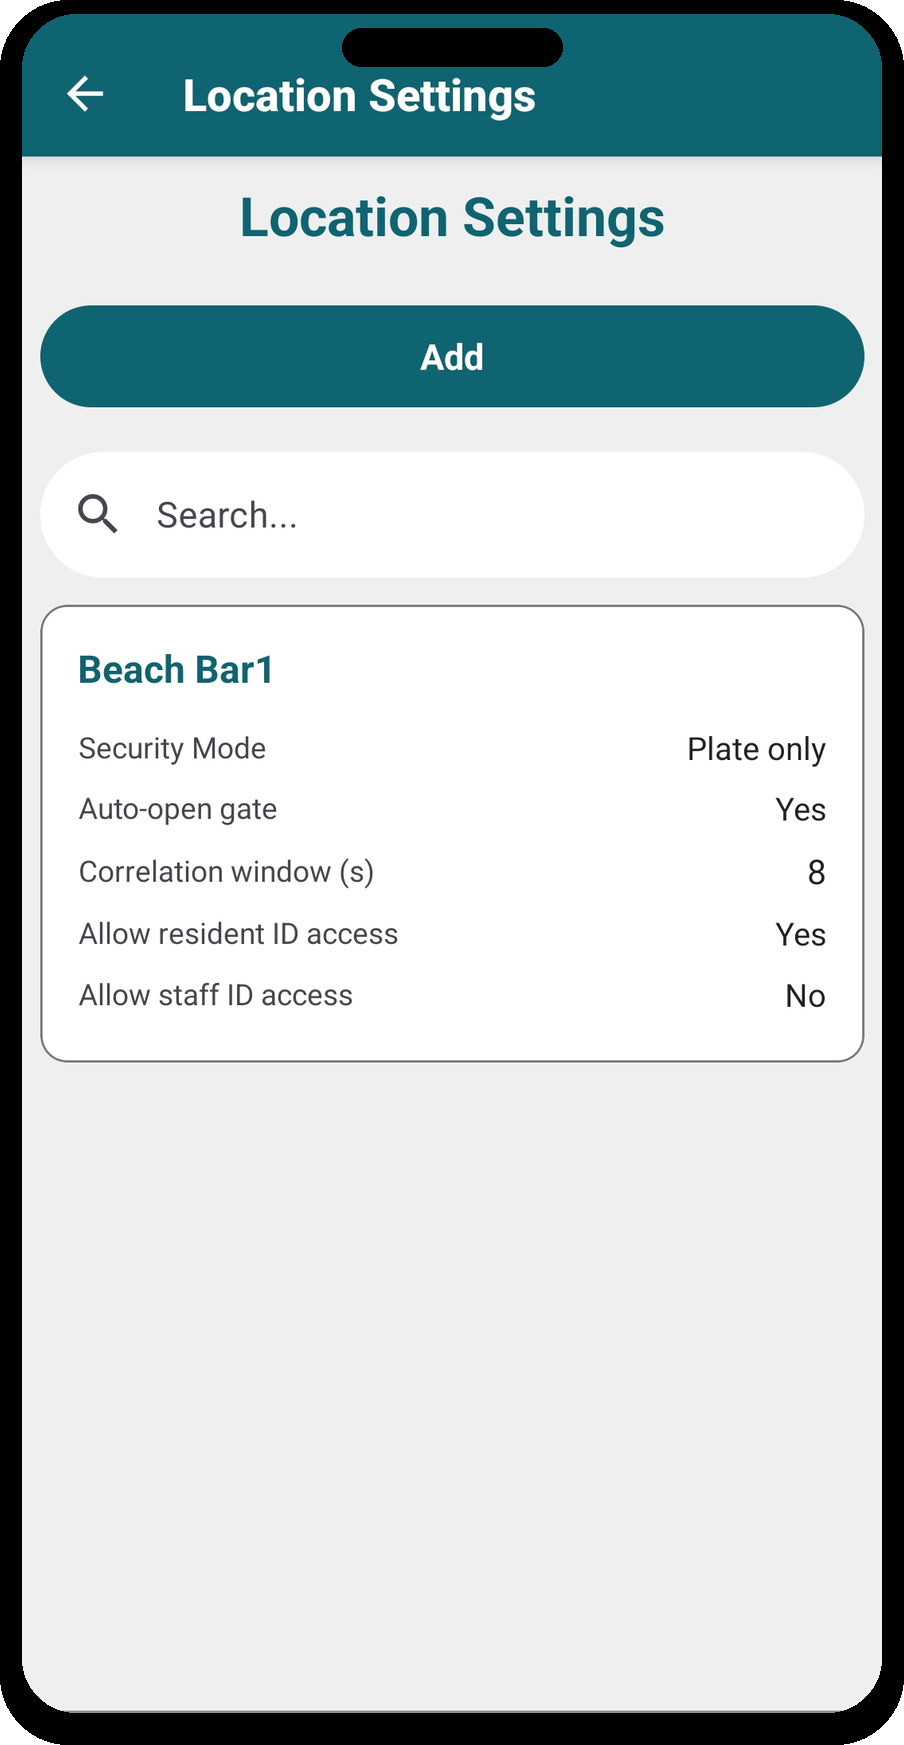
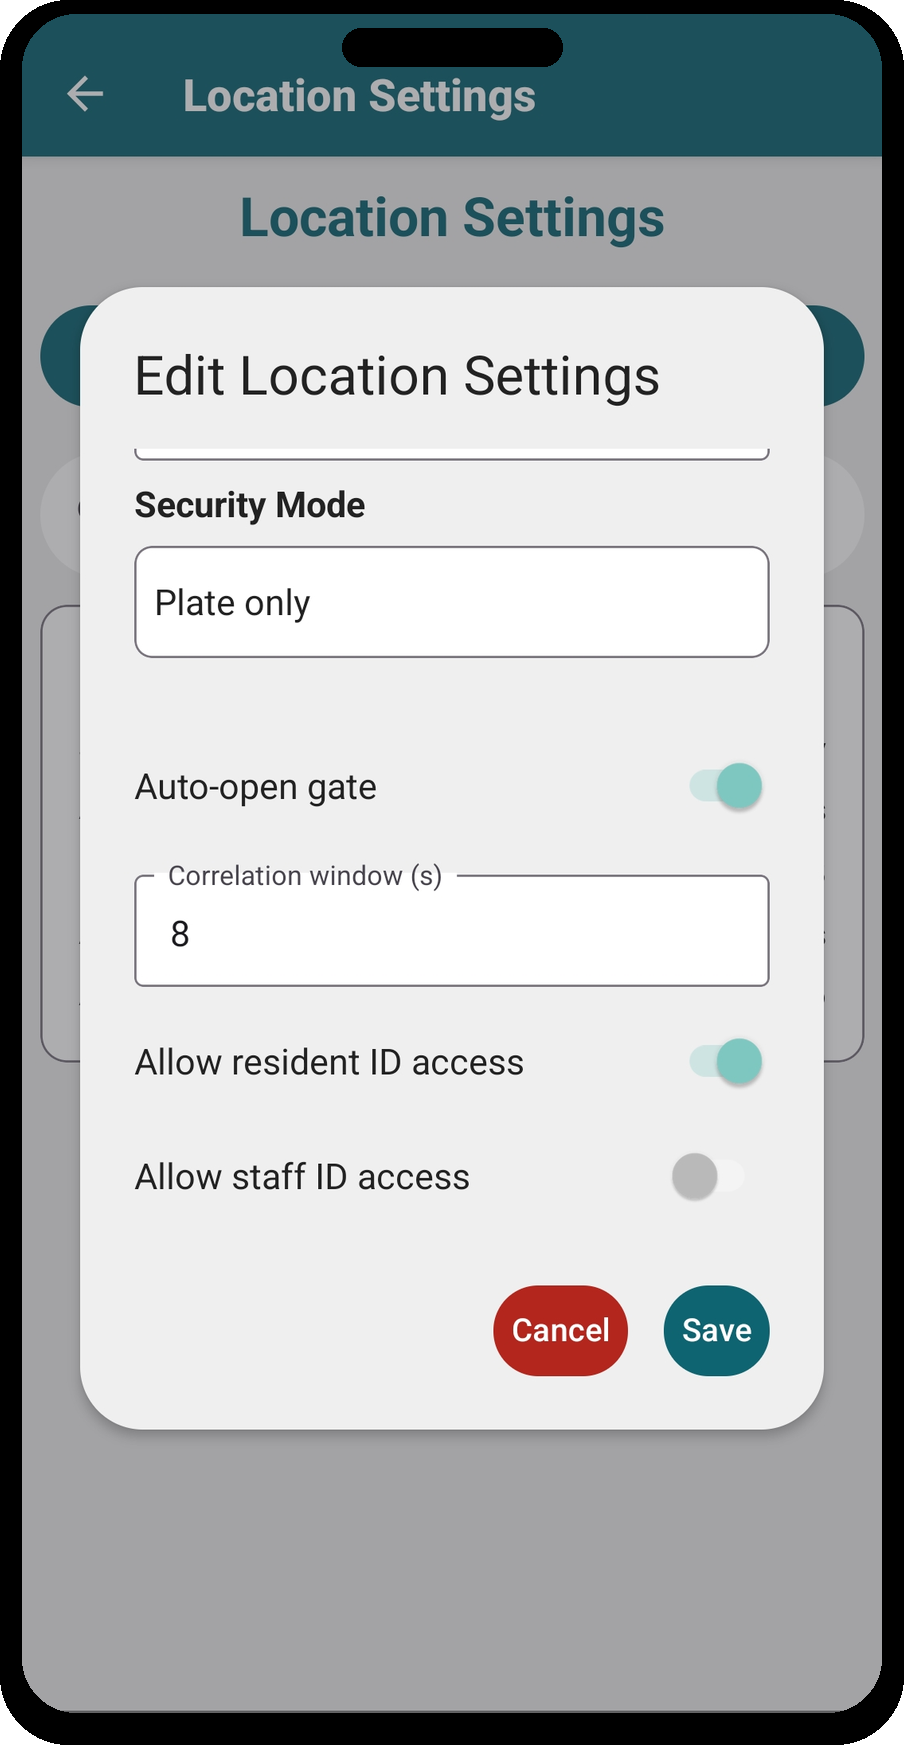
Go to Settings → Organization Settings → Location Settings to define named gates and locations for your property.
- Create an entry for each gate or notable location.
- These are used for clearances and routing throughout Security Operations.
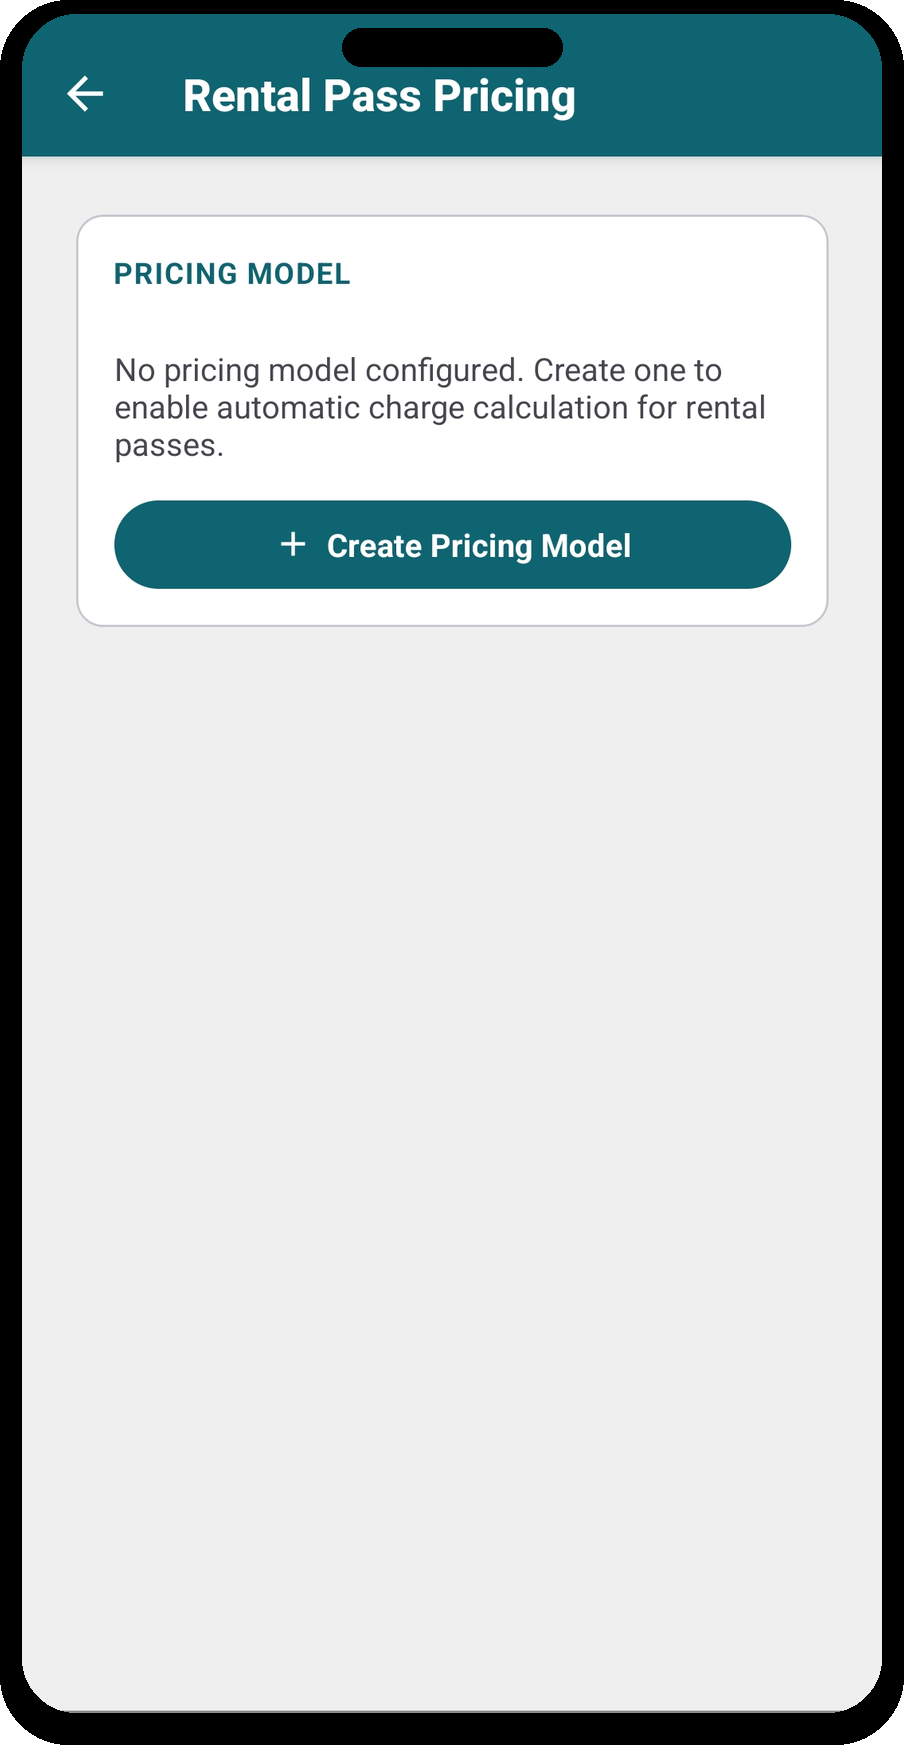
8 · Rental pass pricing
Go to Settings → Organization Settings → Rental Pass Pricing to configure how rental passes are charged back to rental management companies.
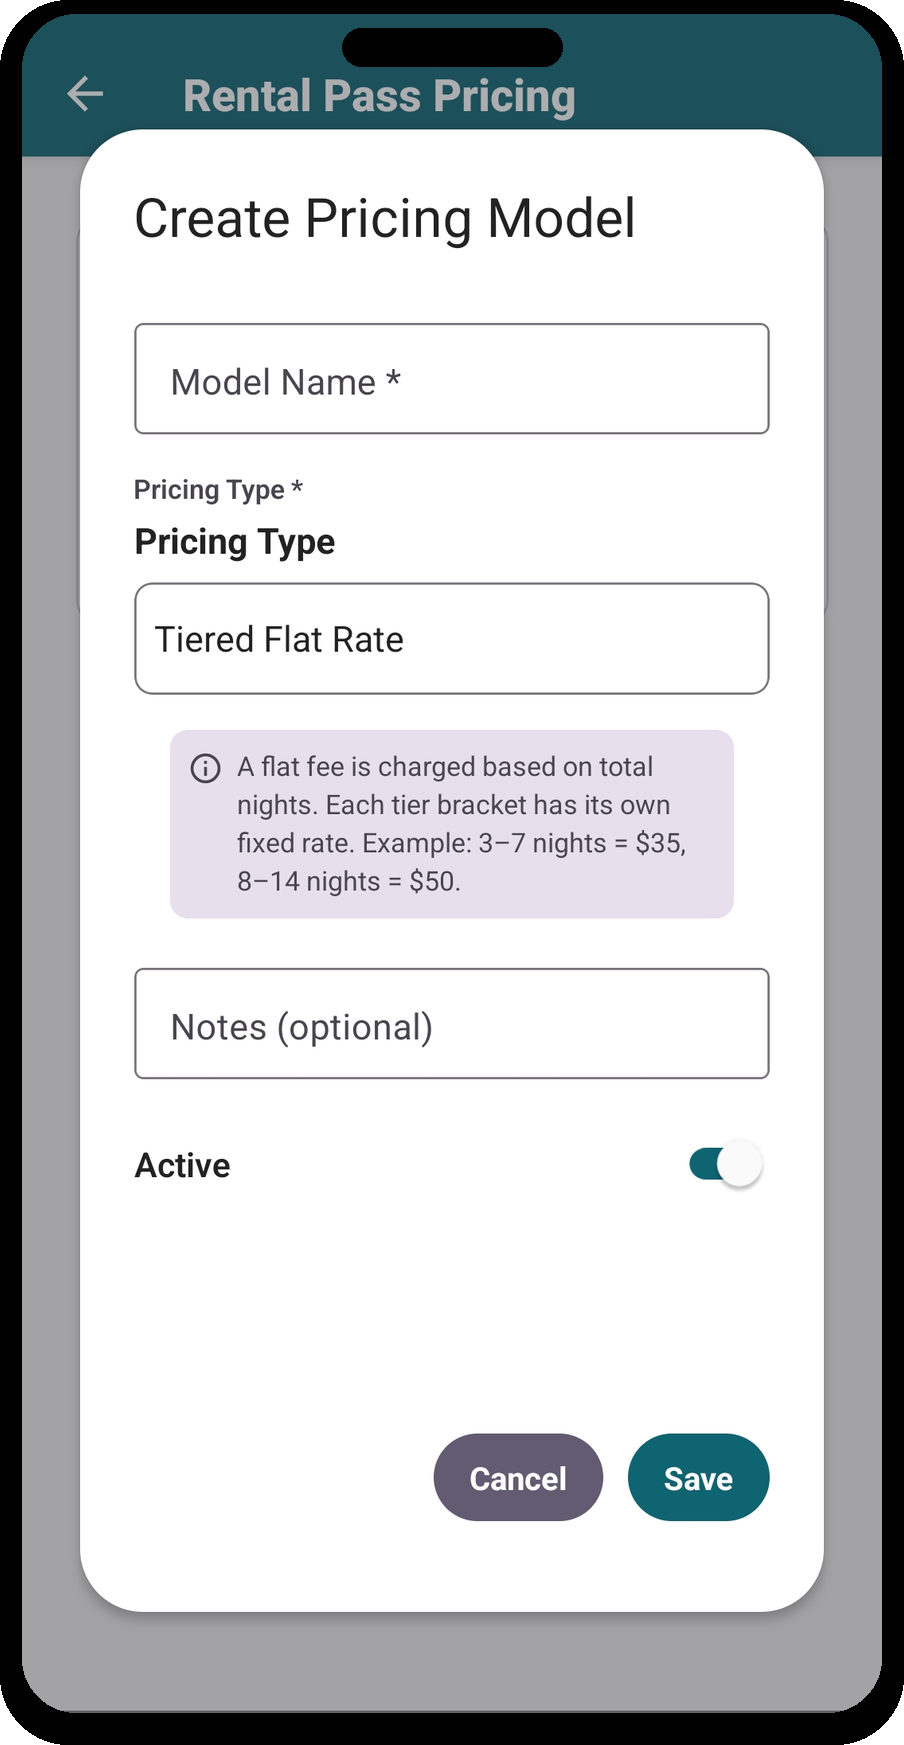
| Model | How it charges |
|---|---|
| Tiered Flat Rate | A flat fee based on total nights, using bracket tiers (e.g. 3–7 nights = $35, 8–14 nights = $50). |
| Per Week | Each started week is billed at a weekly rate (8 nights rounds up to 2 weeks). |
- Create a pricing model and choose its type.
- Add the tiers (night ranges and prices).
- Mark the model Active.
Once active, rental passes calculate their charge automatically when dates are entered — in the app, via CSV import, or through the booking API.
9 · Payments (Square) and Point of Sale
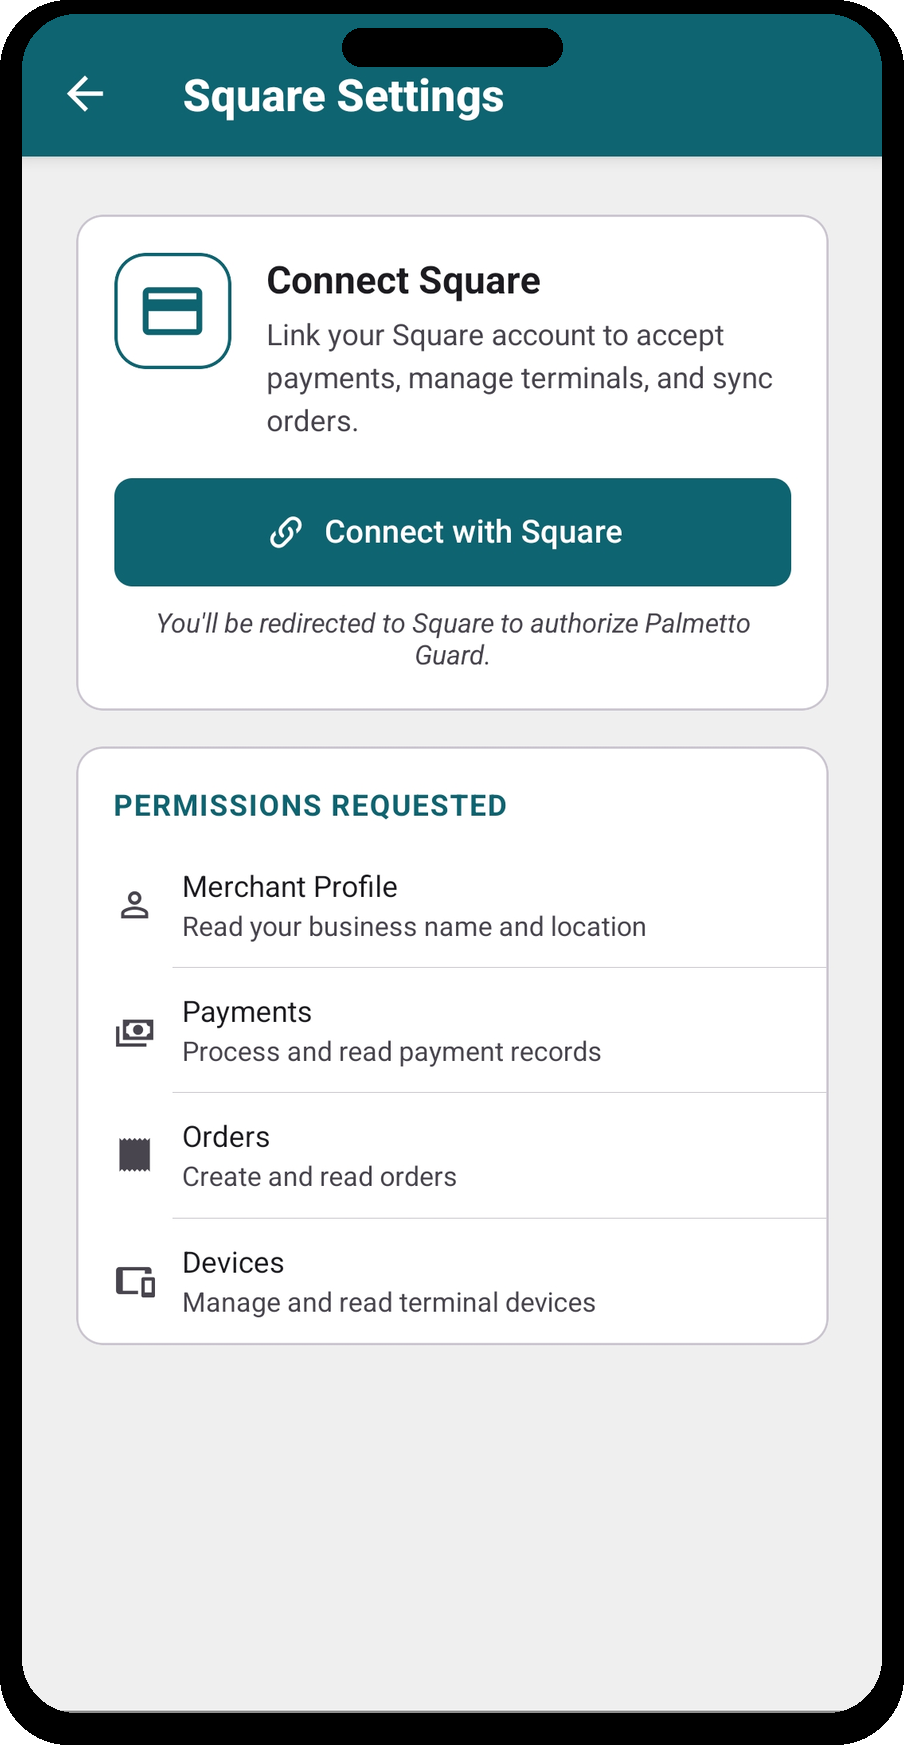
Go to Settings → Organization Settings → Square Settings to link your Square account and manage payment terminals.
- Link your Square account to accept card payments.
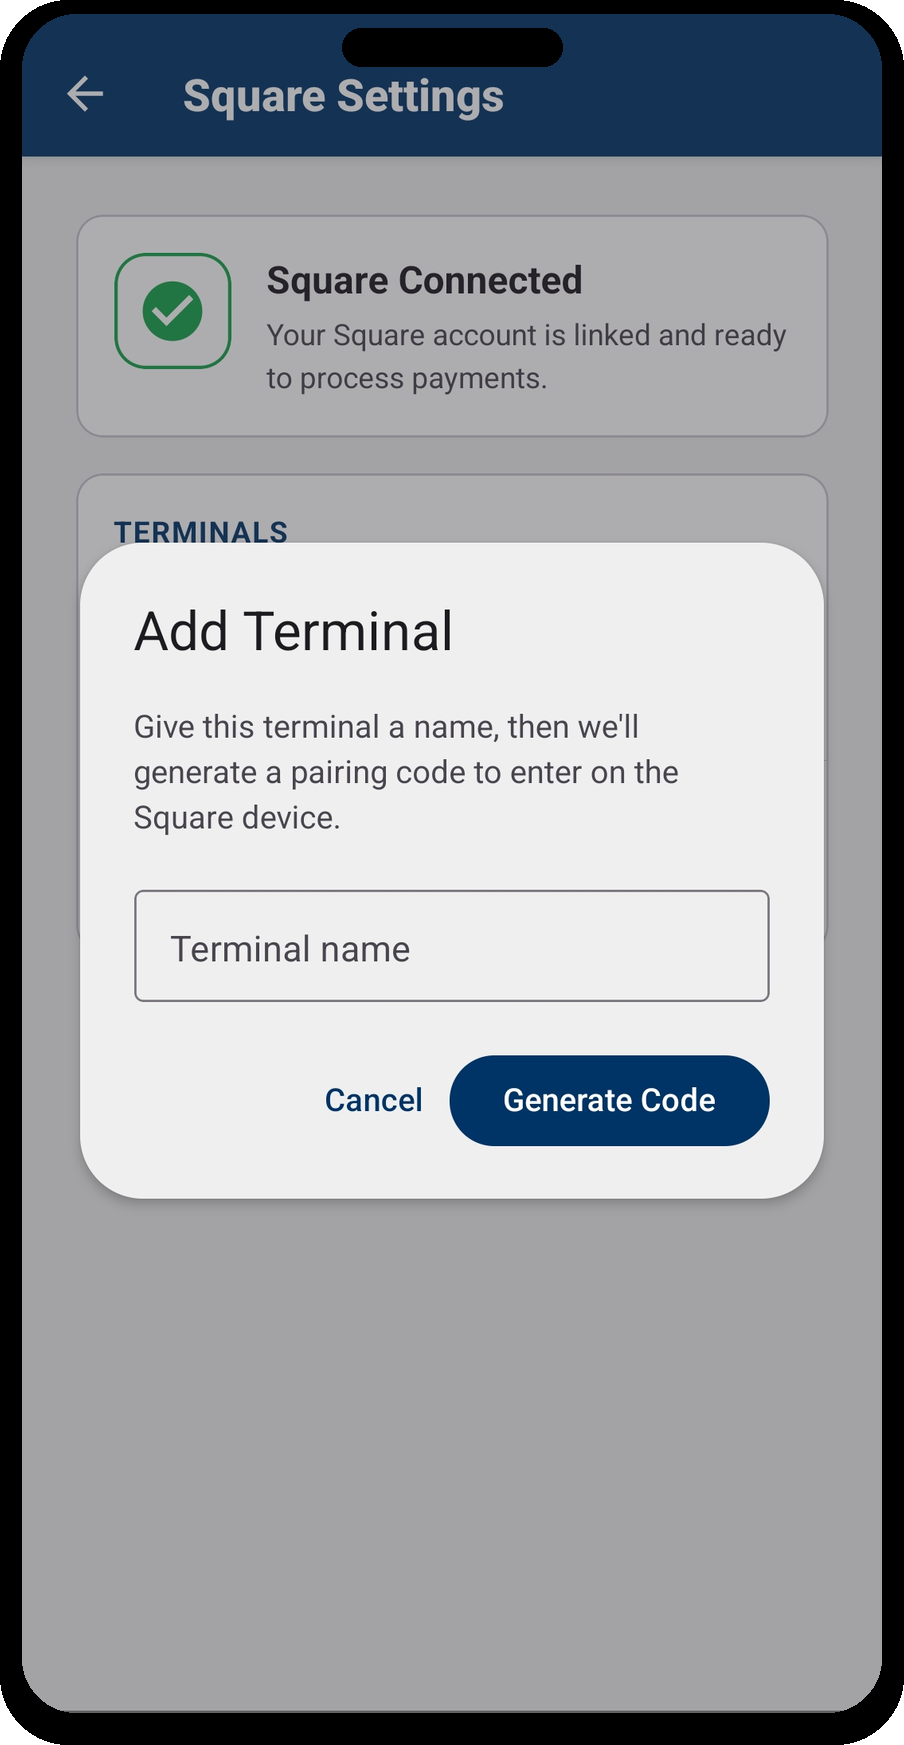
- Add terminals and give each a recognizable name (e.g. "Front Gate") so staff can pick the right reader at checkout.
- Once connected, the Point of Sale screen can take payment for your configured pass types.
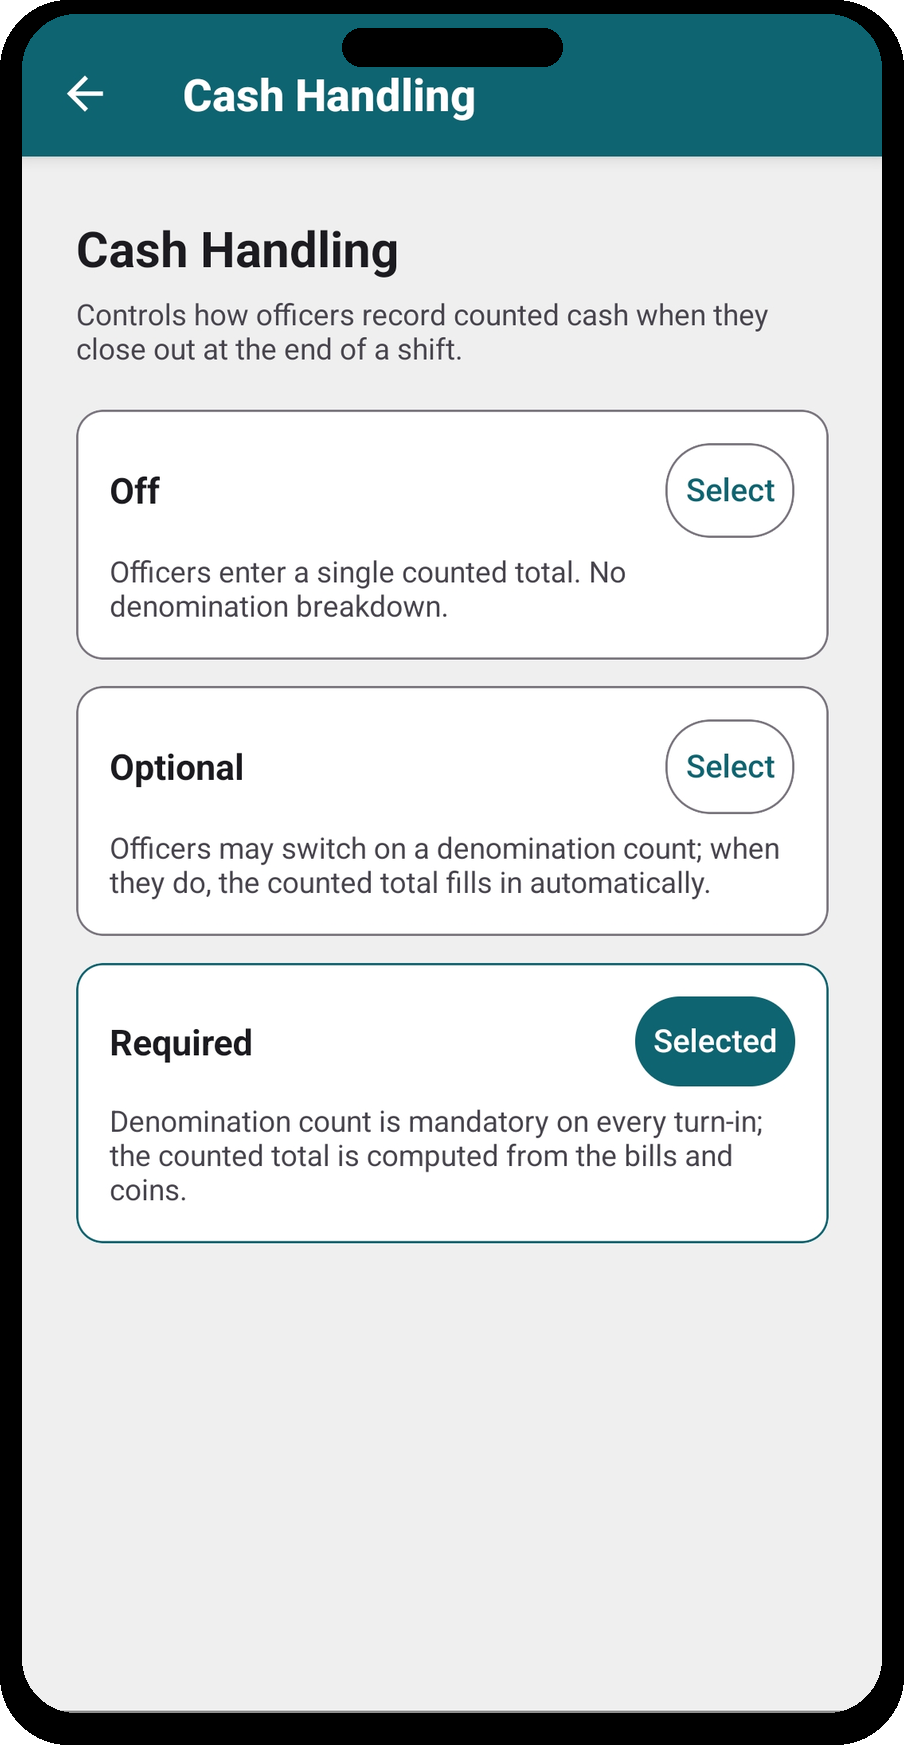
- Under Cash Handling, choose whether cash is Off, Optional, or Required at the point of sale.
Linking your Square account
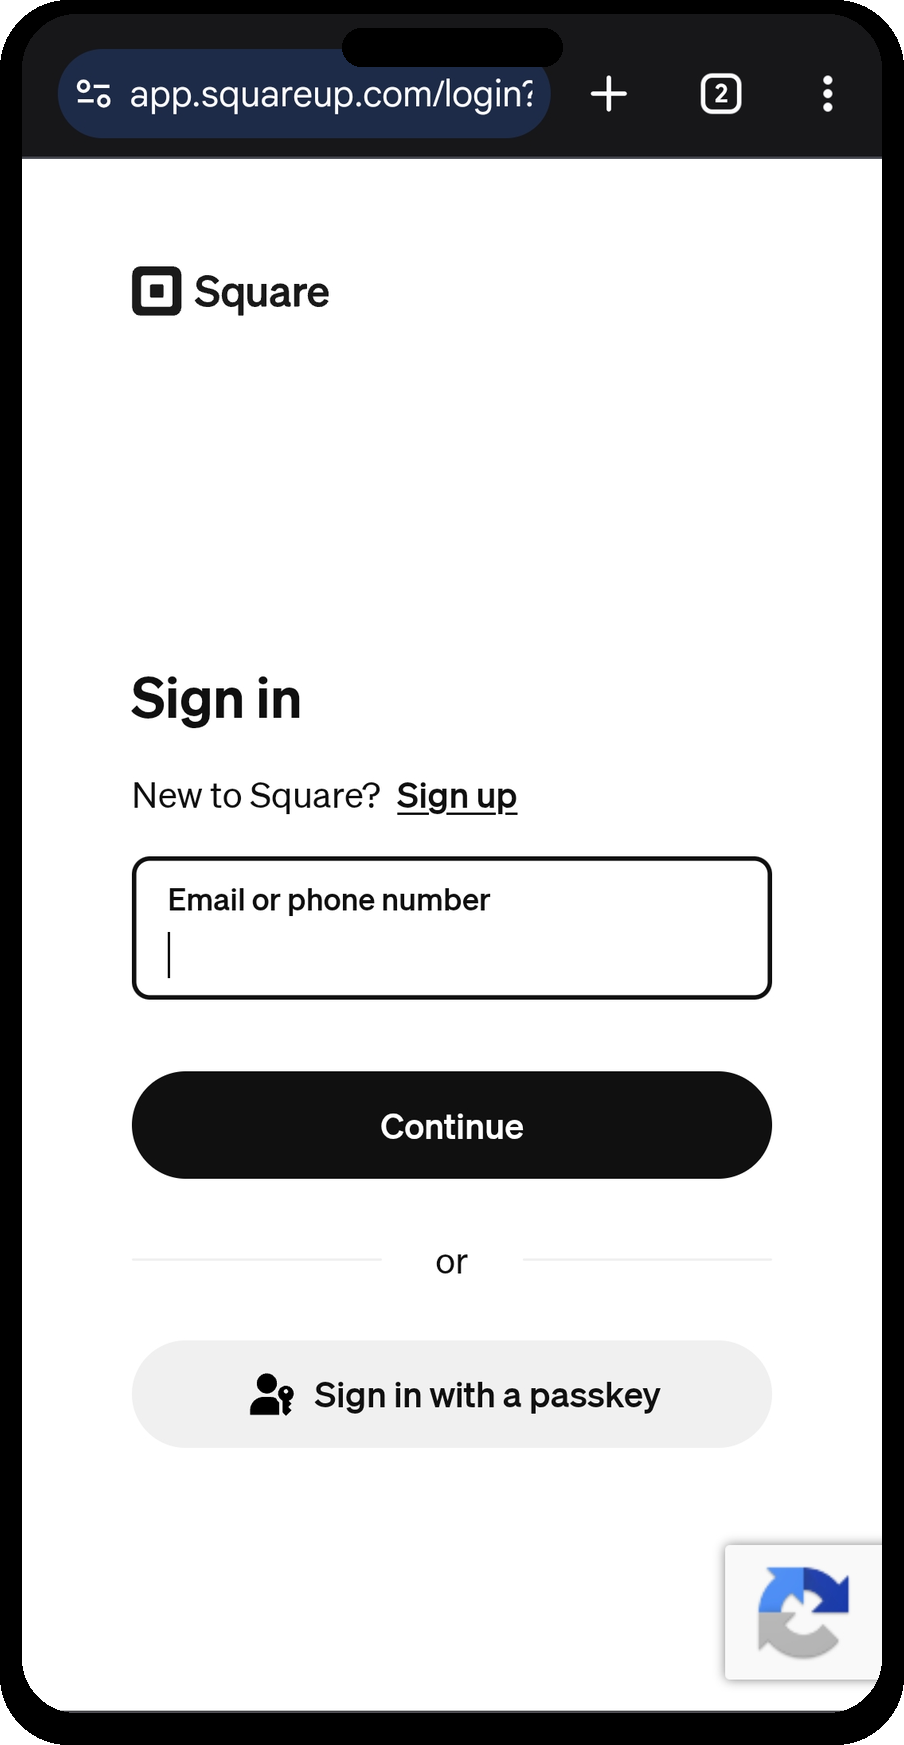
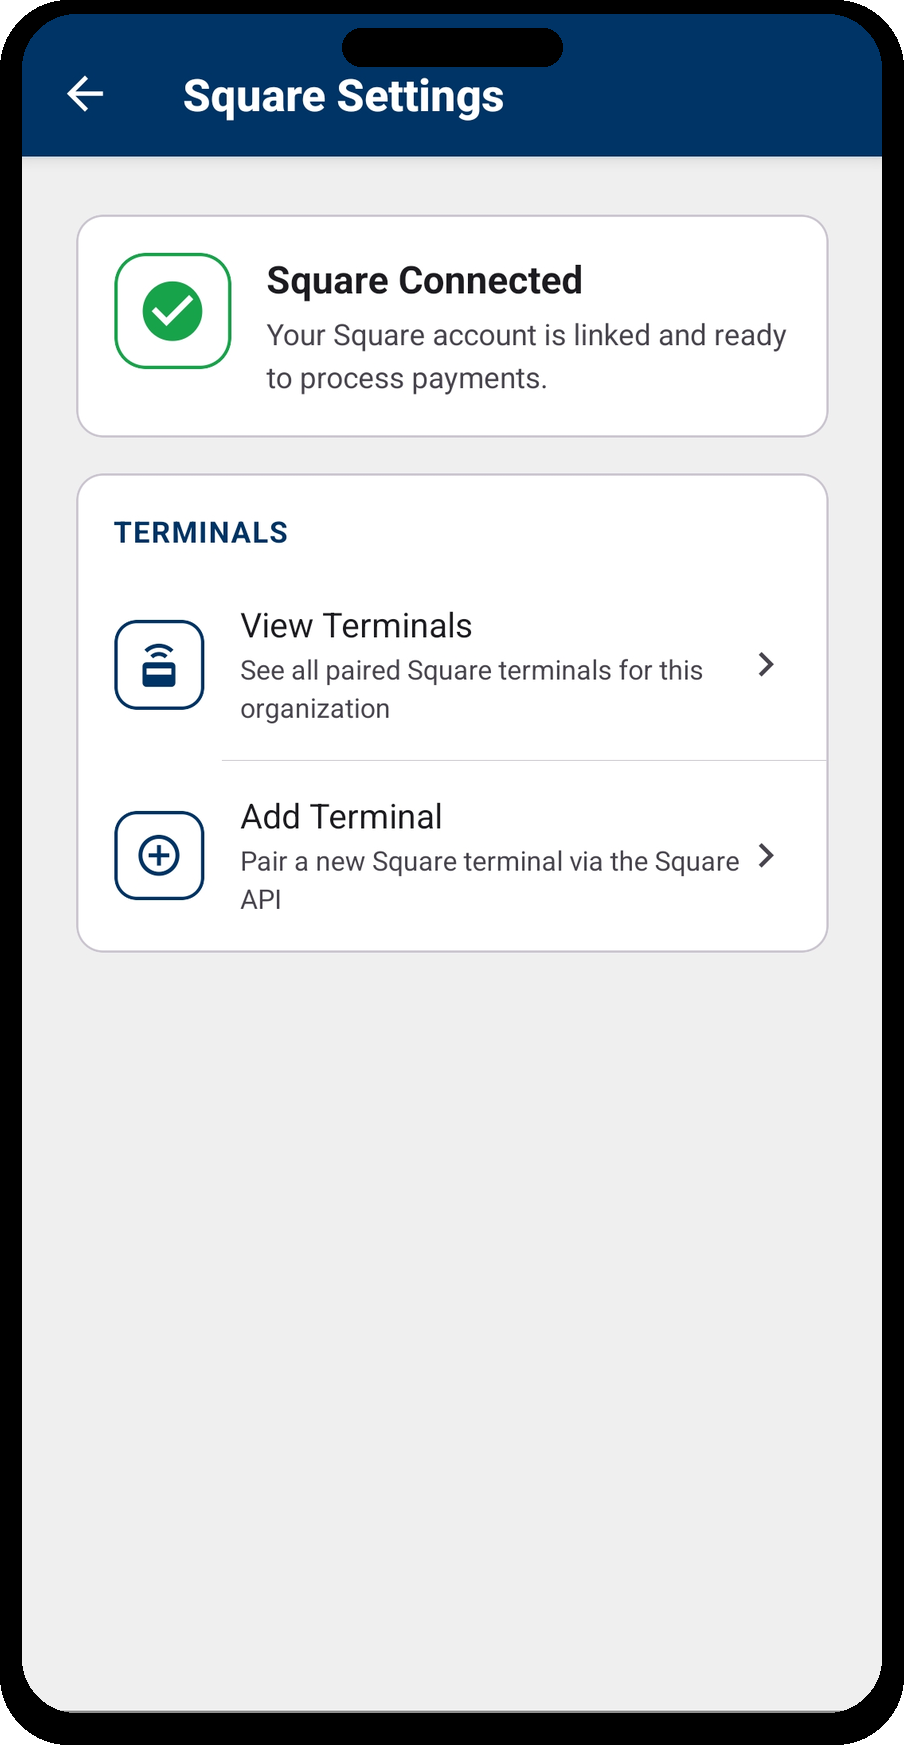
Tap Link Square Account. You'll be redirected to a secure Square login page in your browser — sign in with your Square credentials to authorize Palmetto Guard. Once authorized, you'll return to the app and see Square Connected.
Adding terminals
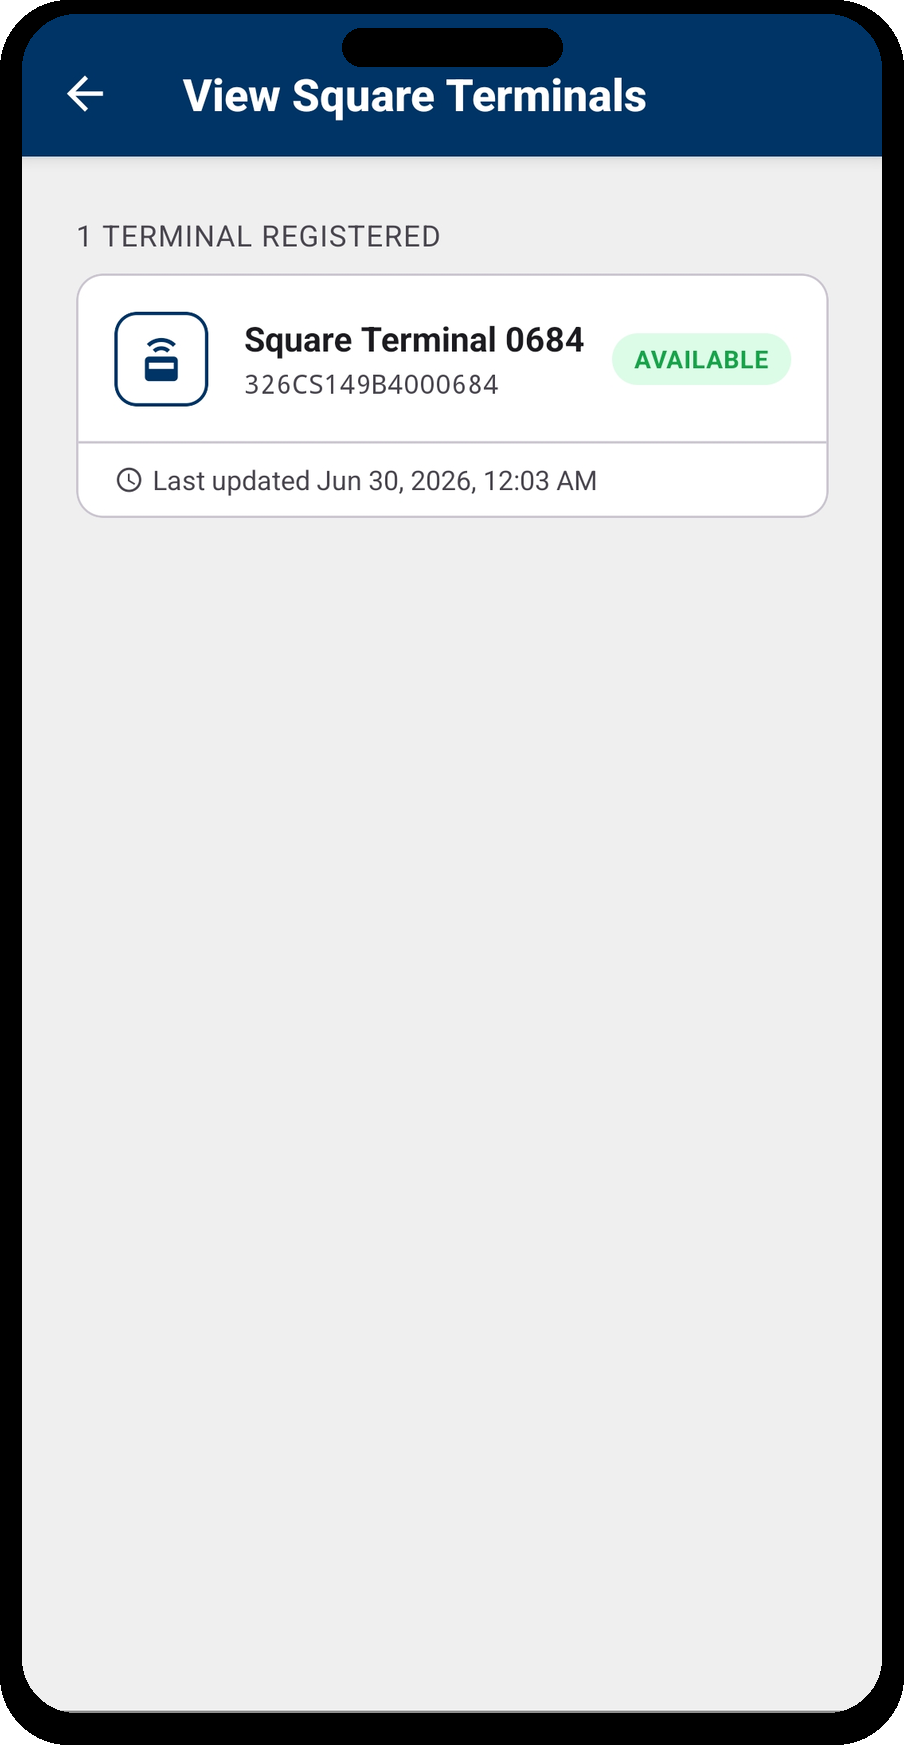
Once connected, tap Add Terminal, give it a name (e.g. "Front Gate"), and tap Generate Code. Enter that code on the Square device to complete pairing. Your registered terminals appear in View Terminals with their availability status.
10 · Label printers
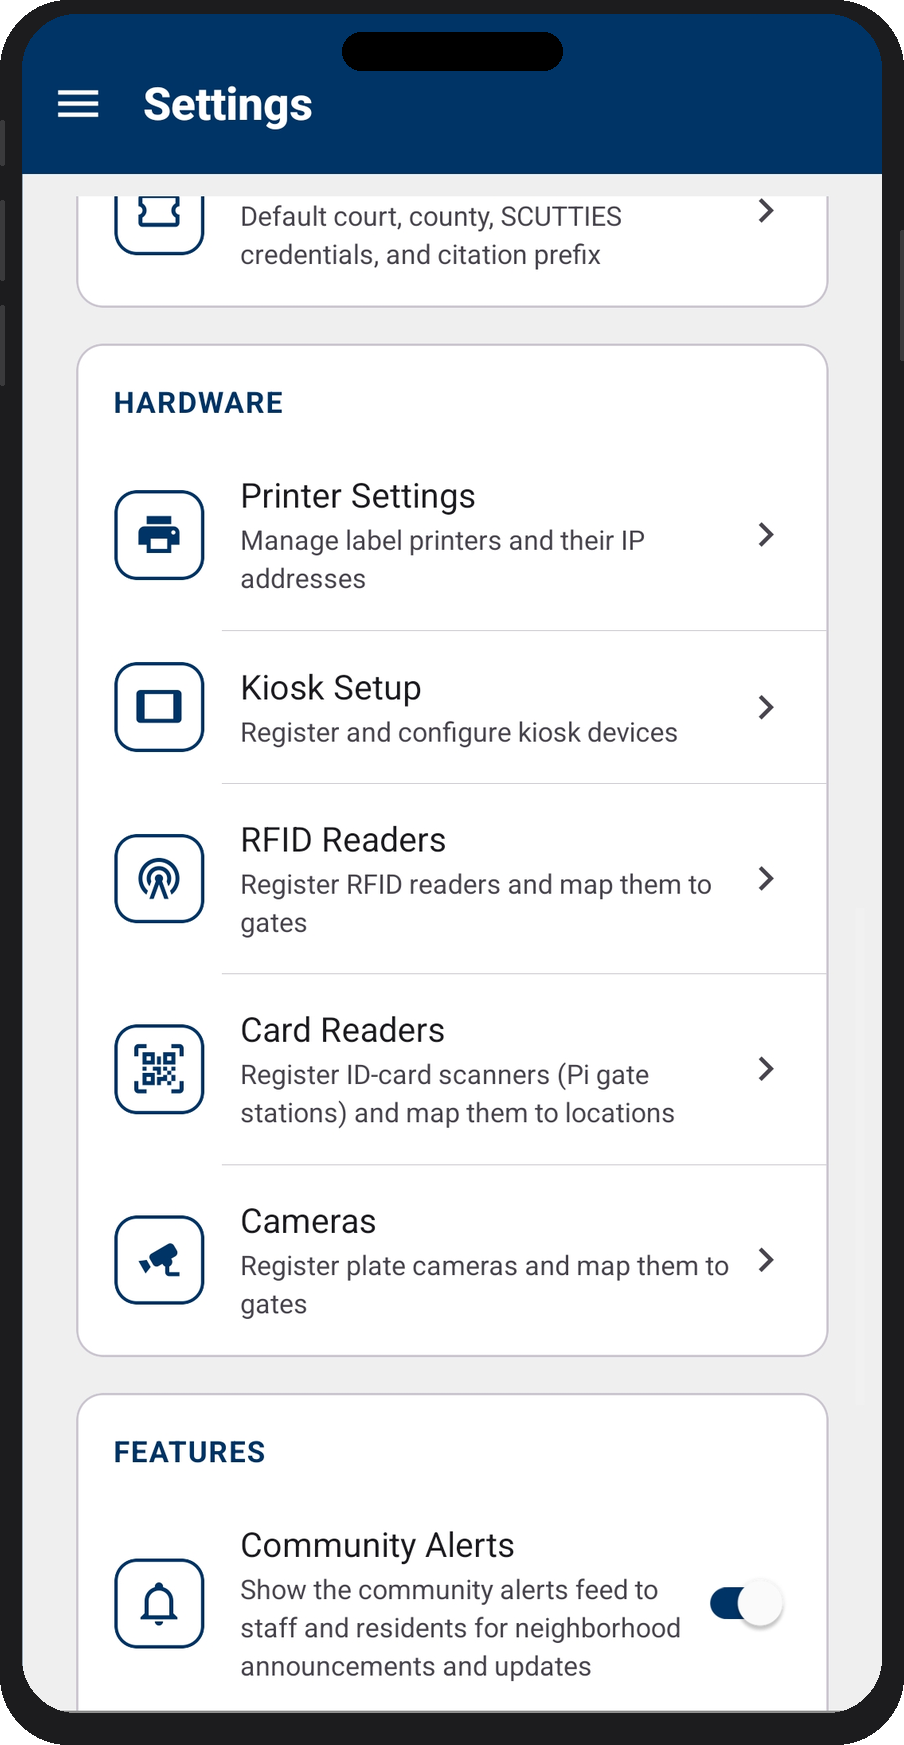
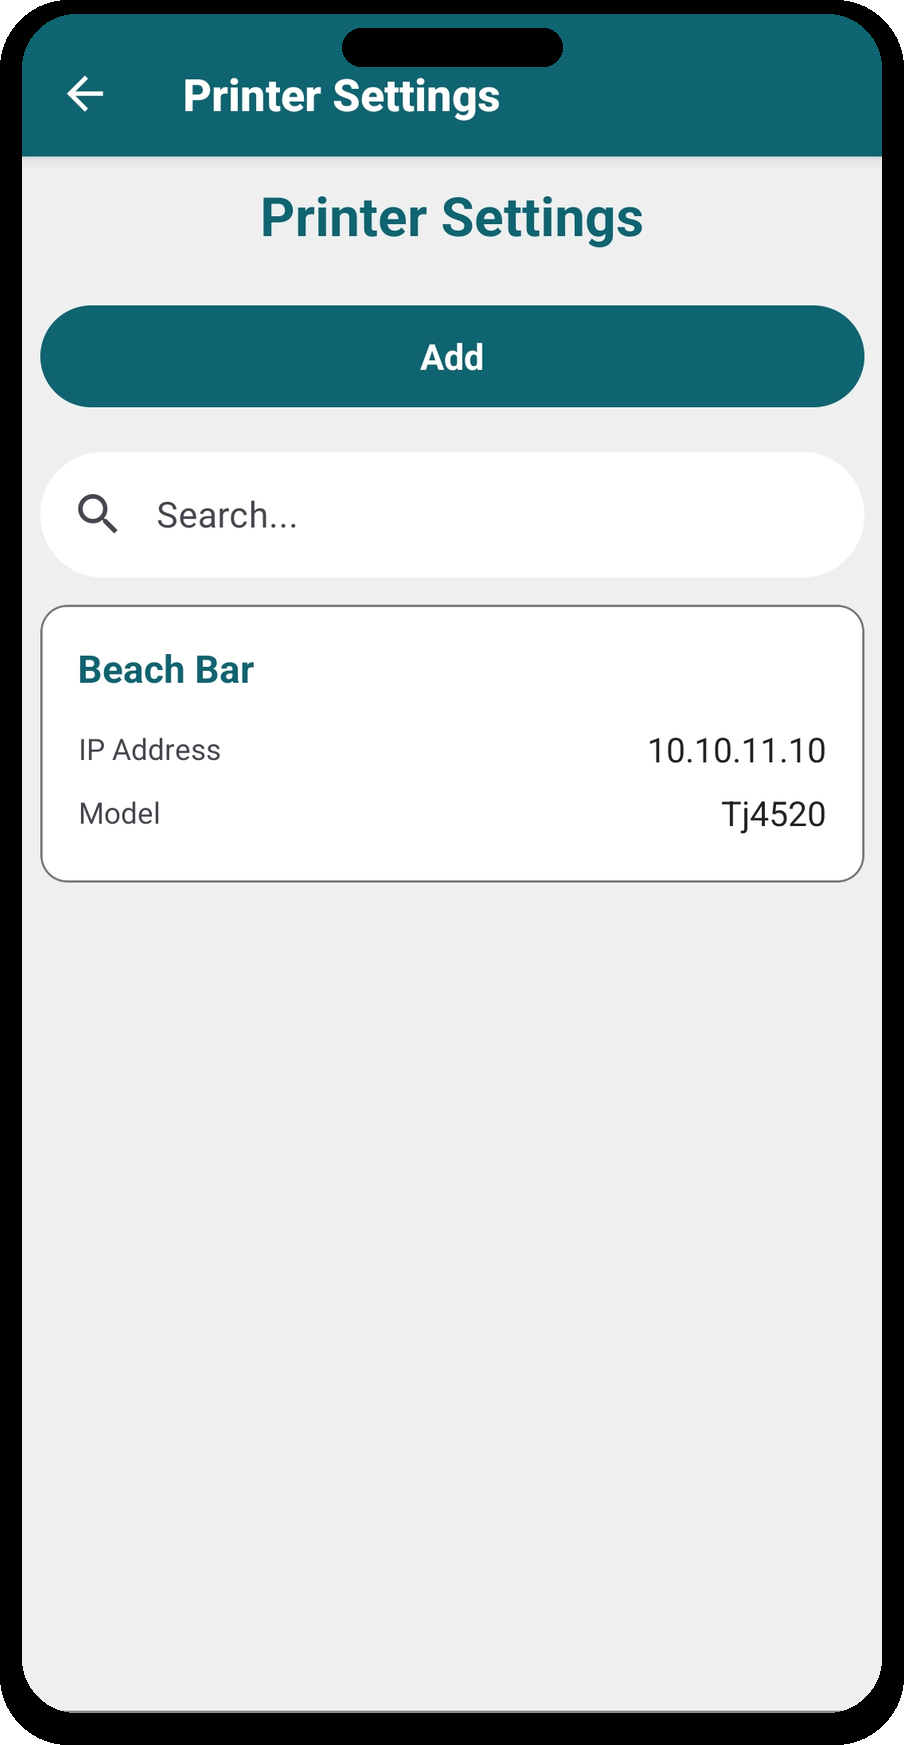
Go to Settings → Hardware → Printer Settings to manage your label printers.
- Add each printer with its name and IP address on your local network.
- Printers use ZPL label templates; your organization's template is applied automatically when staff print.
- Make sure each printer is reachable on the same network as the devices printing to it.
Designing the pass label
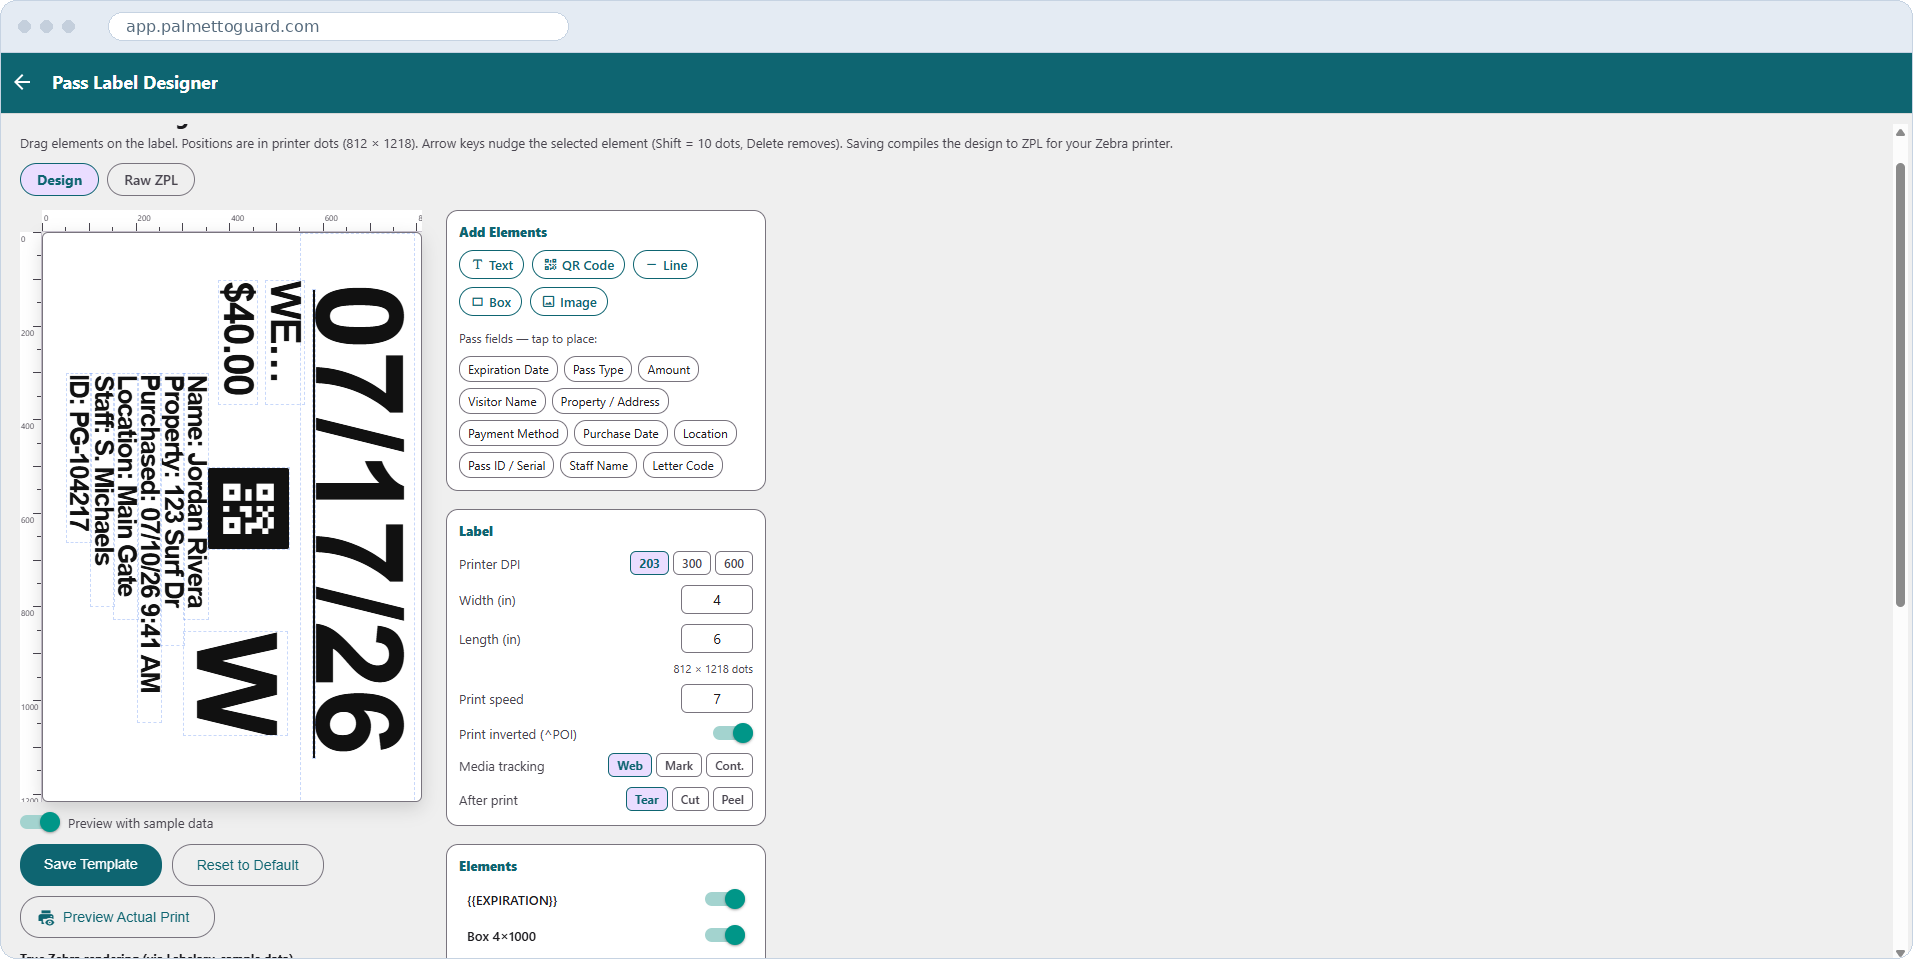
The label that prints at the gate is yours to lay out. Open Pass Label Designer from Settings and drag elements onto the label — text, a QR code, lines, boxes, images — then drop in pass fields such as visitor name, property, expiration, amount, and staff name. Positions are given in printer dots, arrow keys nudge whatever is selected, and the panel on the right sets printer DPI, label size, print speed, and what the printer does after each label.
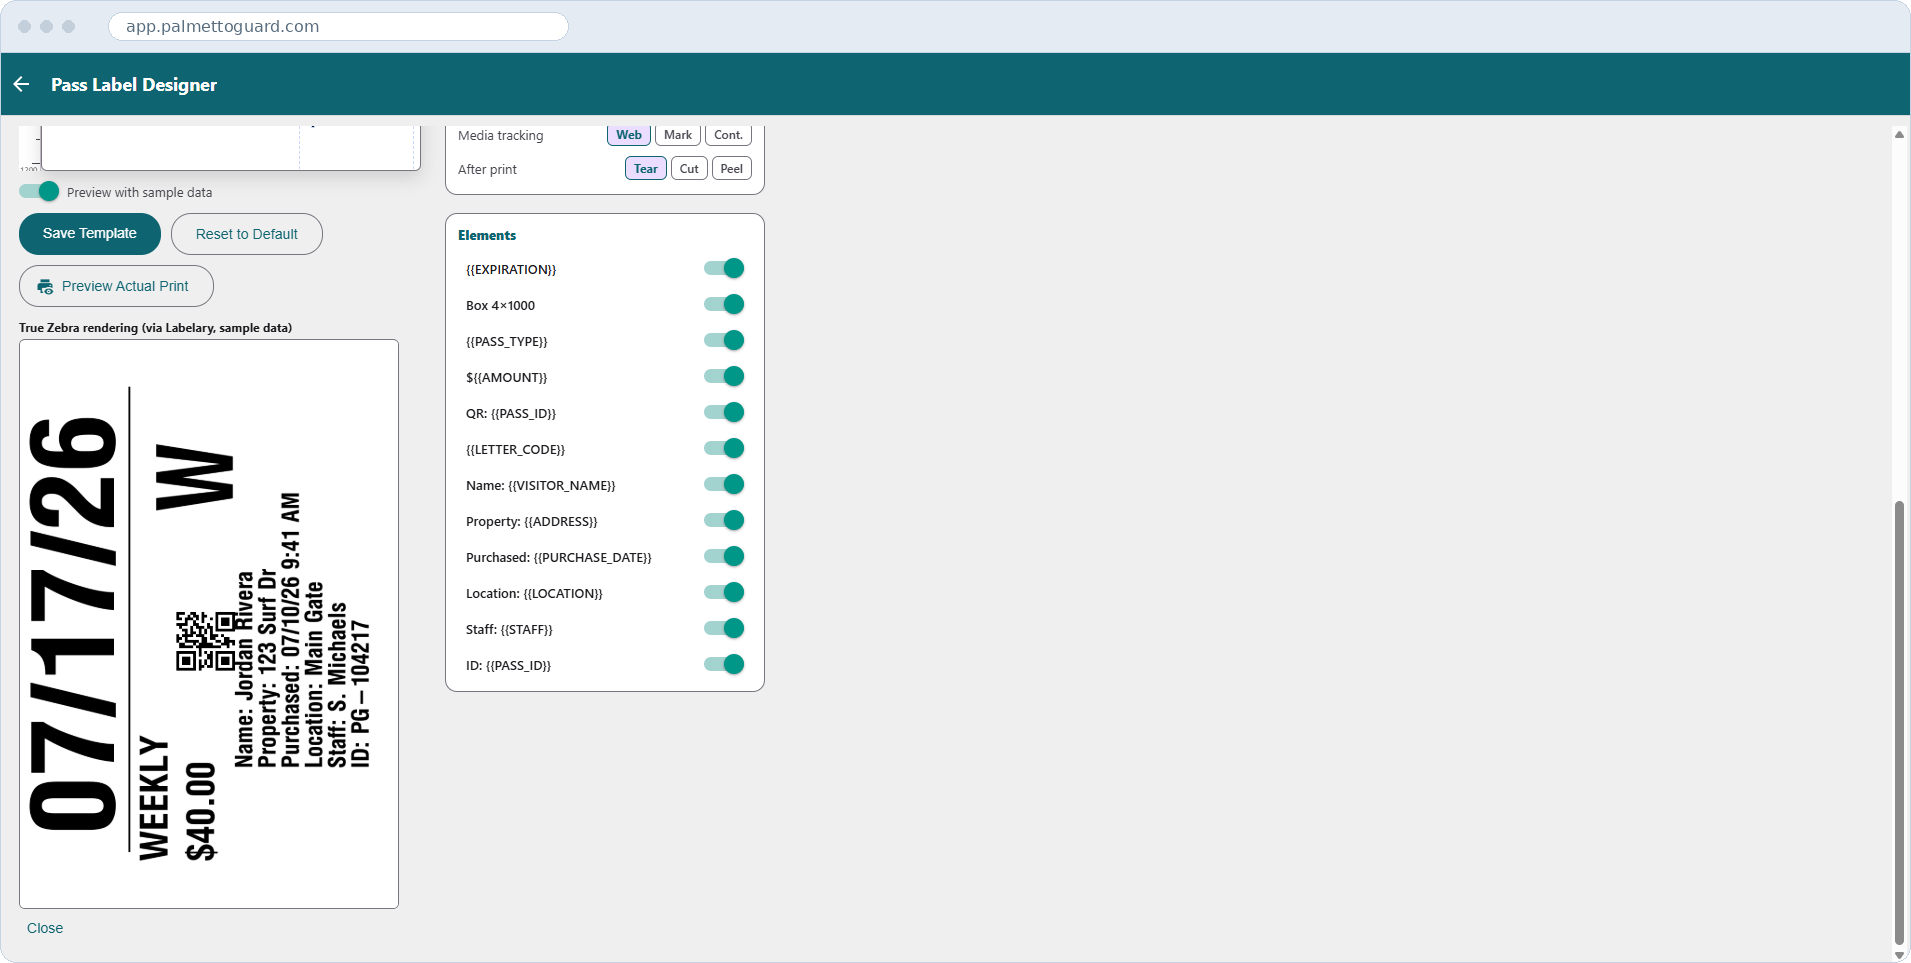
Preview Actual Print is the view to trust. It renders your template through a real Zebra interpreter using sample data, so what you see is exactly what will come out of the printer — rotation, font weights, barcode placement and all. Check there before saving rather than judging by the drag-and-drop canvas, which is a positioning aid rather than a faithful proof.
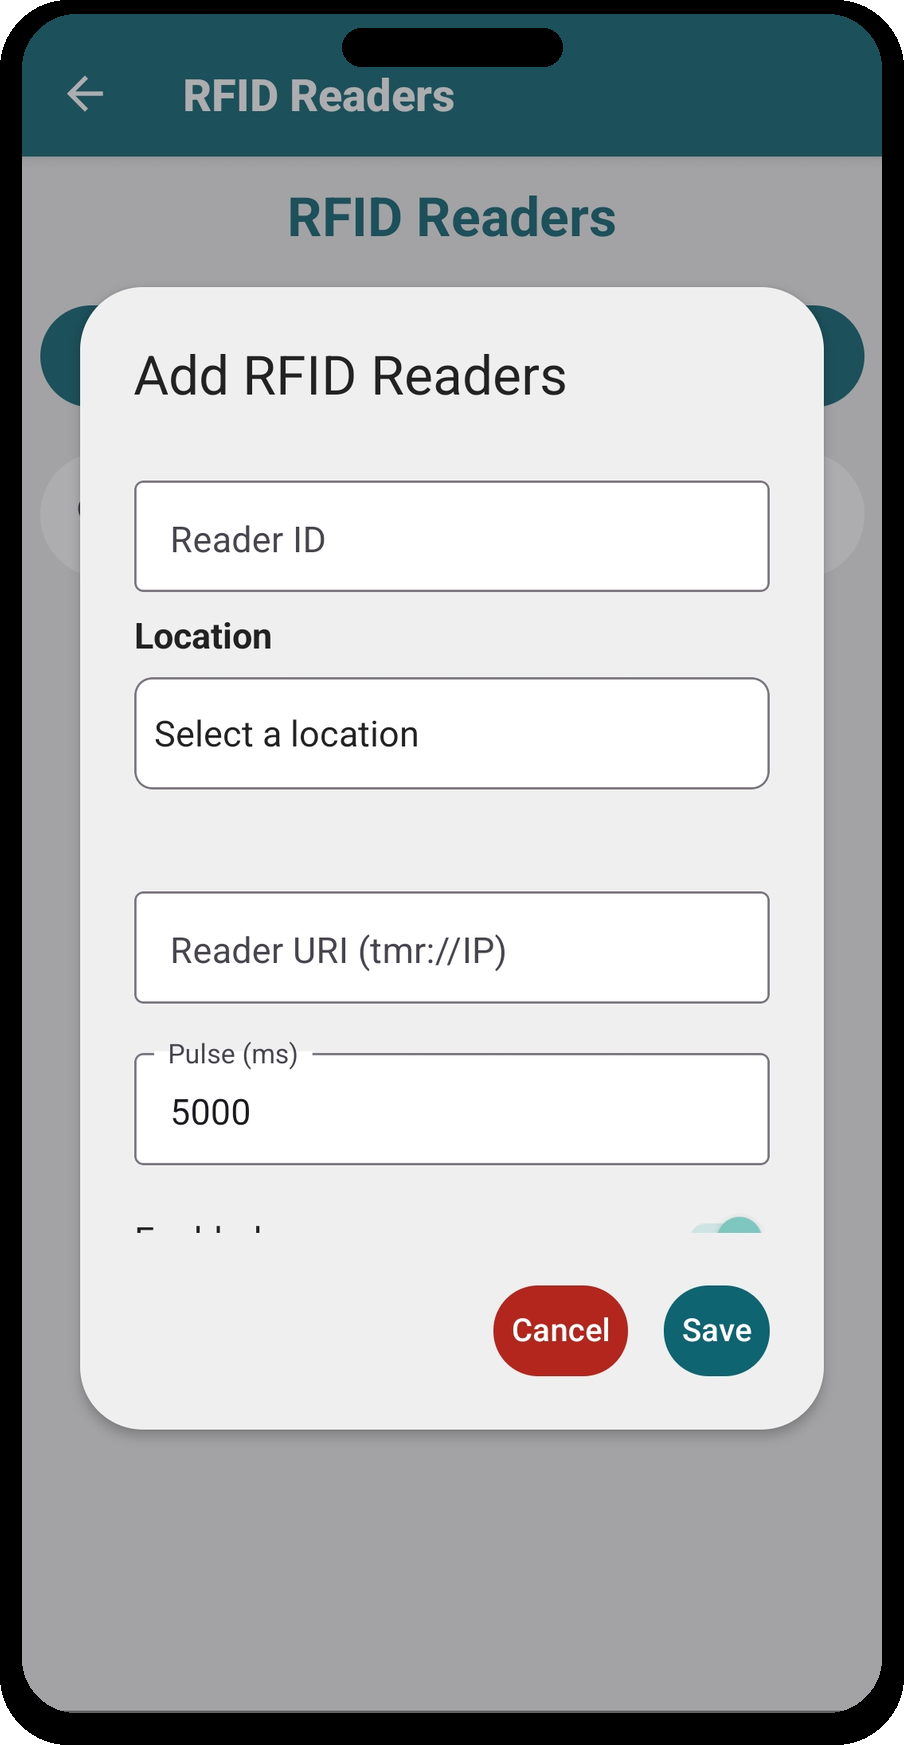
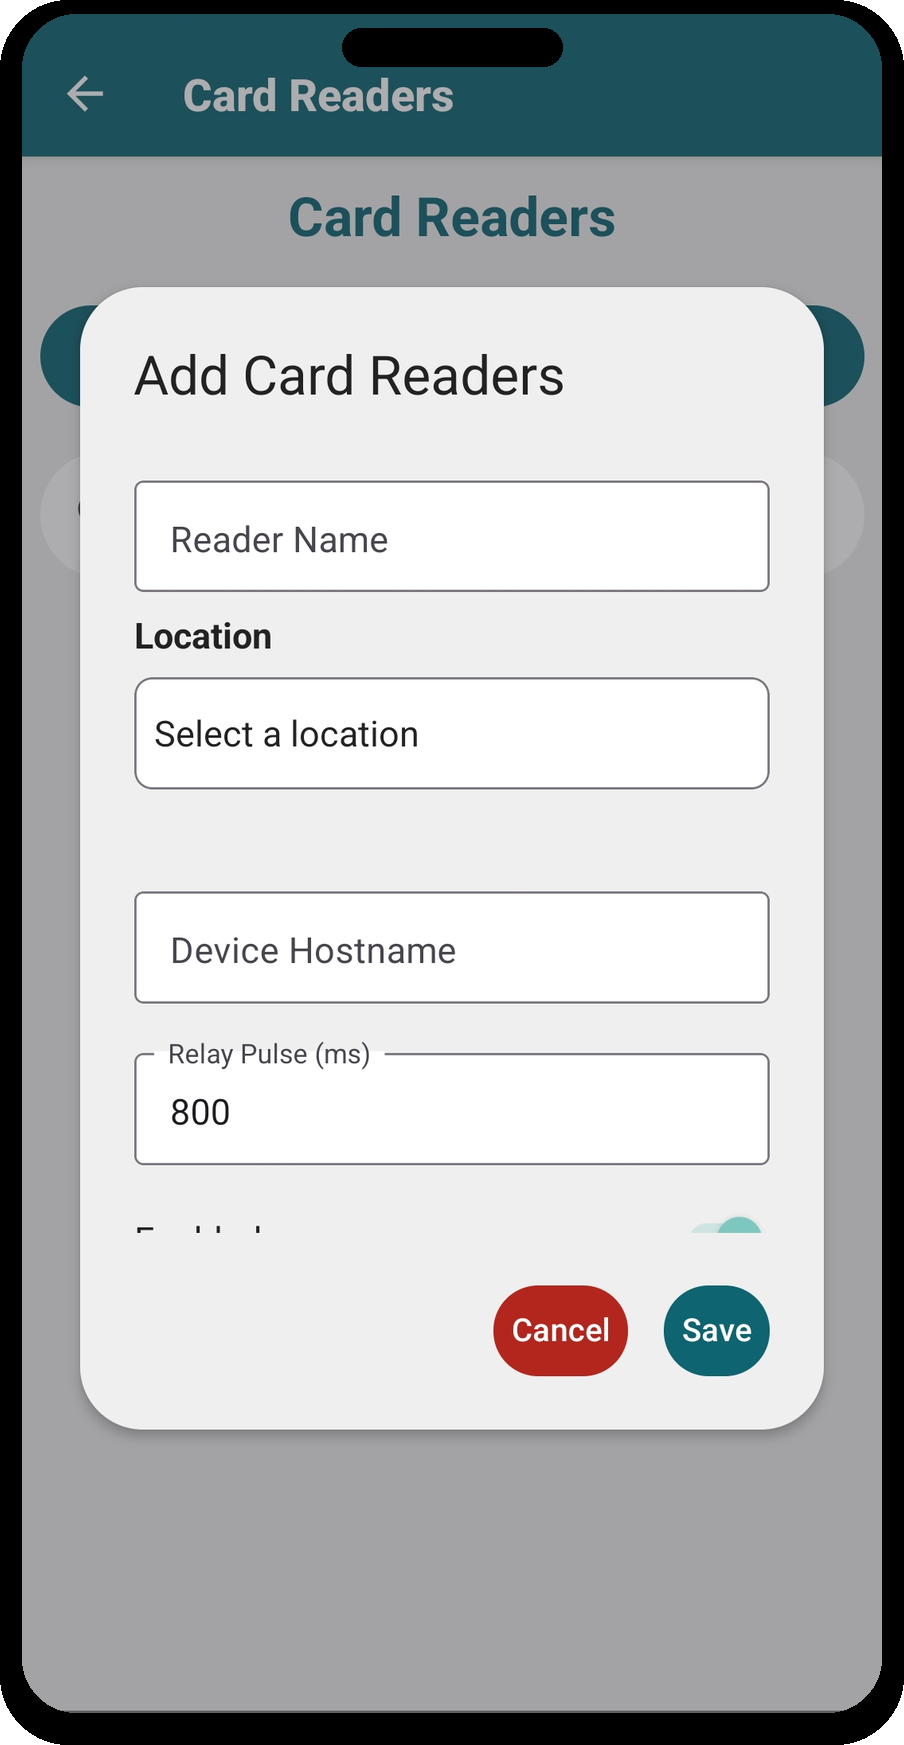
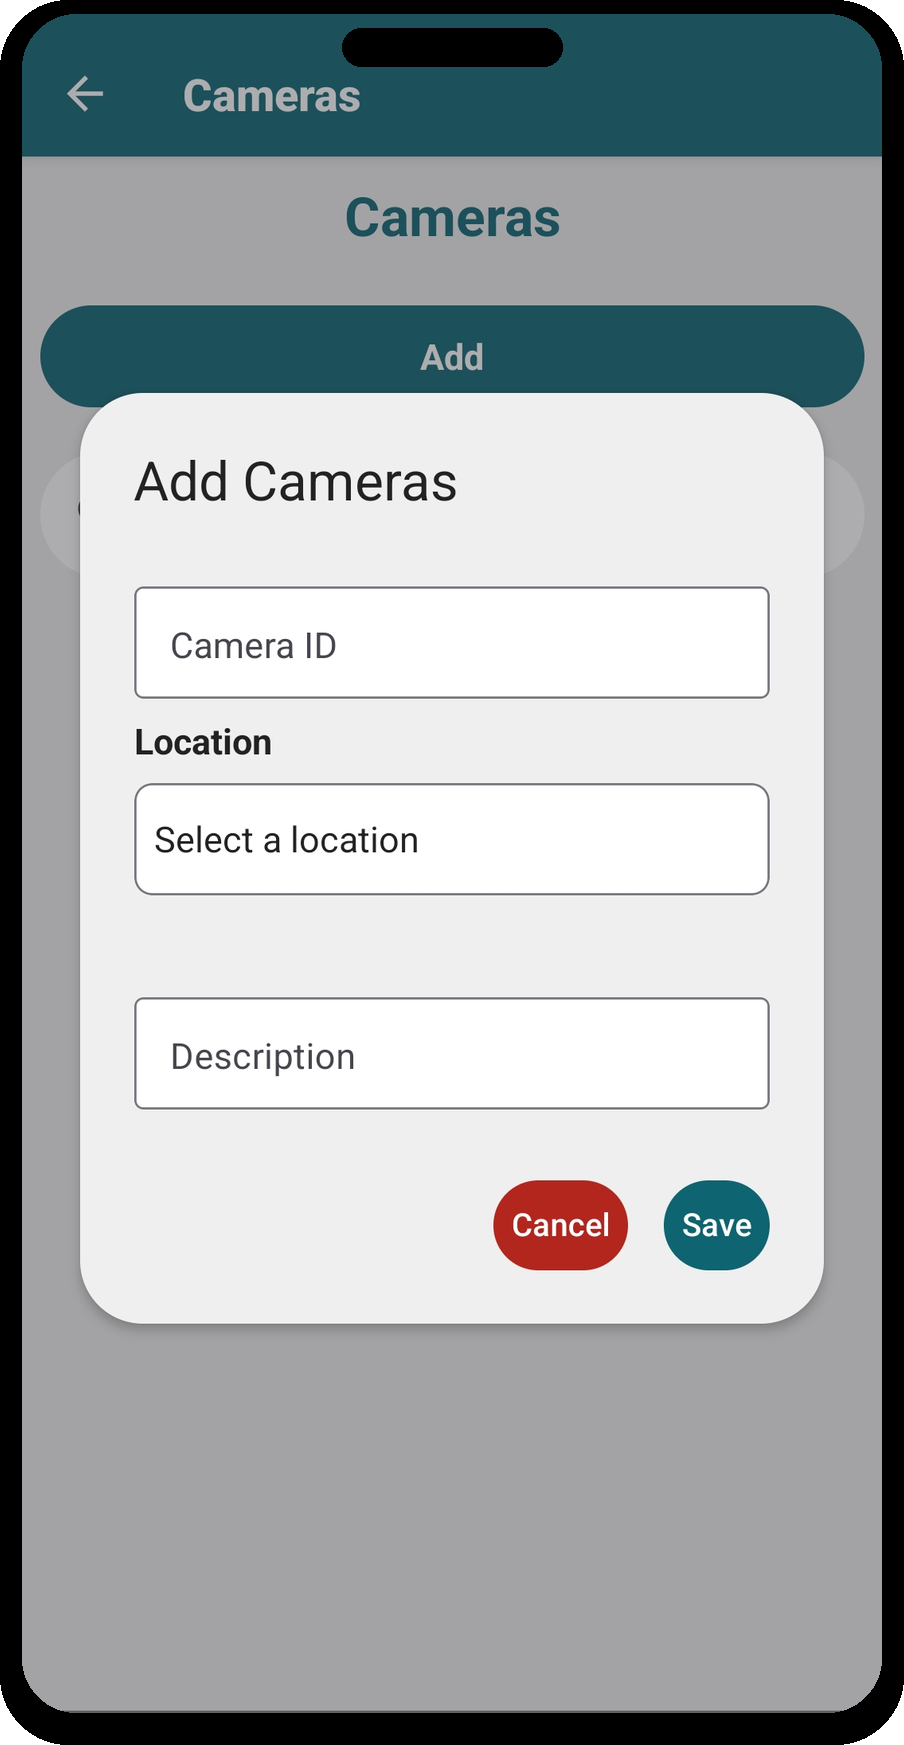
The Hardware section also covers RFID Card Scanners, Card Readers, and Cameras for your access control infrastructure. Each follows the same pattern: give it a name, assign a location, and enter the device-specific details.
11 · Kiosk setup
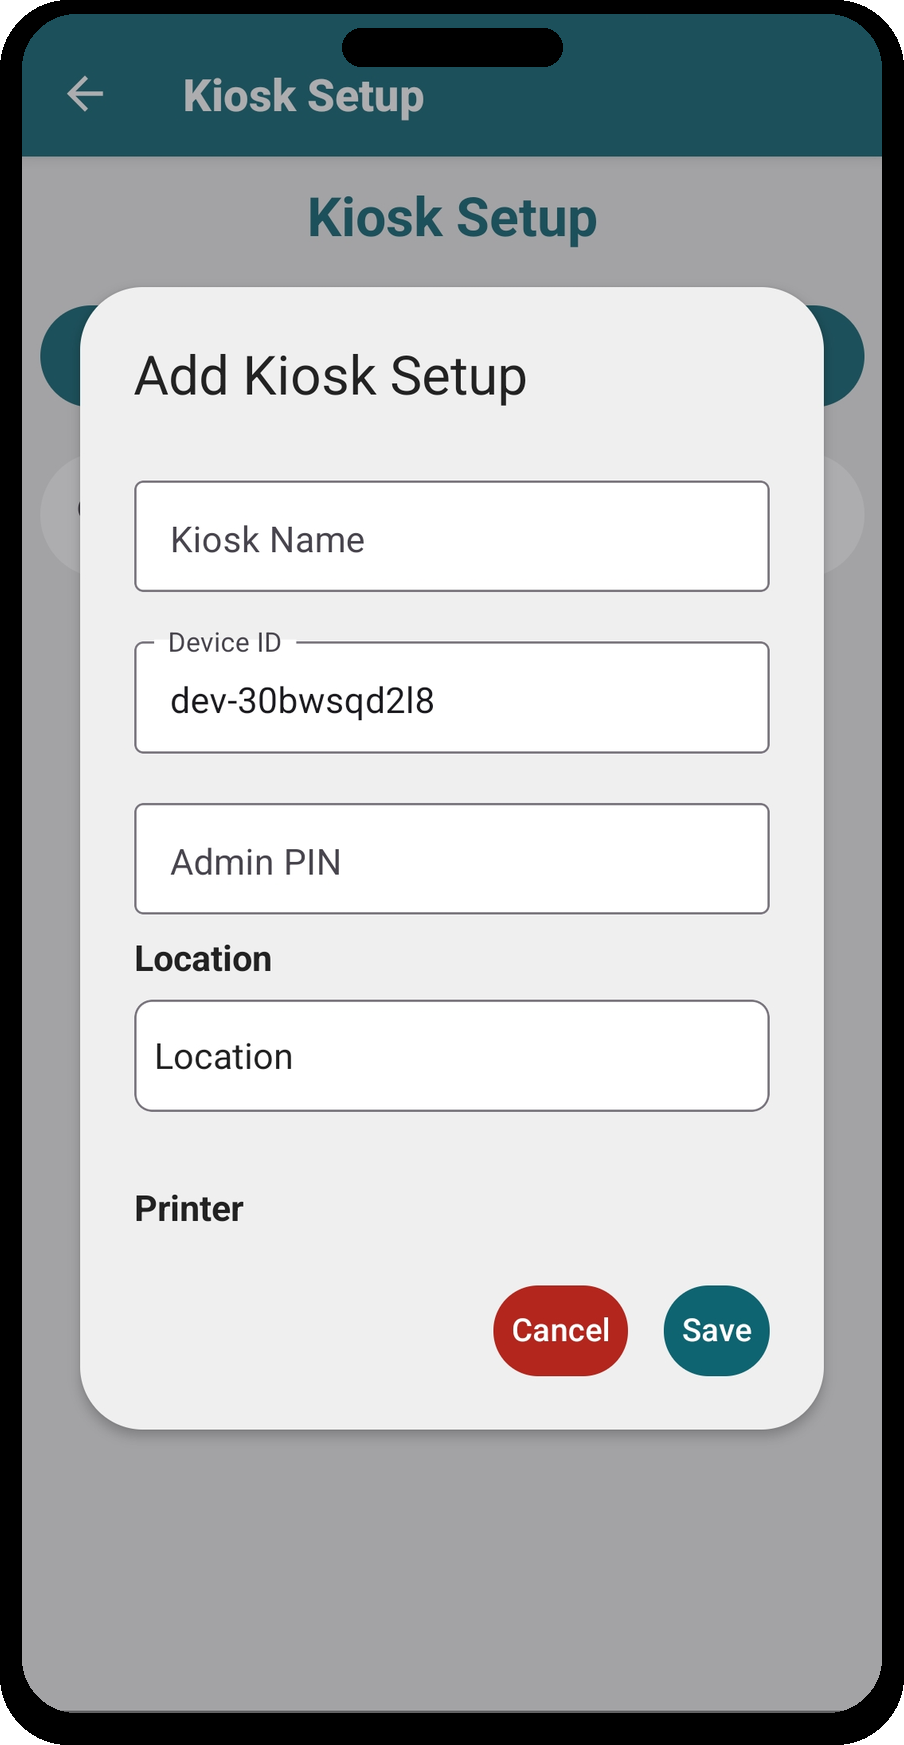
Go to Settings → Hardware → Kiosk Setup to register and configure kiosk devices.
- Register each kiosk device for your community.
- Kiosks support self-service purchase (guests buy passes themselves) and an attendant mode (staff-assisted).
- Pair a kiosk with a printer so passes print on the spot.
12 · Citations — SC traffic tickets
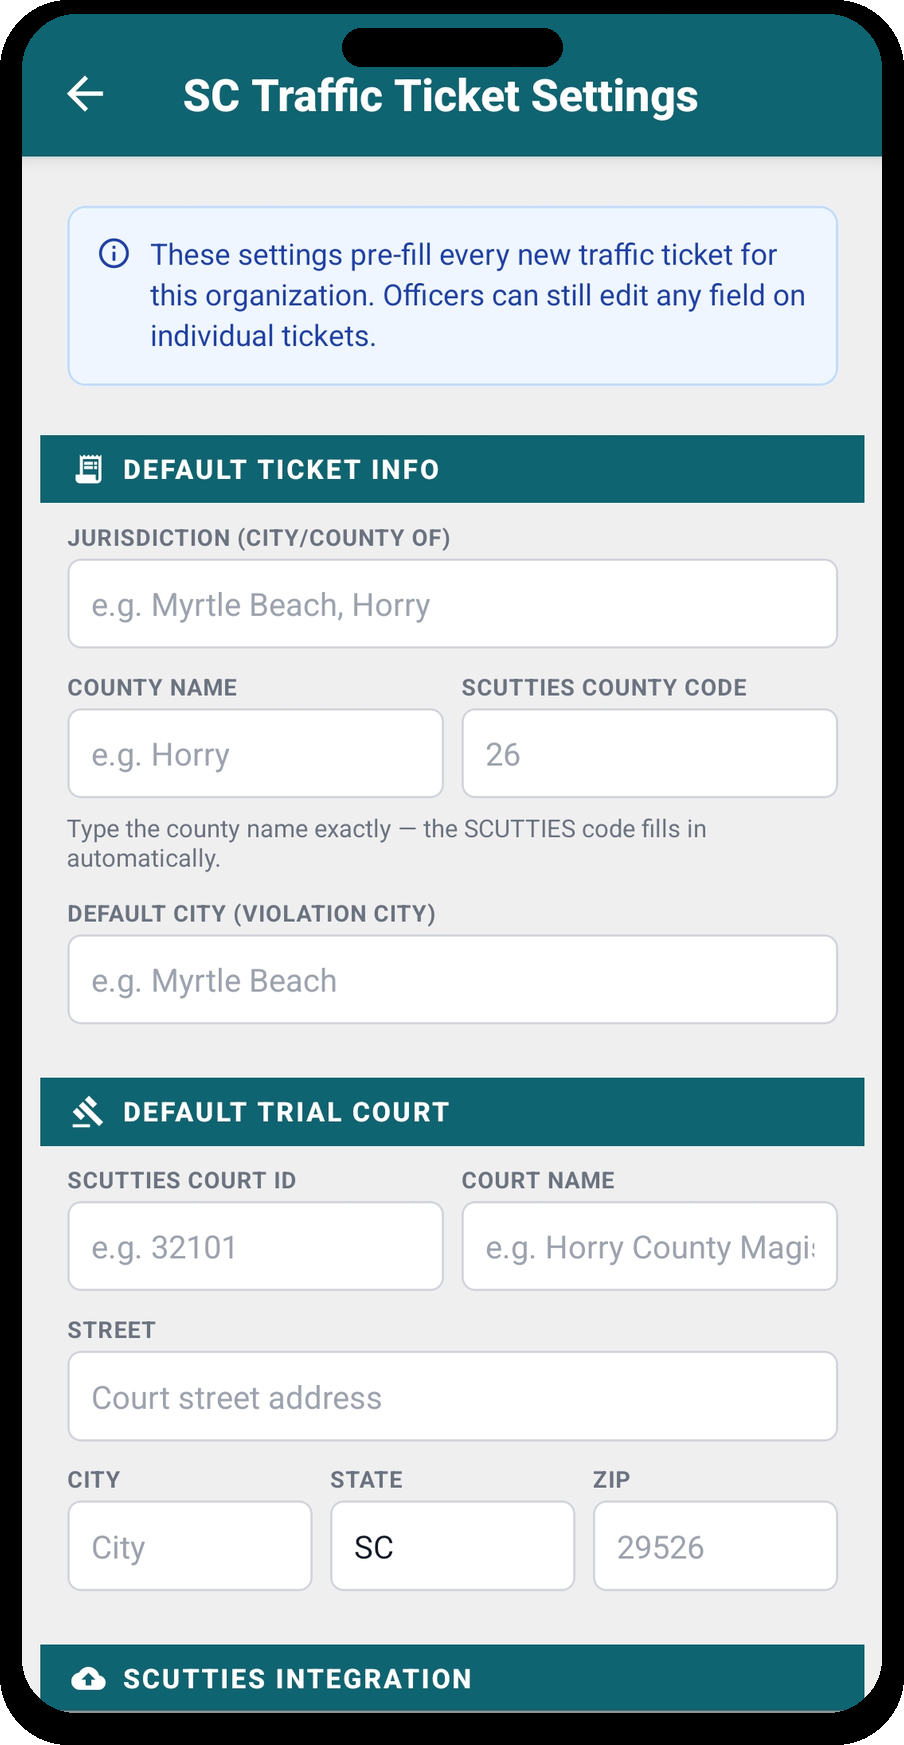
If your community issues South Carolina traffic citations, configure Settings → Organization Settings → SC Traffic Ticket Settings. This sets the defaults stamped on every citation and the credentials used to file electronically.
- Jurisdiction, County Name, and SCUTTIES County Code.
- Default violation city.
- Default court — SCUTTIES Court ID, court name, and address.
- Citation prefix and Agency Code / Org ID.
- Official agency name and your SCDMV Member Services username and password.
13 · Booking API tokens (optional)
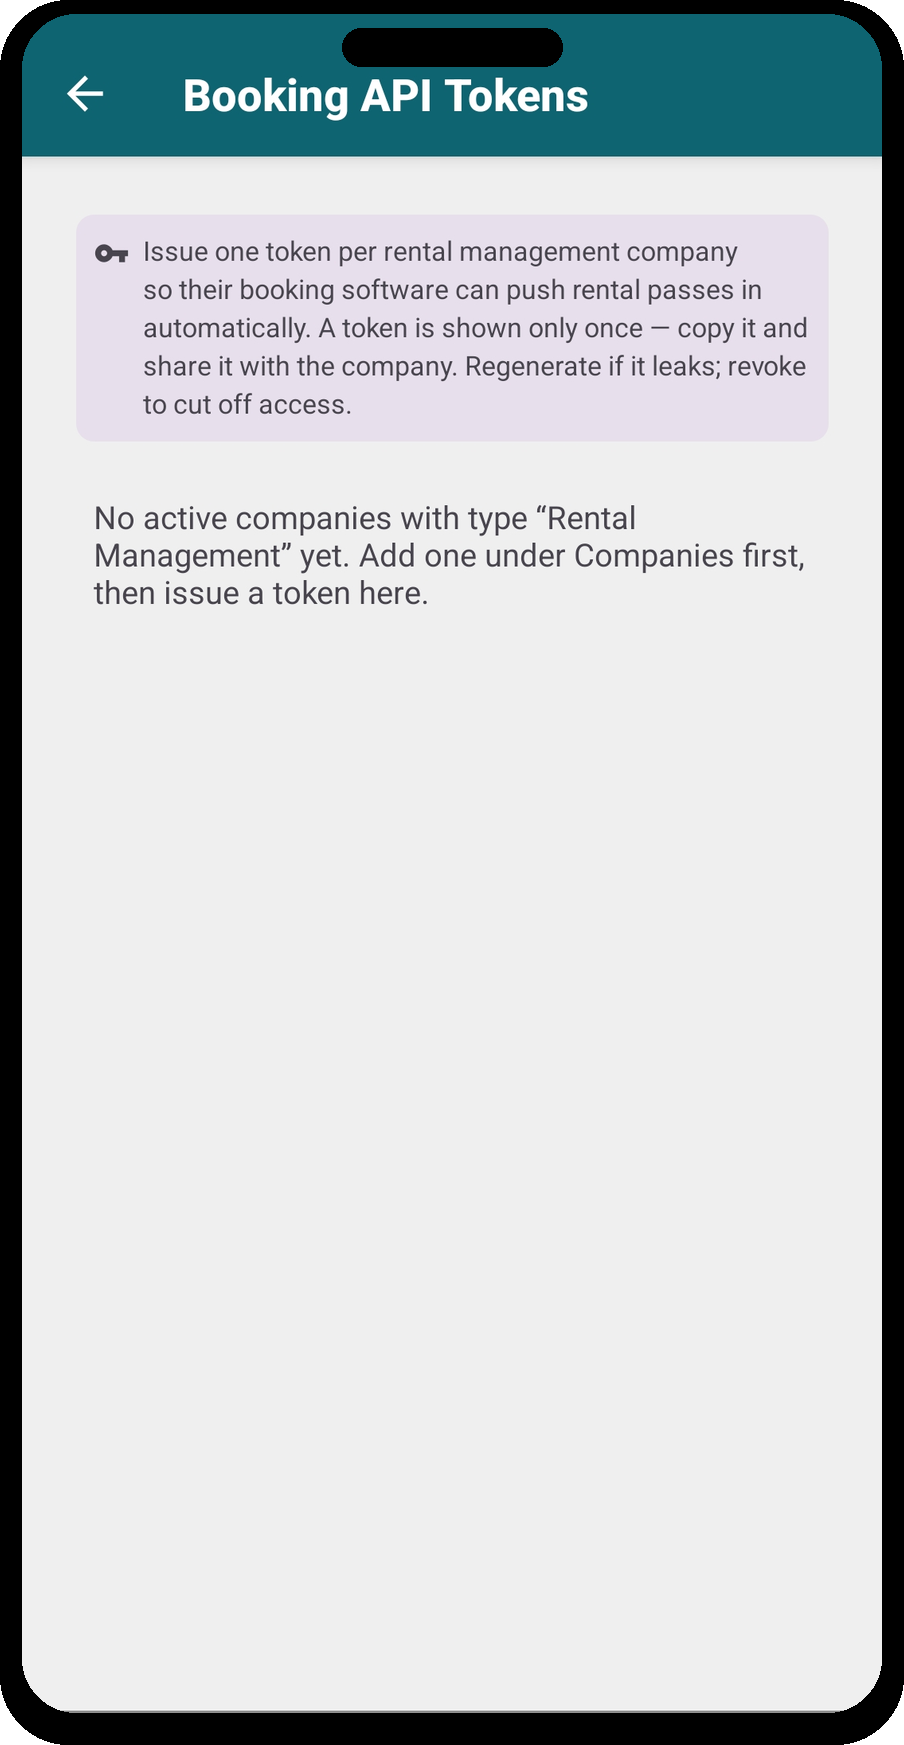
If rental companies will push reservations from 3rd-party booking software, go to Settings → Organization Settings → Booking API Tokens to issue a token per rental management company.
- Each token is shown once — copy it and share it securely with the company.
- Tokens can be regenerated (if leaked) or revoked at any time.
- Give the company your developer guide so their team can connect.
14 · Resident ID card settings
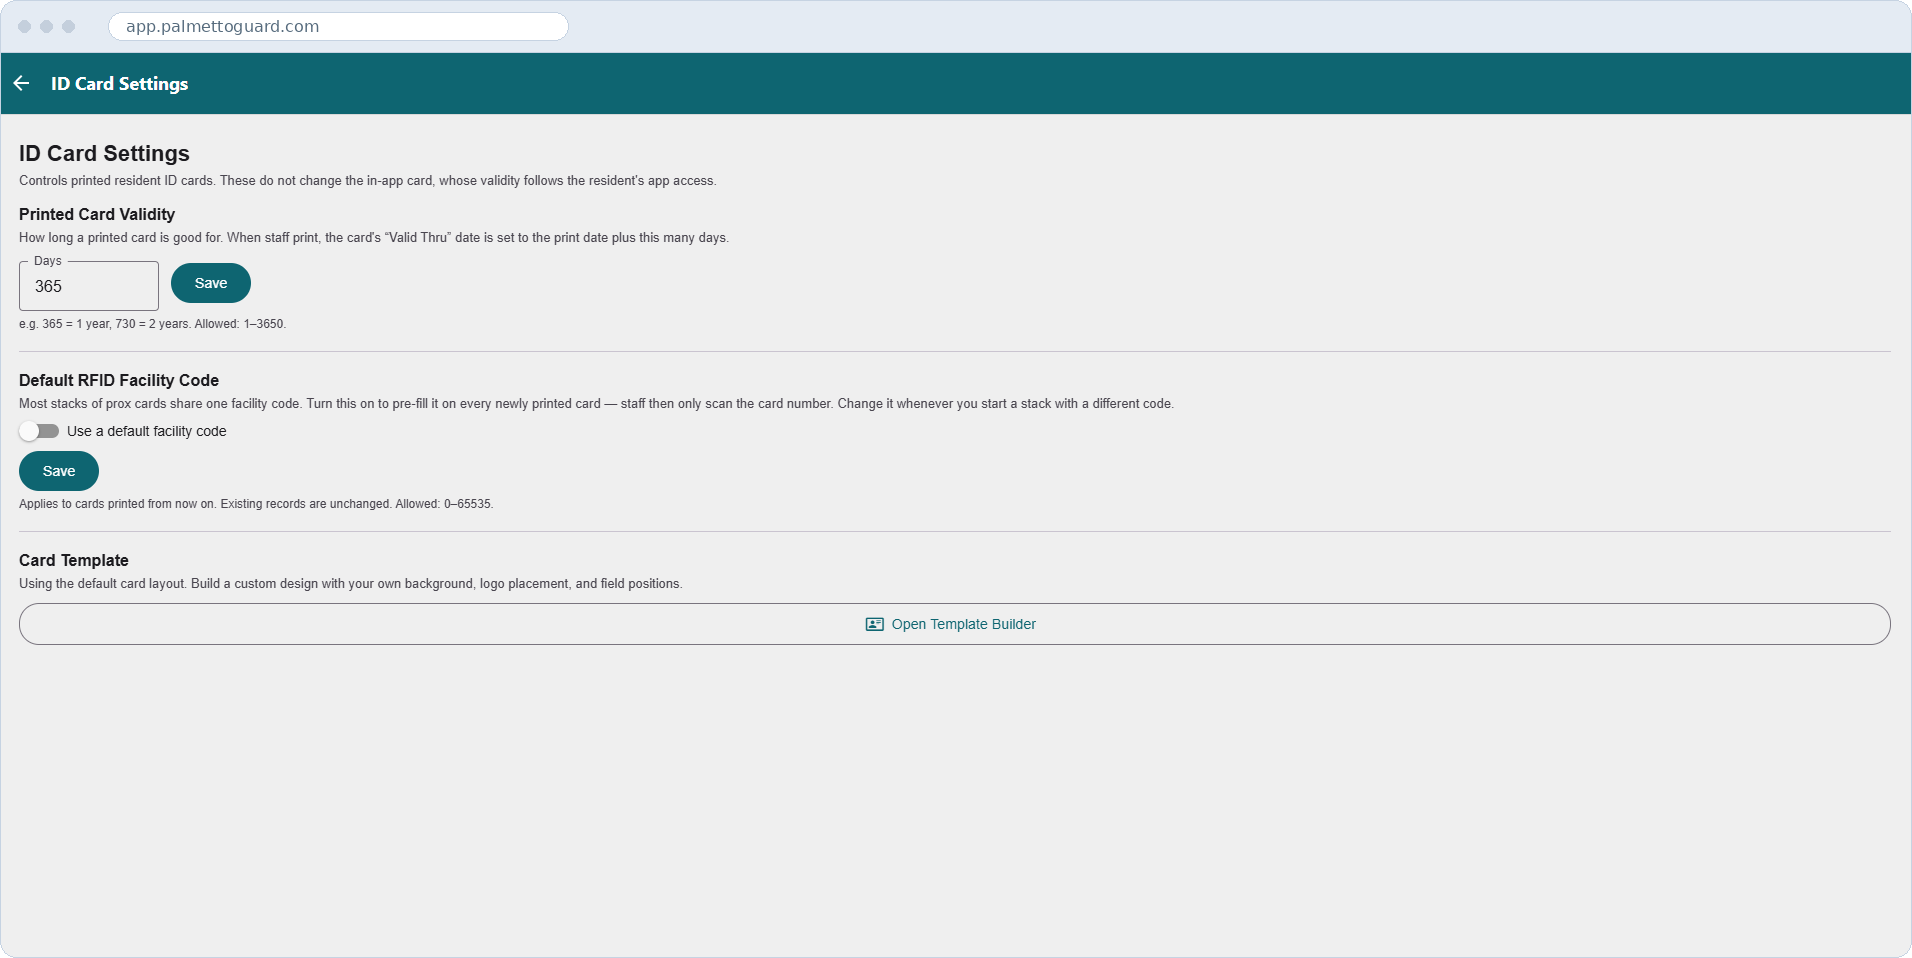
Go to Settings → Hardware → ID Card Settings to configure resident digital ID cards and physical card printing.
- Printed card validity — the "Valid Thru" date is set to today plus the number of days you configure here (default 365; range 1–3,650).
- Default RFID facility code — if your prox cards share one facility code, enable Use a default facility code and enter it. It pre-fills on every new card so staff only need to scan the card number.
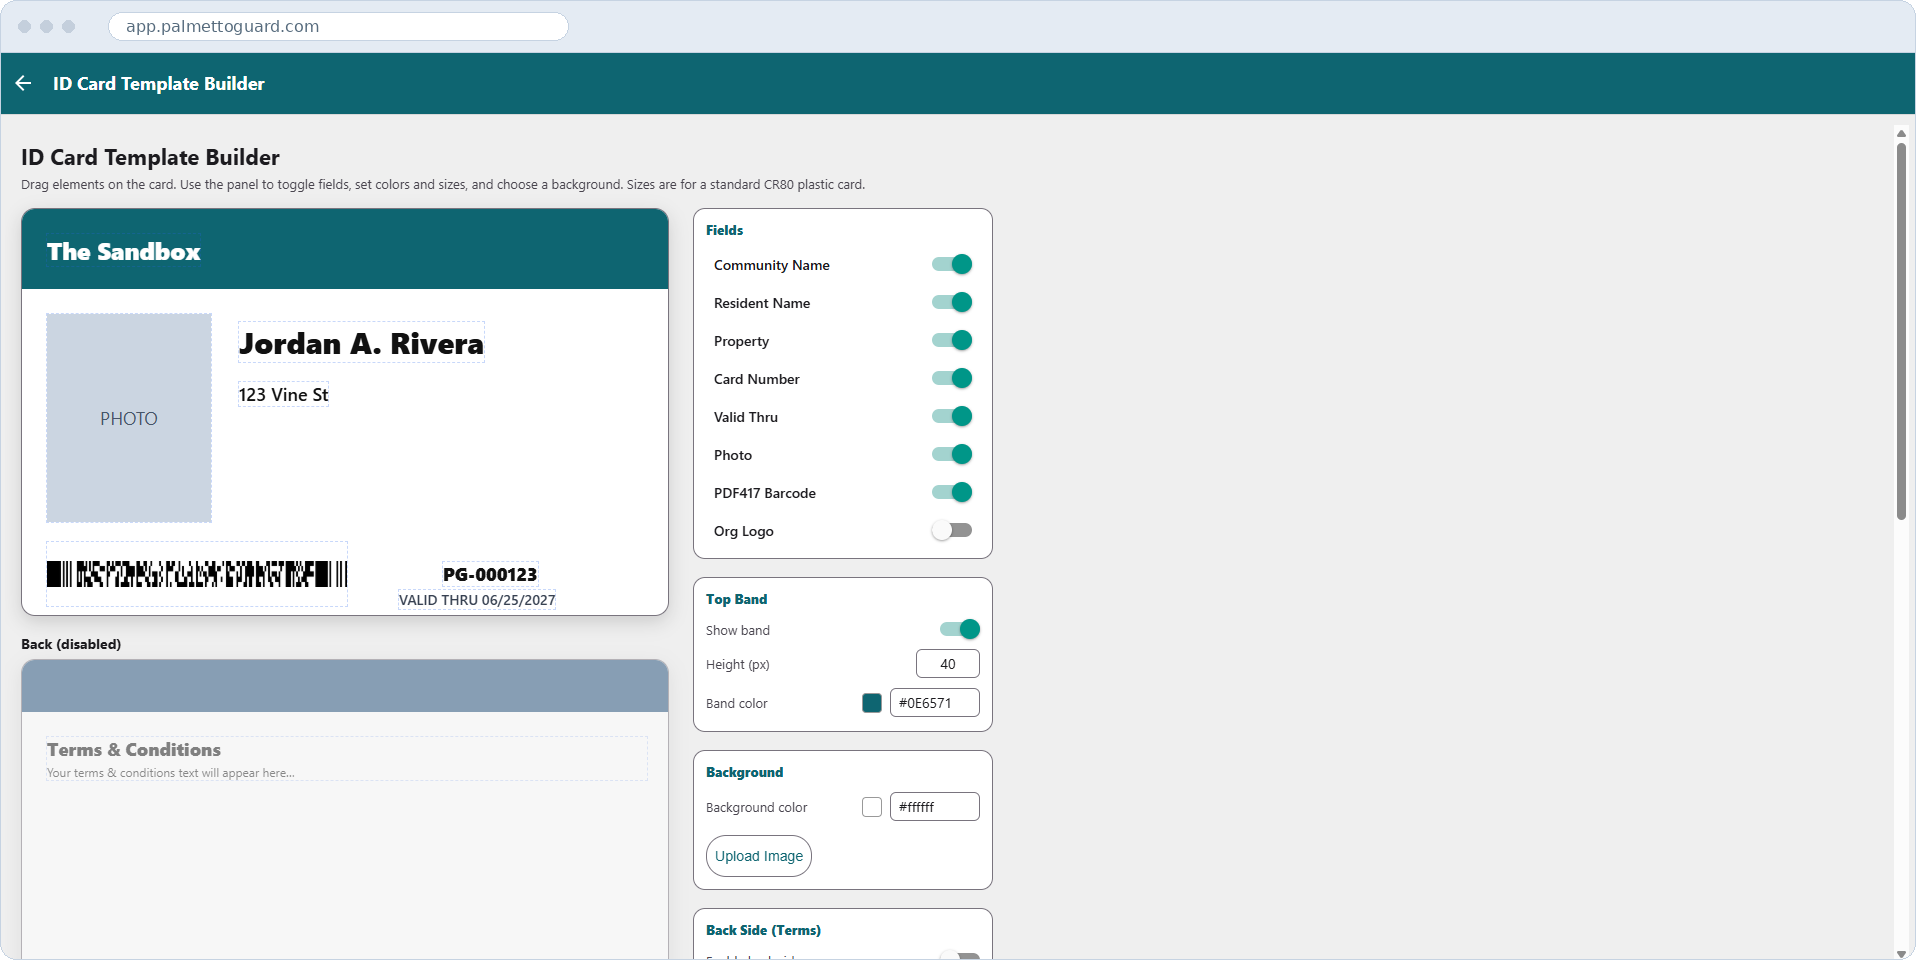
- Card template — open Template Builder on the web app to brand cards with your own background, logo, and field layout (drag-and-drop, web only). Saved templates apply to all future prints.
The digital ID card residents carry in the app is always live and tied to their app access. These settings only affect physical printed cards.
Designing a custom card
Choose Open Template Builder to lay the card out yourself. Drag each element where you want it on a standard CR80 plastic card, switch individual fields on or off, set the top band to your community's colour, and upload a background image or your logo. You can also enable a back side for terms and conditions. A saved template applies to every card printed from then on.
15 · Community documents (optional)
If you want residents and staff to reach your governing documents — HOA rules, bylaws, parking policies — from inside the app, upload them under Community Documents.
- Staff with Community Documents: View can read documents.
- Staff with Community Documents: Create can upload new documents and manage categories.
- Staff with Community Documents: Full can also delete documents and categories.
- Residents see documents automatically in their app once the feature is enabled for your organization.
Documents are organized into categories (folders). Create your categories first, then upload PDFs into each one. Anything left uncategorized appears in a General folder.
16 · Incident and calls-for-service setup
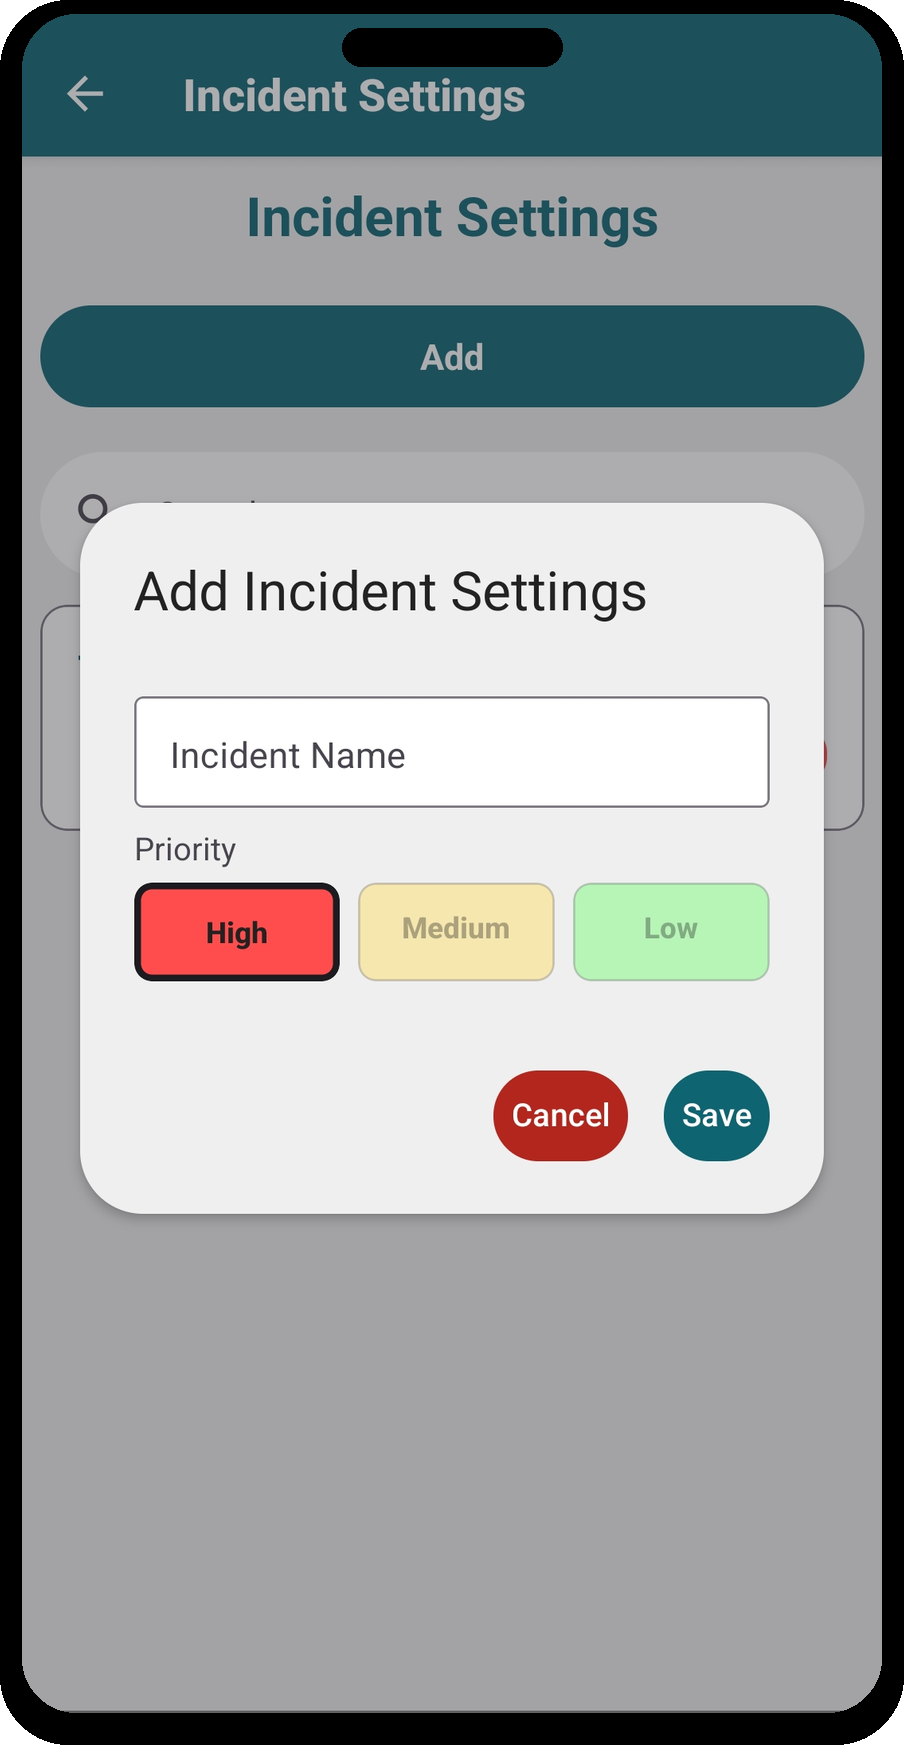
If your team uses Security Operations, go to Settings → Organization Settings → Incident List Settings to configure the incident types used in calls for service. Setting these up front standardizes how officers log and categorize activity, which is what makes the reports worth reading later.
Go-live checklist
Before opening to staff and residents, confirm:
- Organization profile, logo, and primary color are set
- Team members are invited and have the correct roles
- Properties and titles are loaded, with correct passcodes
- Rental management companies are added and linked to titles
- Pass types are configured
- Gates and locations are defined
- Rental pass pricing model is active (if billing rentals)
- Square is linked and terminals are named (if taking payment)
- Printers are added and reachable; a test label prints correctly
- Kiosks are registered and paired with a printer (if used)
- Citation defaults are set (if issuing SC citations)
- Booking API tokens issued to rental companies (if using the API)
- ID card validity period set; RFID facility code configured (if using printed cards)
- Card template designed (optional; web app required)
- Community documents uploaded and categorized (if using the Documents feature)
Getting help
Need a hand with setup? Contact the Palmetto Guard team at info@palmettoguard.com.
This guide covers initial community setup. Separate guides cover day-to-day gate operations, the resident app, roles & permissions, and the booking API.