Staff Guide
Gate & Security Daily Operations
The everyday tasks you'll handle on shift — issuing and printing passes, taking payment, working the gate, and logging activity in Security Operations. Jump to whatever you need.
Overview
This guide is organized by task. The most common jobs — guest passes, rental passes, and point of sale — are near the top, with Security Operations tools after them.
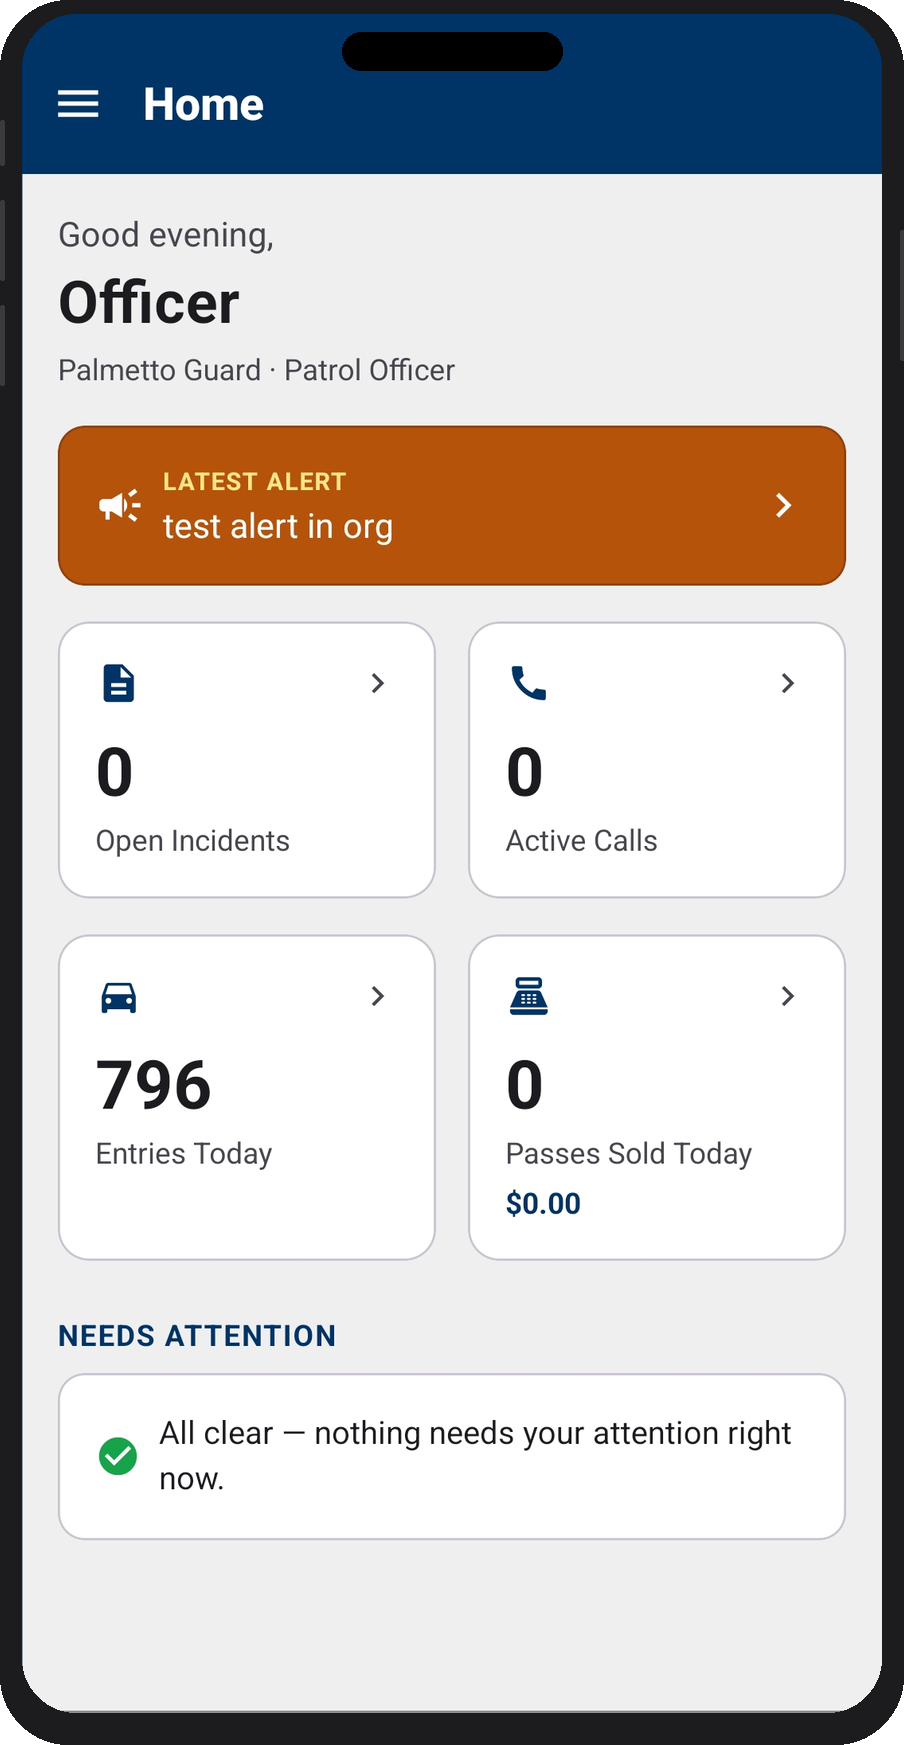
My ID Card
Every staff user has a digital ID badge accessible from My ID Card in the menu. It shows your name, role, card number, and a valid-through date. A barcode is displayed at the bottom — it's a live, rotating code. The barcode refreshes automatically, so presenting the app directly (not a screenshot of it) is required for it to scan correctly.
Show your badge when asked for identification at any facility or by another officer.
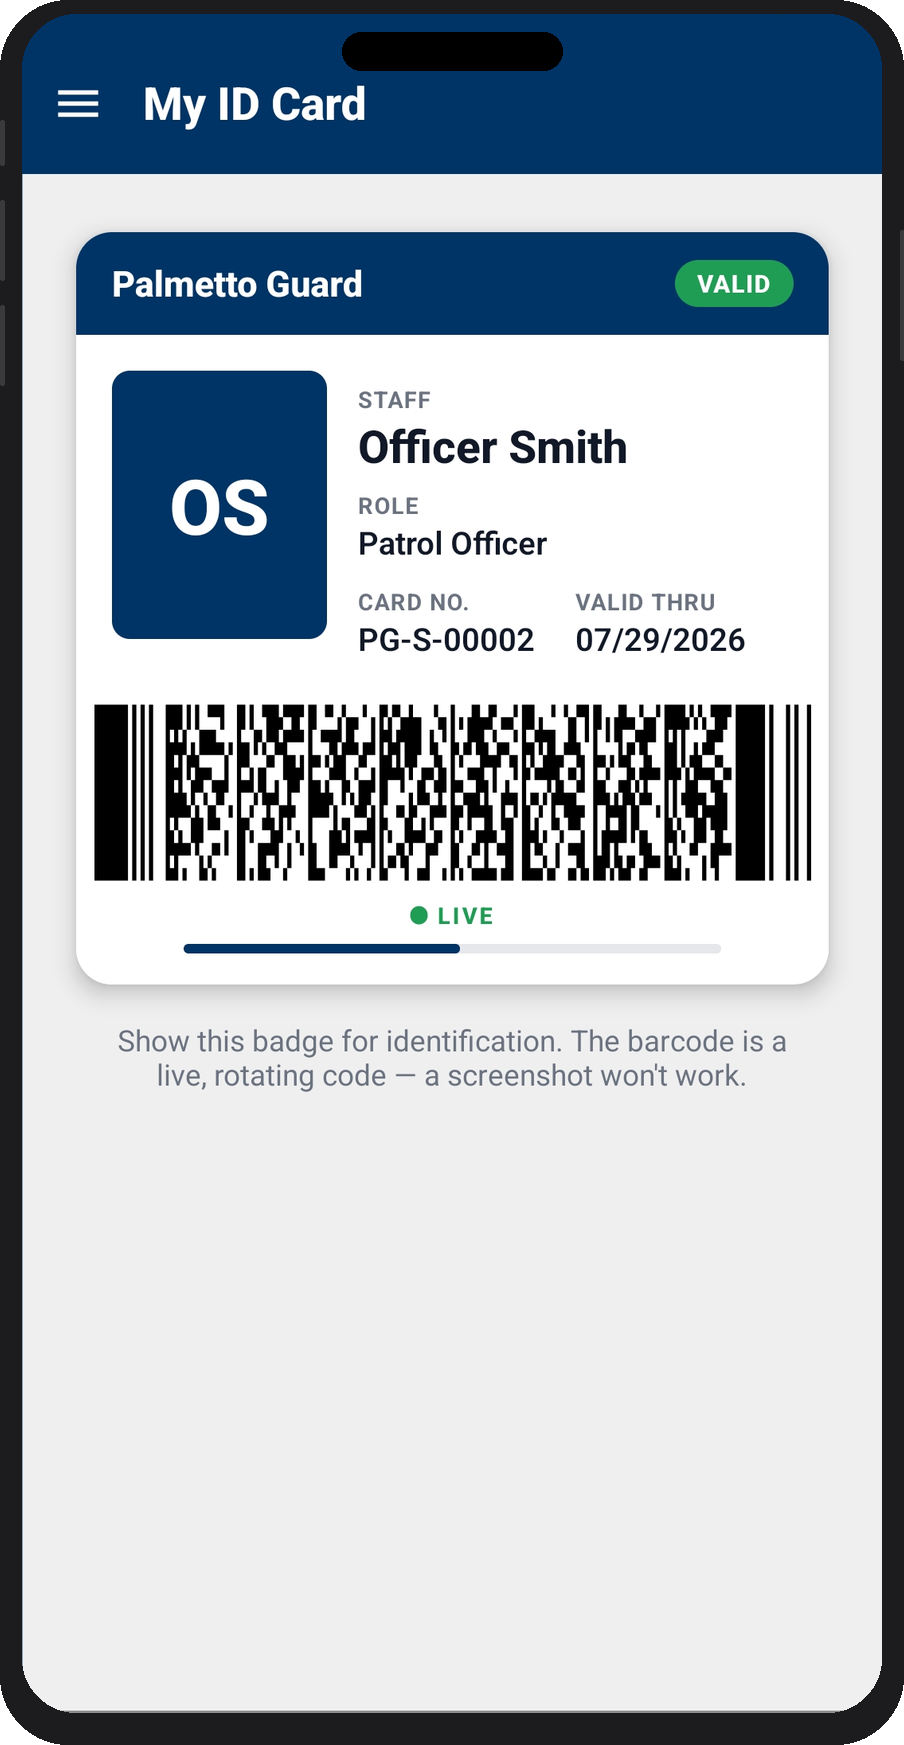
Community Alerts
Community Alerts surfaces neighborhood announcements — traffic notices, closures, events, and other updates your organization broadcasts to staff and residents. The latest alert appears as a banner on the Home screen. Tap it (or open Community Alerts from the menu) to read the full message history.
Staff with the Create Alerts permission can post new alerts directly from this screen.
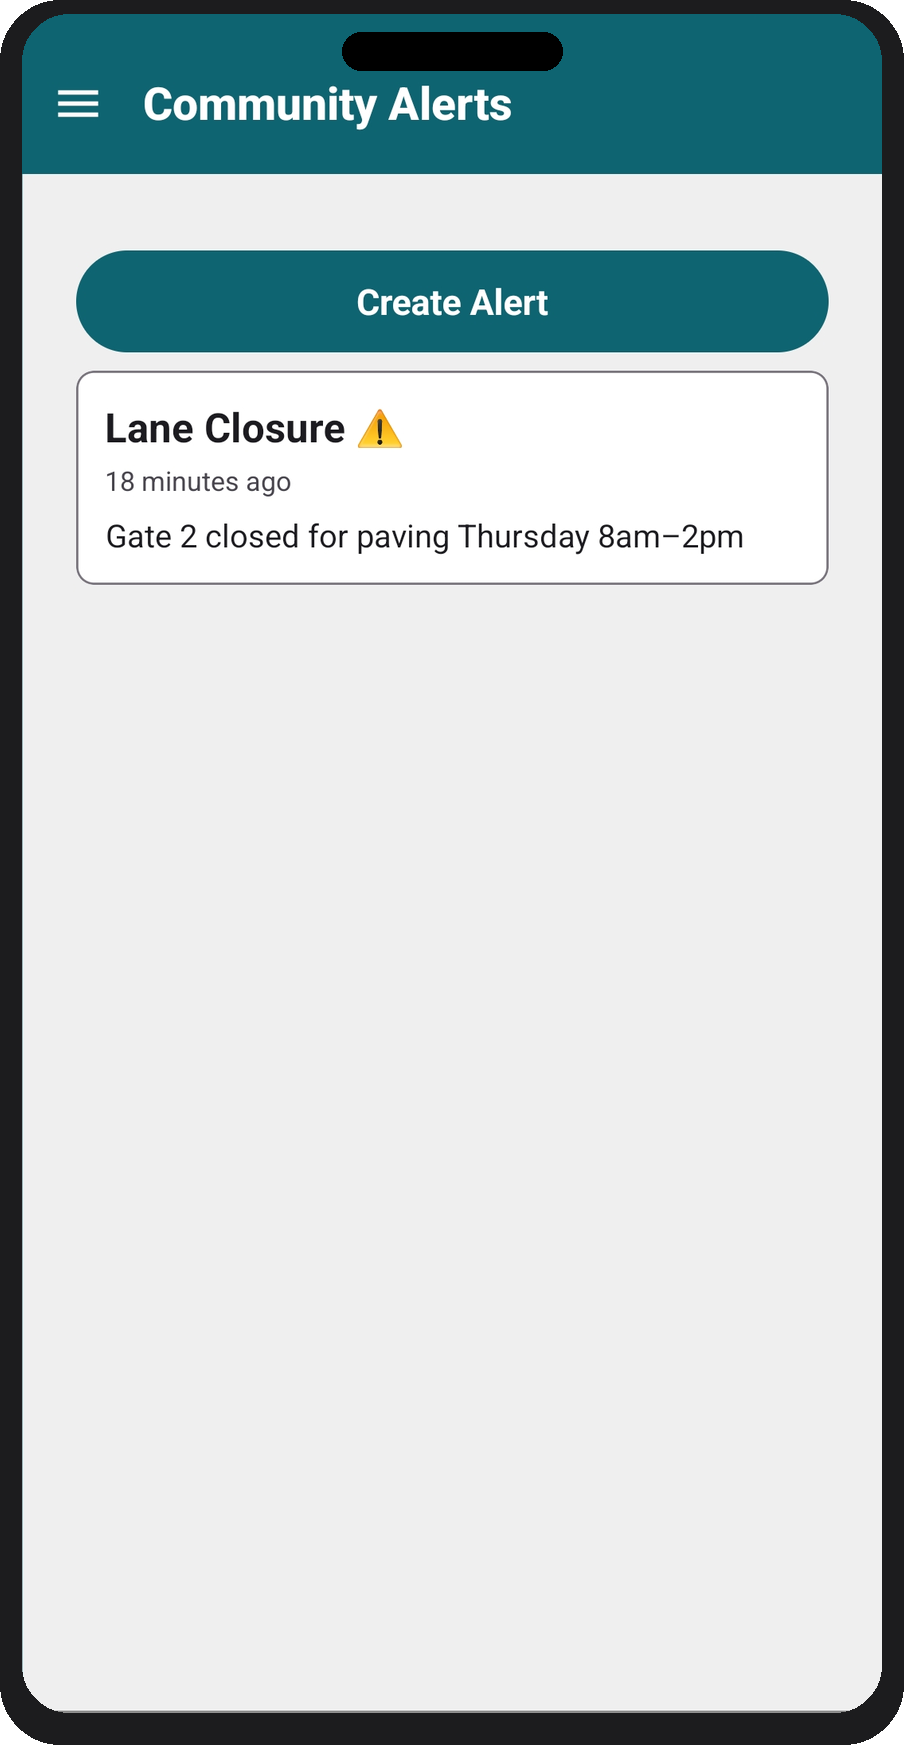
Posting, editing, and removing an alert
Tap Create Alert at the top of the list to post a new announcement. It reaches residents as a push notification and stays in the feed until you remove it.
Alerts can be changed after they go out. Open one from the list to reach its detail view, where Edit rewrites the message in place — useful when a closure time shifts — and Delete removes it for everyone. Deleting does not recall the push notification that already went out, so for a correction it is usually better to edit the existing alert than to delete it and post a replacement.
Community Documents
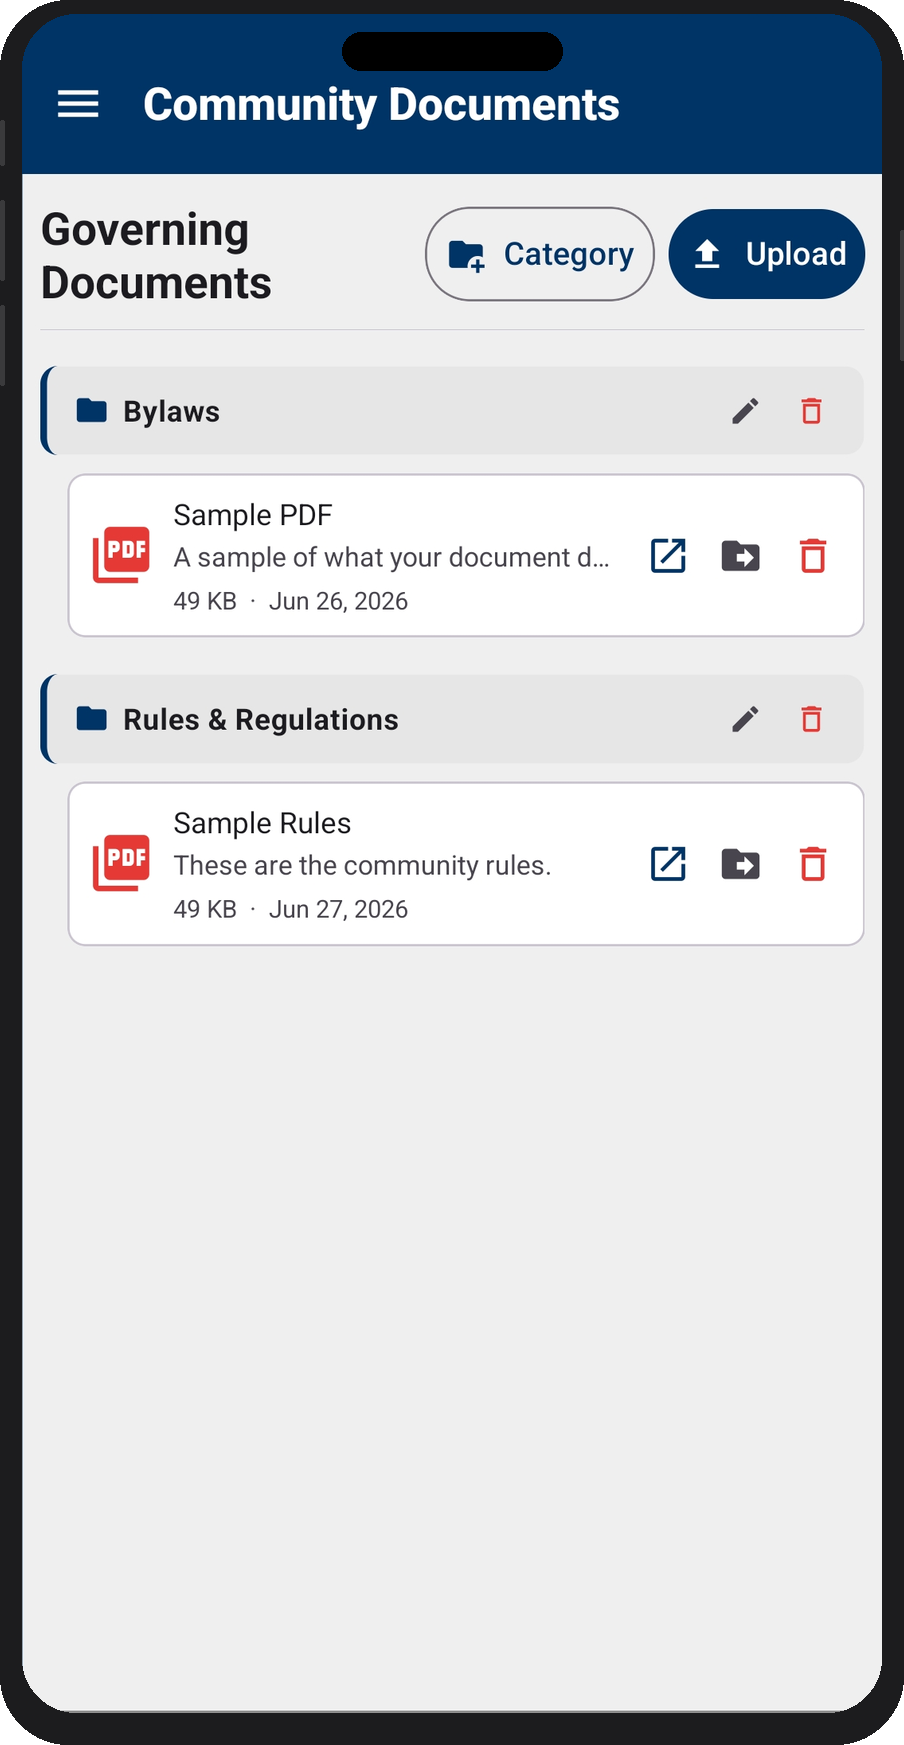
If your community has enabled the Documents feature and you have the Community Documents permission, you'll see Community Documents in the menu. Open it to read governing documents, bylaws, parking policies, and other files your organization has published. Documents are grouped into category folders.
Uploading and managing documents requires Community Documents: Create or higher — see the Roles & Permissions guide for details.
Before your shift: location and printer
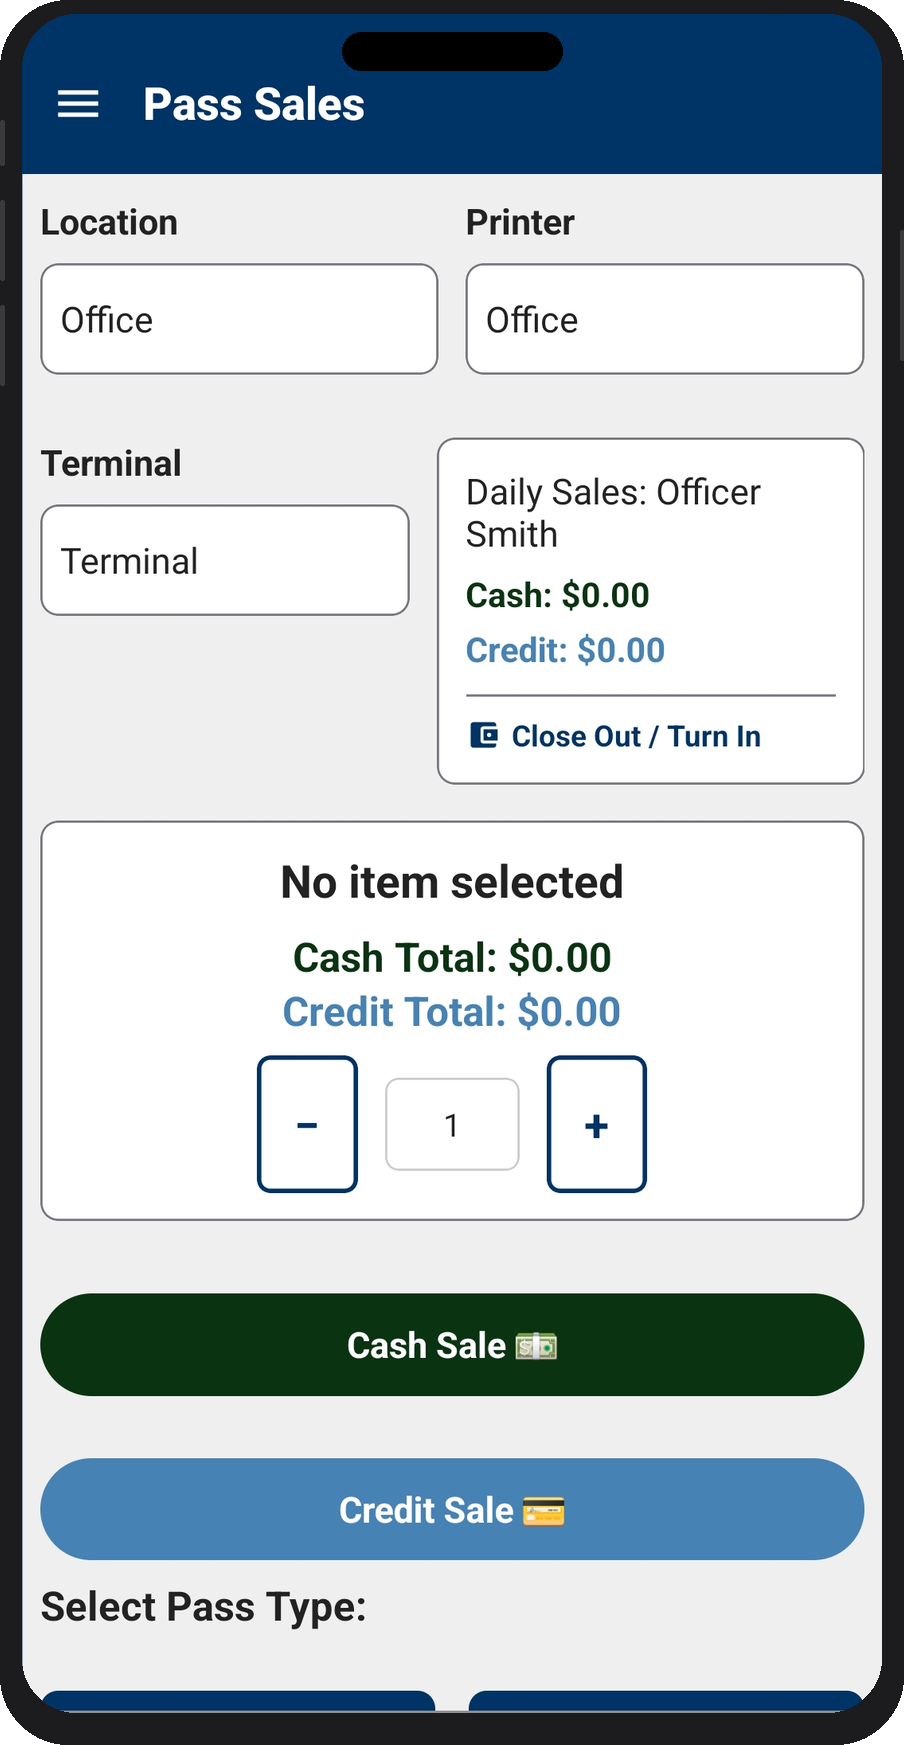
Most pass screens have selectors at the top. Set these once when you start:
- Location — the gate or station you're working.
- Printer — the label printer your passes print to.
- Terminal — (Point of Sale) the Square card reader for payments.
Scanning a pass
On the pass screens you can scan a pass barcode to pull it up instantly. Scan the serial number on a printed pass and the matching record opens — handy for re-printing, checking status, or verifying a guest at the gate. If nothing matches, you'll get a "no matching pass" message.
Guest passes
For residents' visitors. Open Guest Passes and choose Input Pass.
- Enter the passcode — the unit resolves to its property automatically.
- Fill in Requested By (Resident), Guest Name, and optionally Guest Email.
- Set the Start Date and End Date of the visit.
- Save to issue, or Save & Print to print on your selected printer.
Use Search and the date filters to find existing guest passes.
Rental passes
For guests of rental units, billed back to the rental management company. Open Rental Passes.
Create one
- Choose Input Pass and enter the passcode — it resolves the unit, property, and rental management company.
- Enter the renter name, optional email, and the start/end dates. Nights and the charge calculate automatically.
- Save or Save & Print. Set a quantity to print multiple passes (e.g. one per vehicle), each with its own serial.
Import a batch
Use Import CSV to create many at once. Template columns:
passcode, renter_name, renter_email, start_date, end_date, notes, quantity.
Each row is validated and its passcode resolved before anything is saved.
From booking software
Rental companies can also push passes automatically through the booking API — those appear in the list the same as any other pass.
Point of Sale
To sell passes and take payment, open Point of Sale.
- Confirm your Location, Printer, and Terminal.
- Select the pass type(s) the customer is buying.
- Take payment through the connected Square terminal.
- The pass prints automatically; choose Done when finished.
Pass types and prices come from your community's configuration — if something's missing, an administrator manages it in settings.
Gate passes list
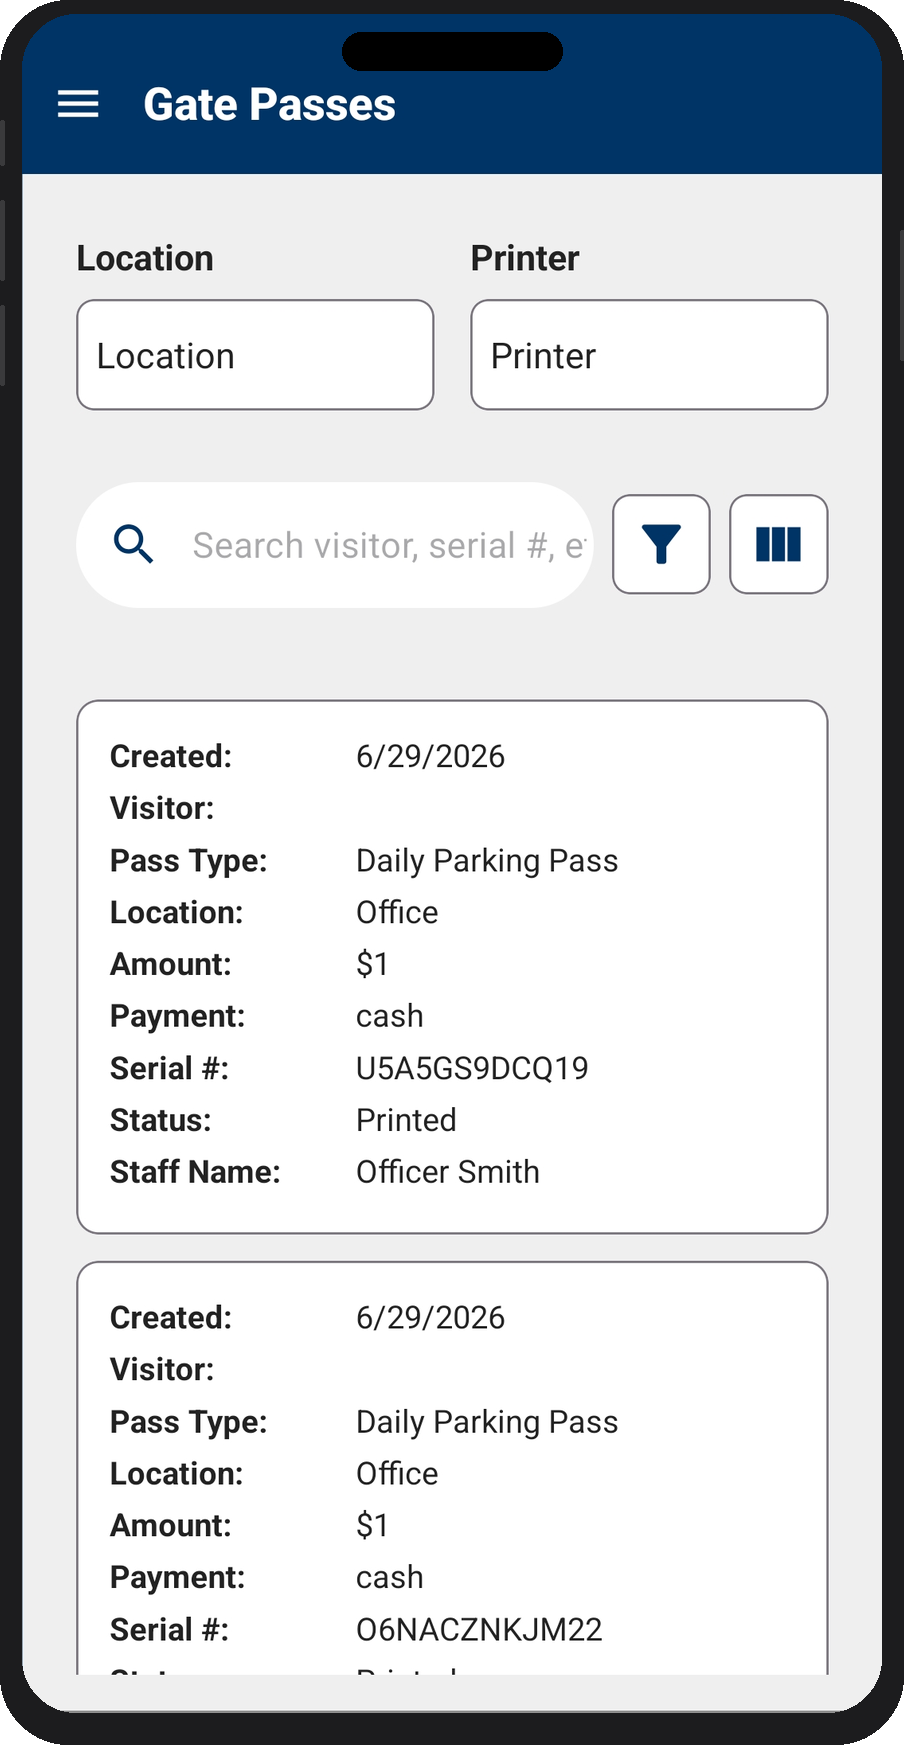
Open Gate Passes to see passes that have been sold or issued. From here you can:
- Print (or re-print) a pass.
- Void a pass to invalidate it.
- Refund a paid pass through Square.
Use the search and date filters to find a specific pass.
Gate clearances
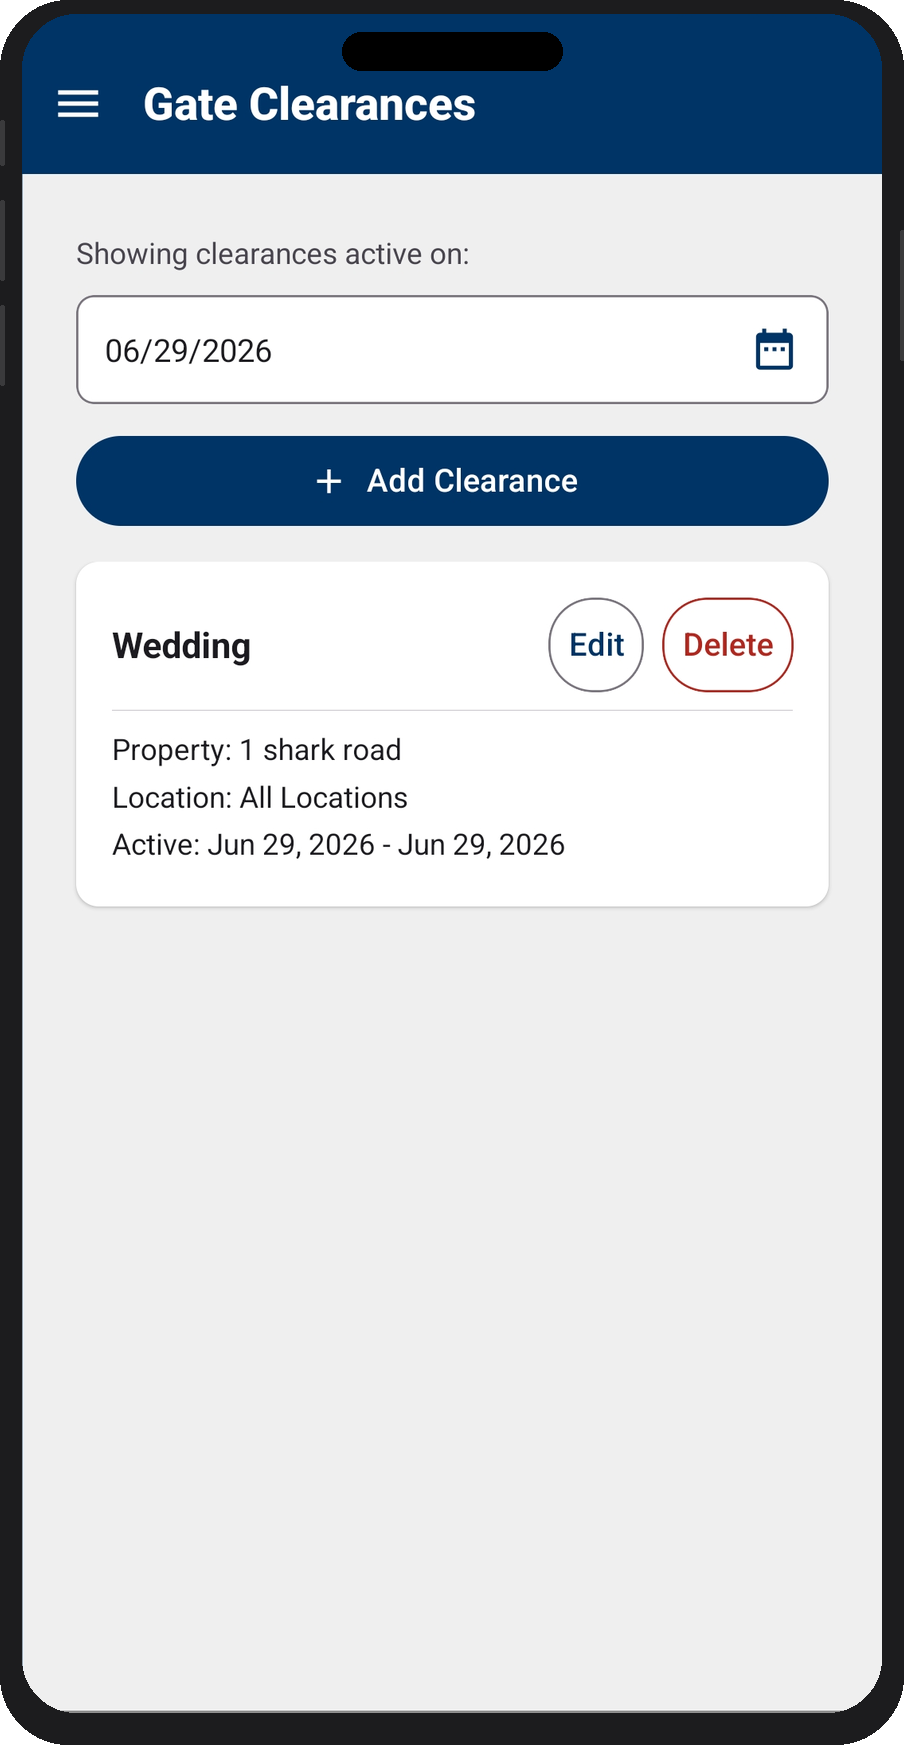
A clearance pre-authorizes access for an event or window of time tied to a property — a party, a delivery, or a contractor's work period. Open Gate Clearances and add one:
- Event Name
- Property and Location
- Start Date and End Date
- Notes
Gate staff can then see the clearance is expected. Remove one with Delete Clearance when it's no longer needed.
Printing passes
Passes print to the label printer selected at the top of the screen.
- Make sure the right printer is selected before printing.
- Printers are reached by IP on your local network — if a print fails, confirm the printer is powered on and on the same network.
- To re-print, open the pass (scan it or find it in the list) and choose Print.
Calls for Service
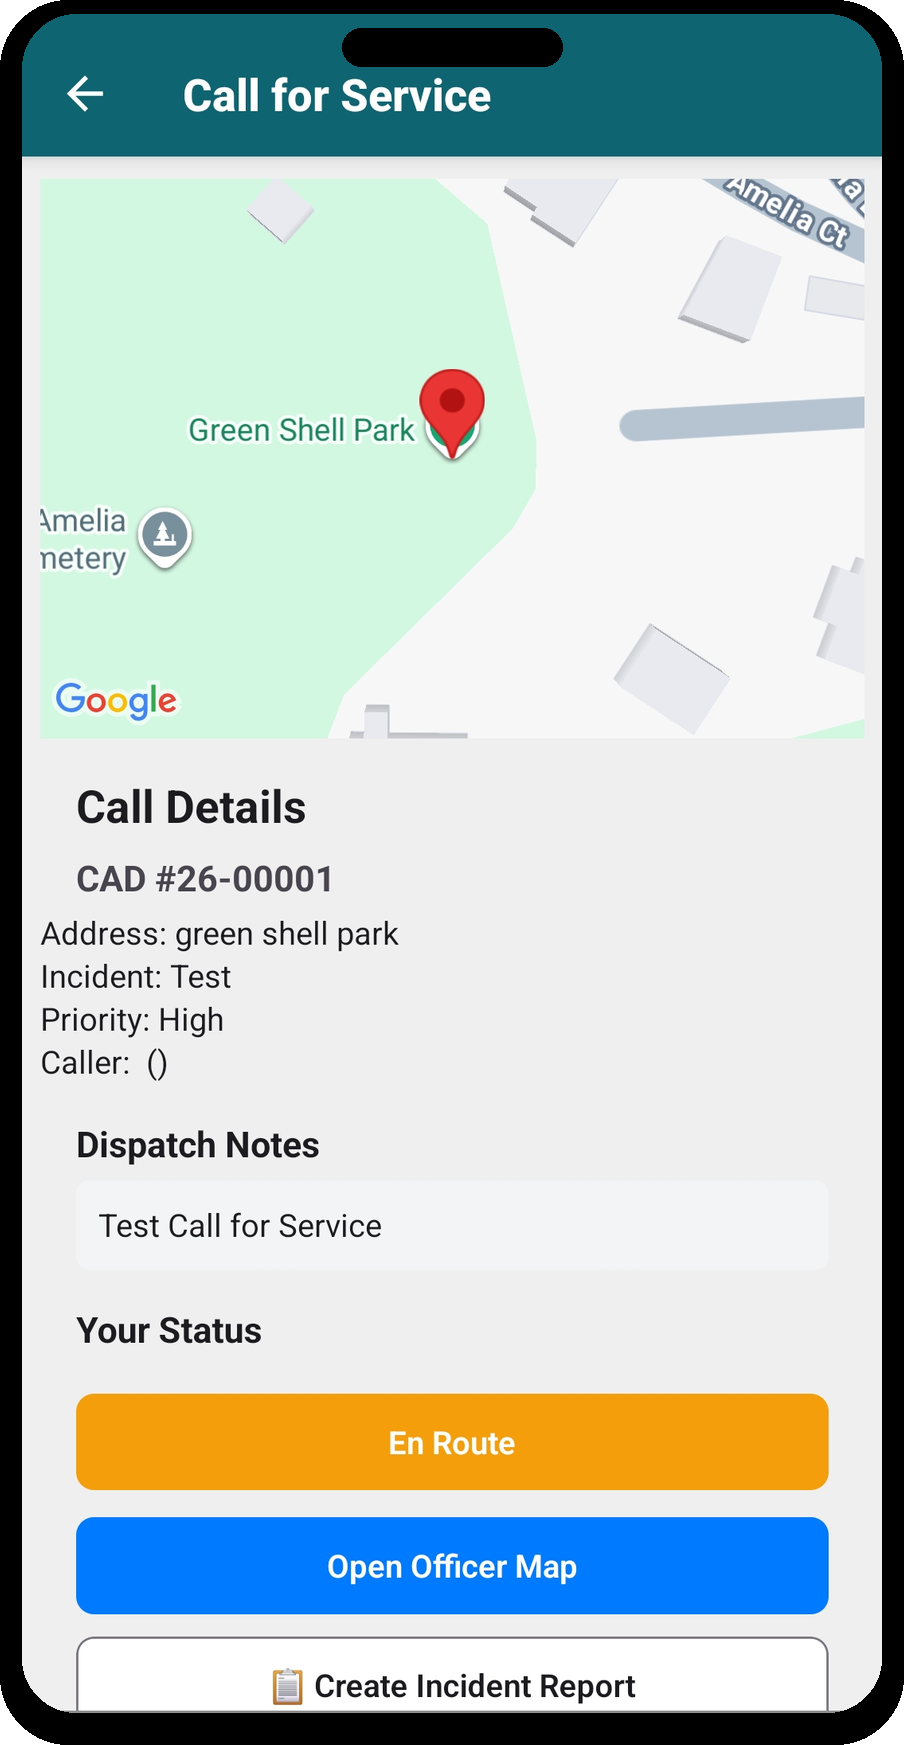
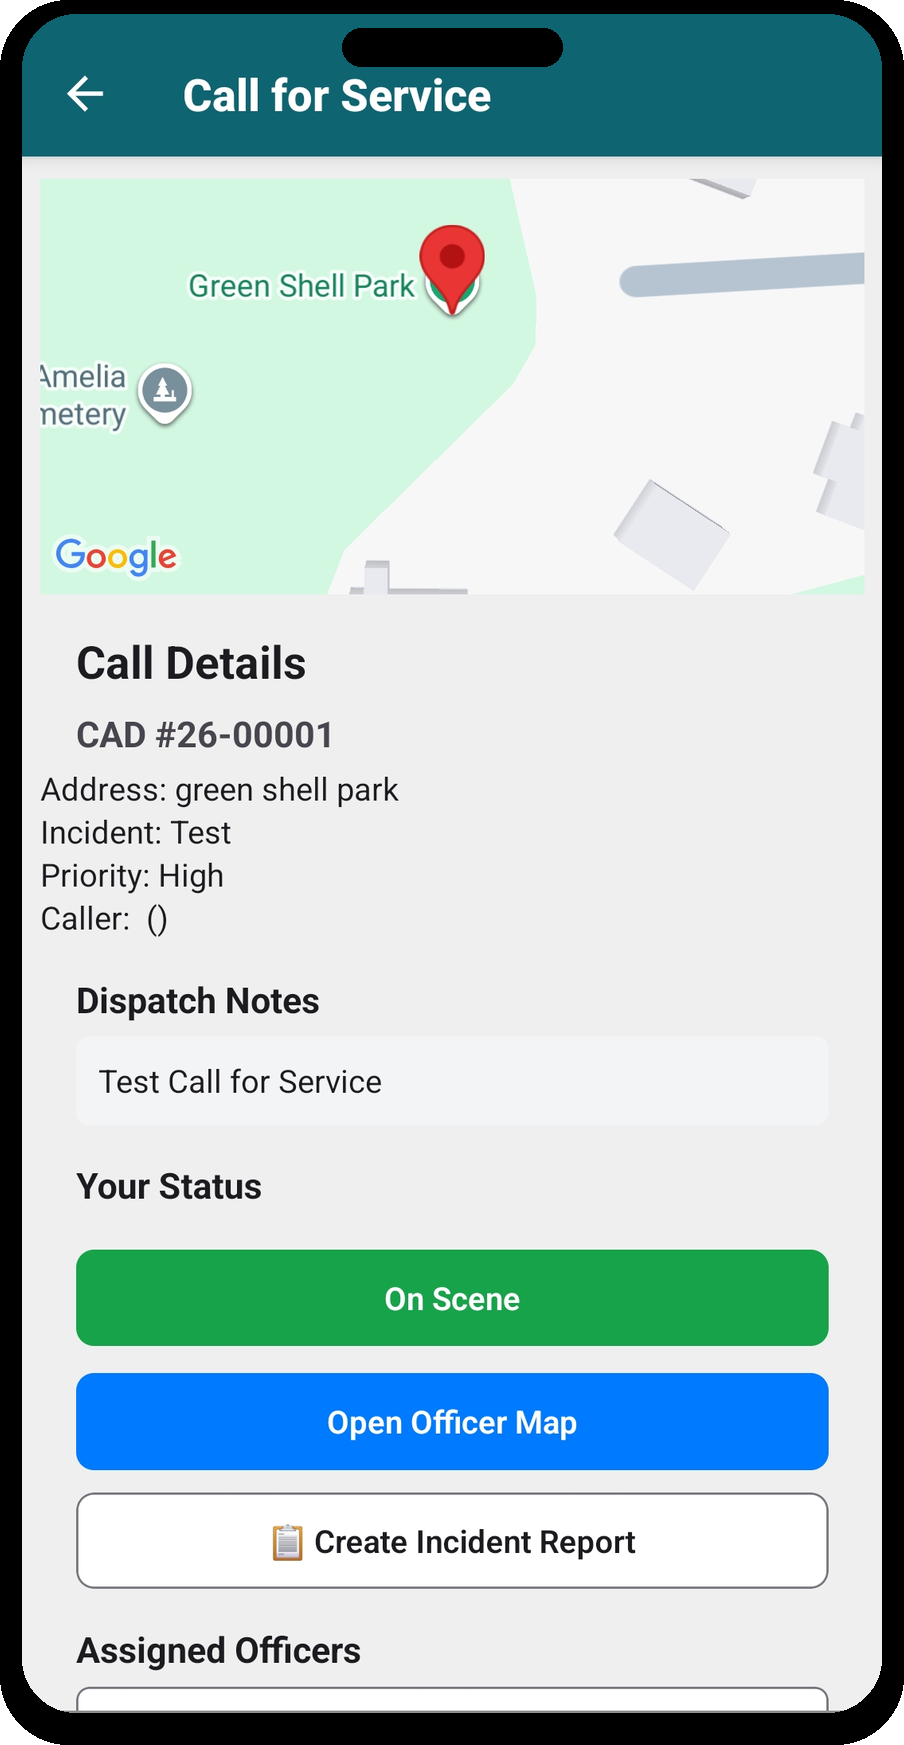
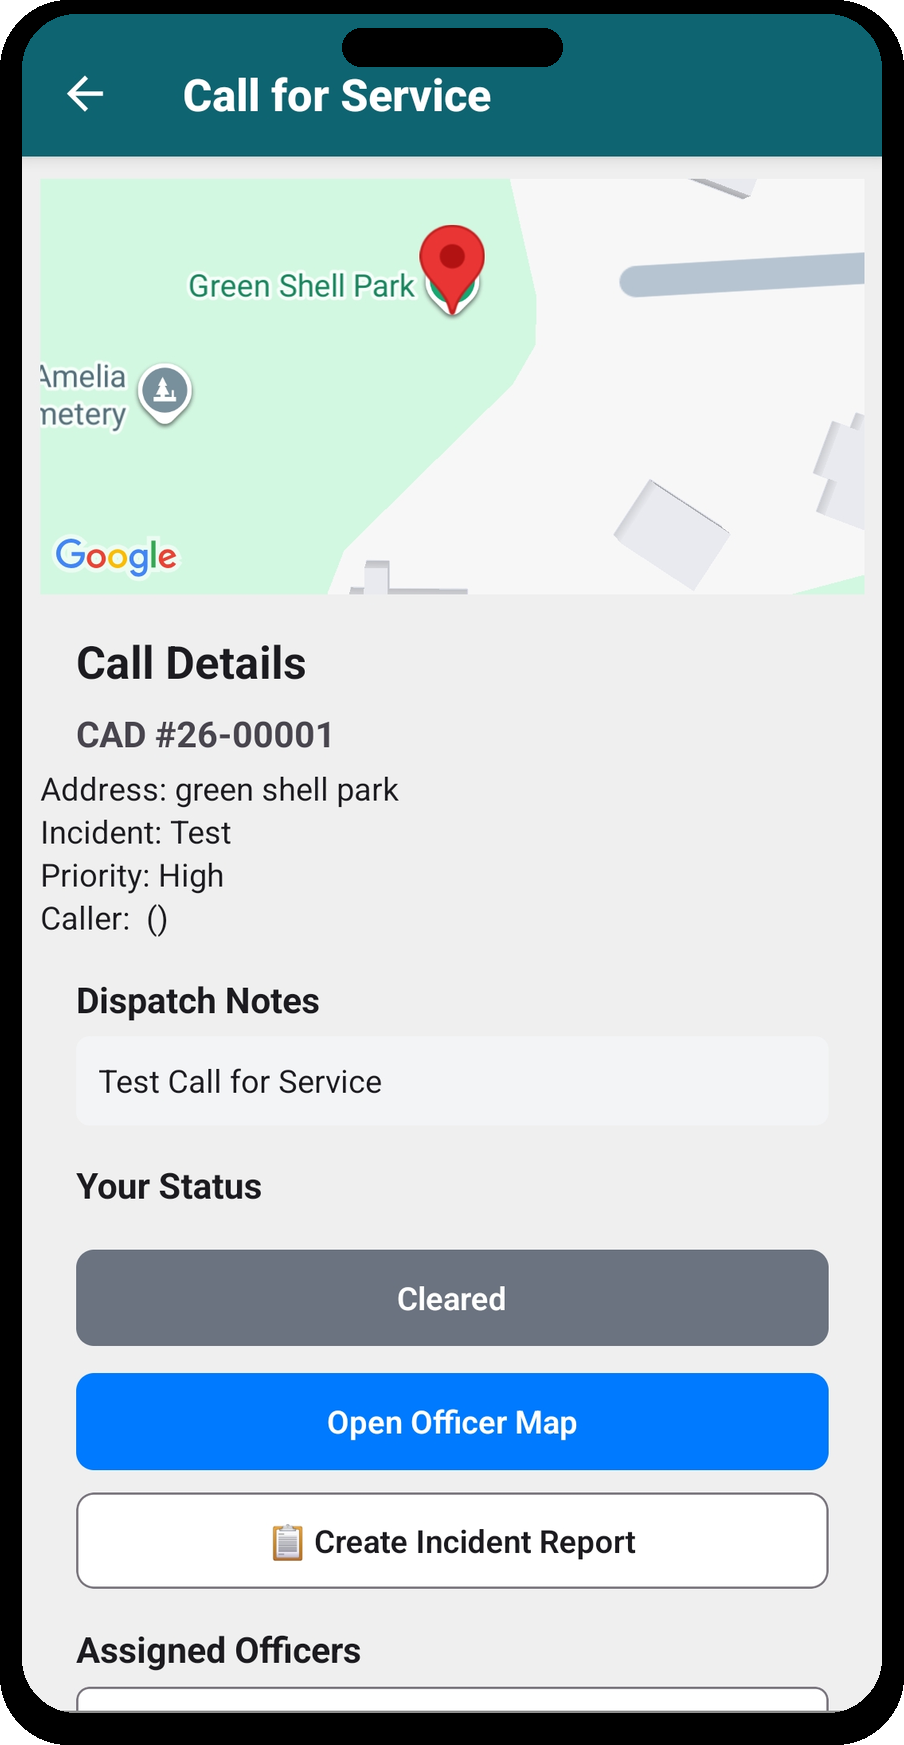
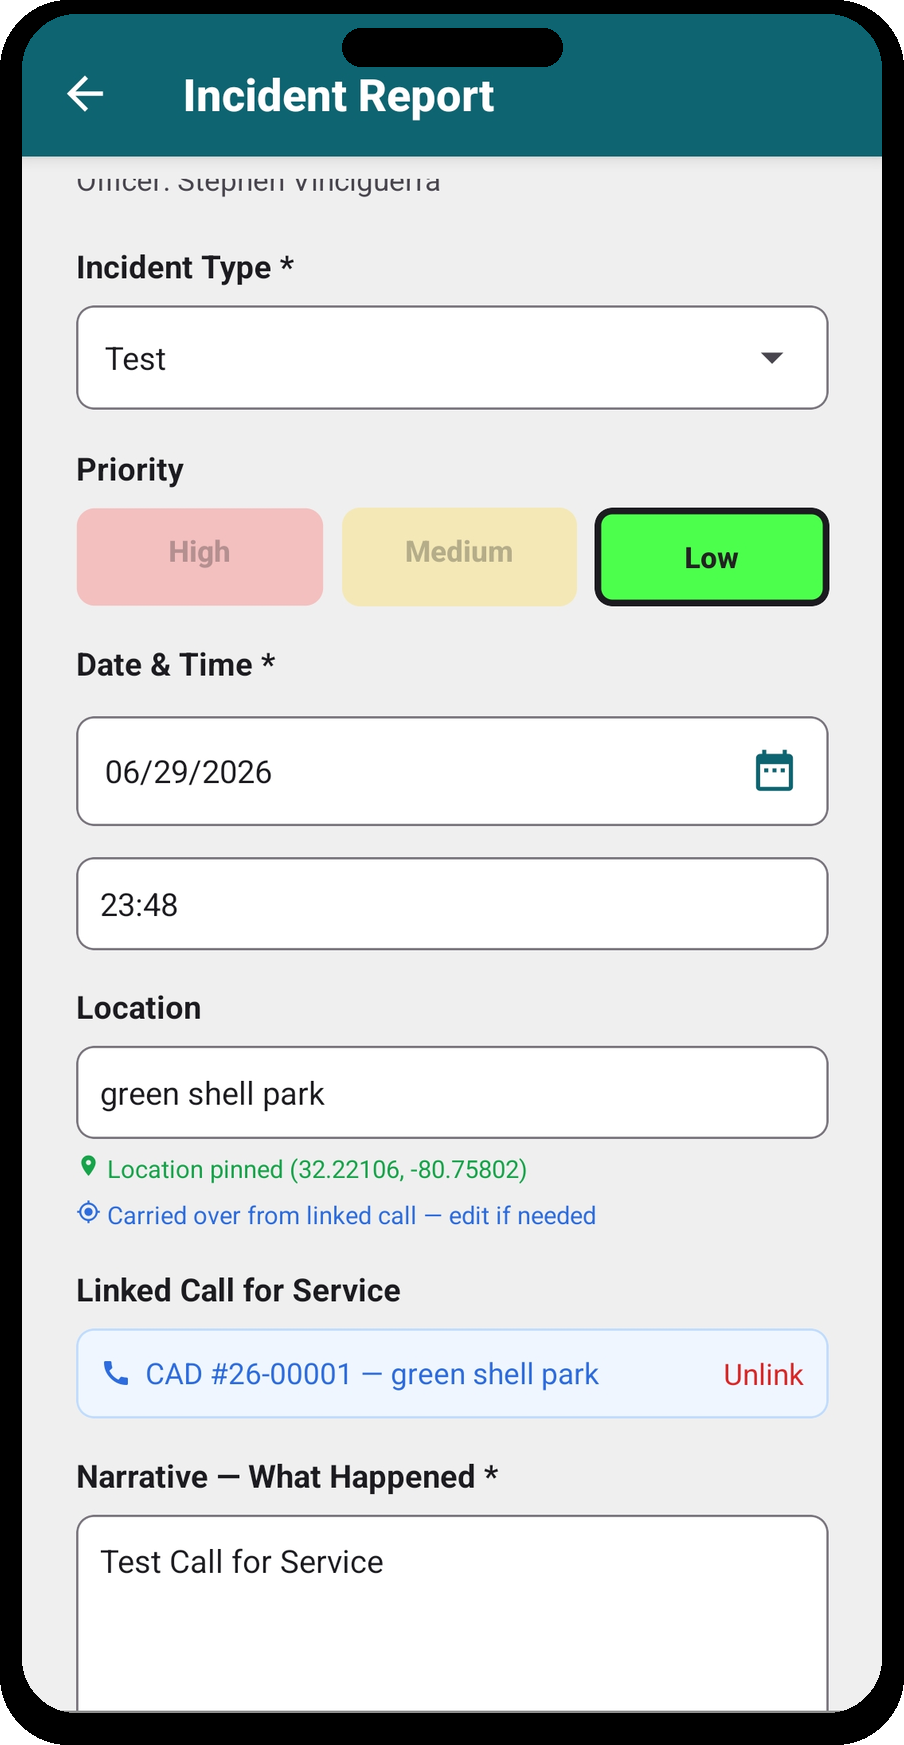
To log a dispatch or service call, open Calls for Service and choose Create New Call. Record the address, caller, incident type, priority, and notes. Once a call is assigned to you, update your status as the situation develops:
- En Route — you're heading to the location.
- On Scene — you've arrived.
- Cleared — the call is resolved.
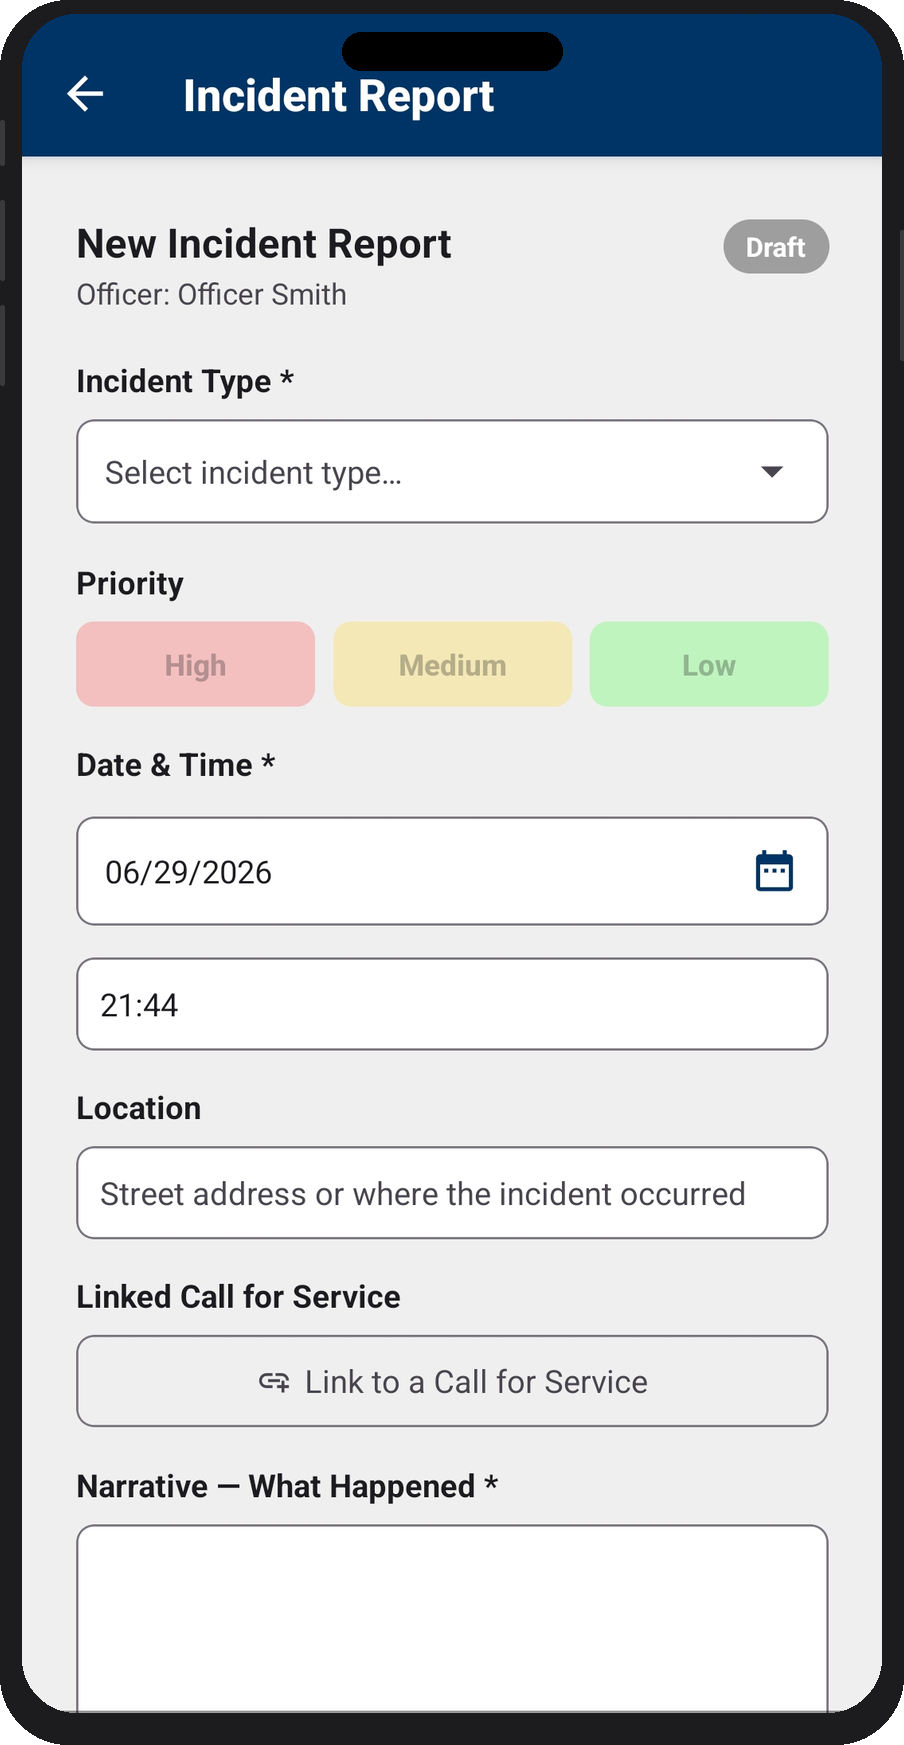
Tap Open Officer Map to see other officers on the call, or Create Incident Report to start a linked report directly from the call. Use search and date filters to review past calls.
Incident Reports
Open Incident Reports to document incidents. Incident types are standardized by your community's settings so activity is categorized consistently. Open a report to view or add detail.
Traffic citations
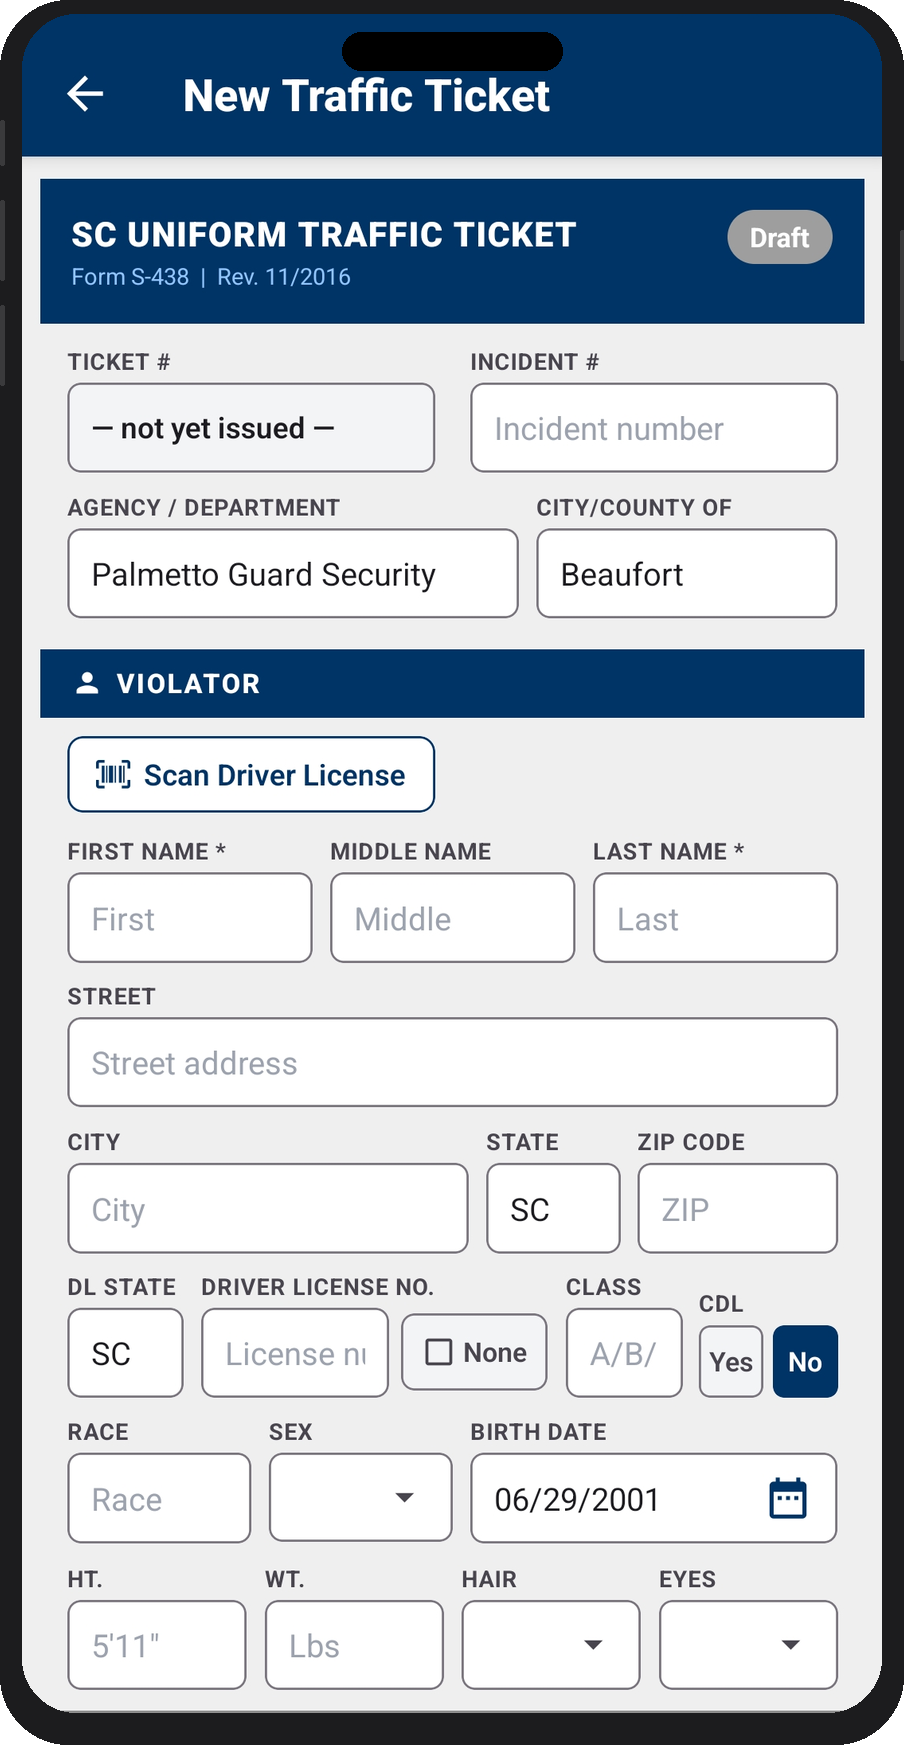
If your community issues South Carolina citations, use Traffic Citations to issue and track them. Each citation uses your community's court, county, and agency defaults, with a citation number based on your prefix. Search by name, plate, location, or officer to find a citation.
Officer Map
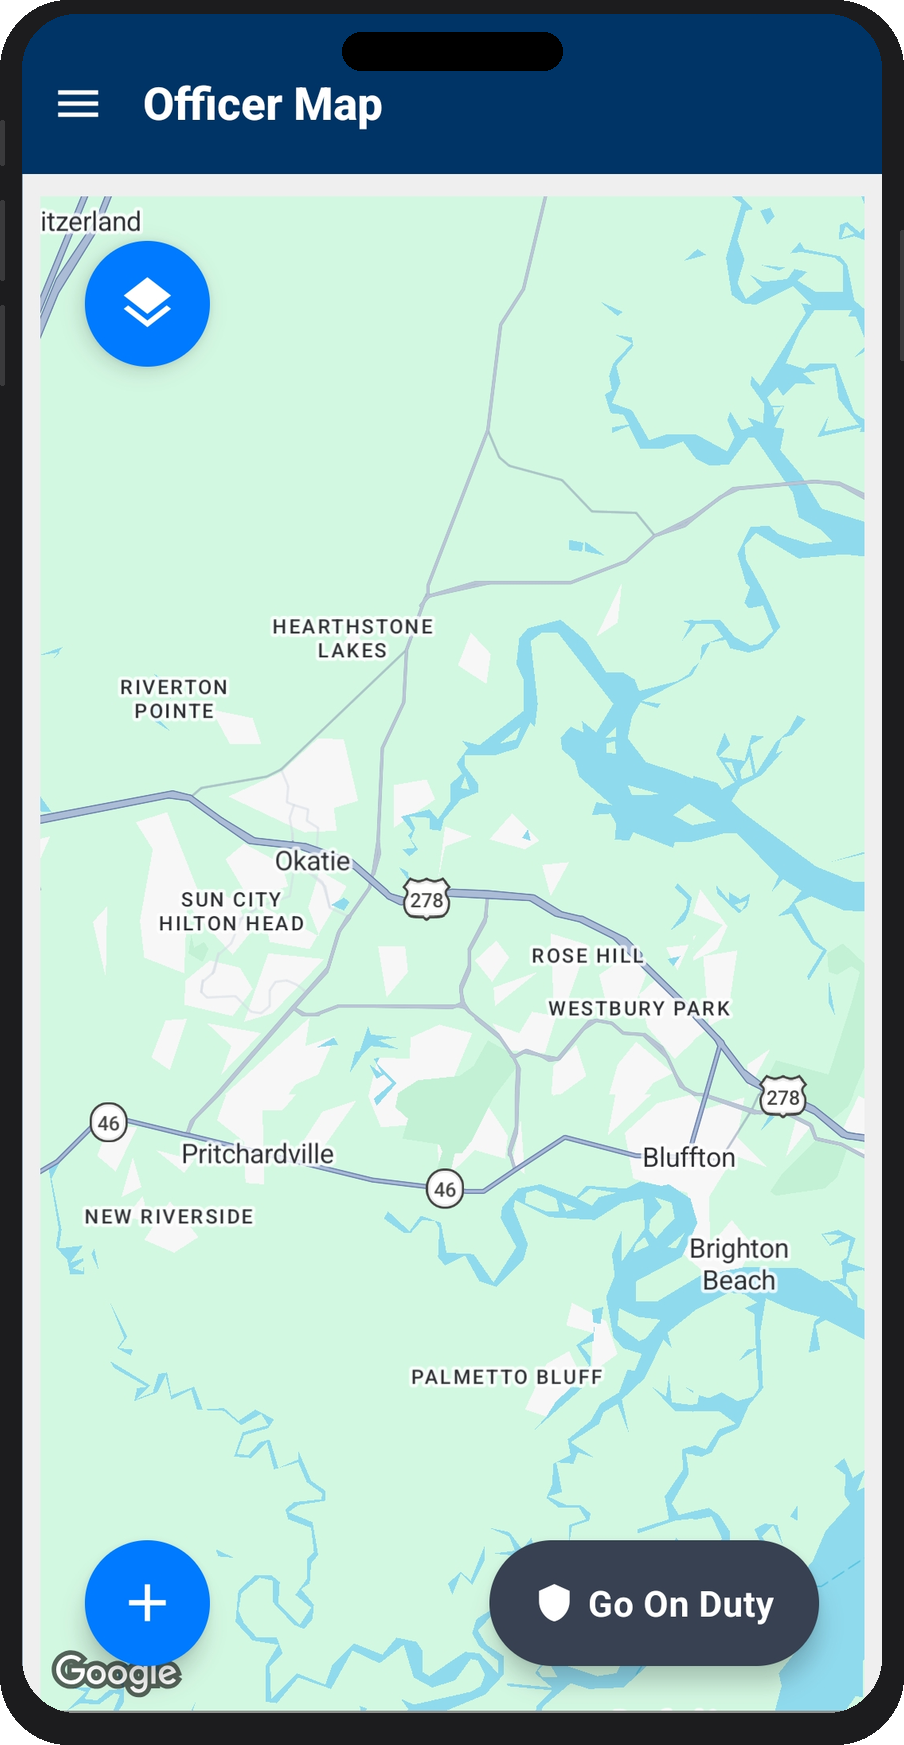
The Officer Map shows live officer locations on a map, helping you coordinate coverage and response across the community.
Reports
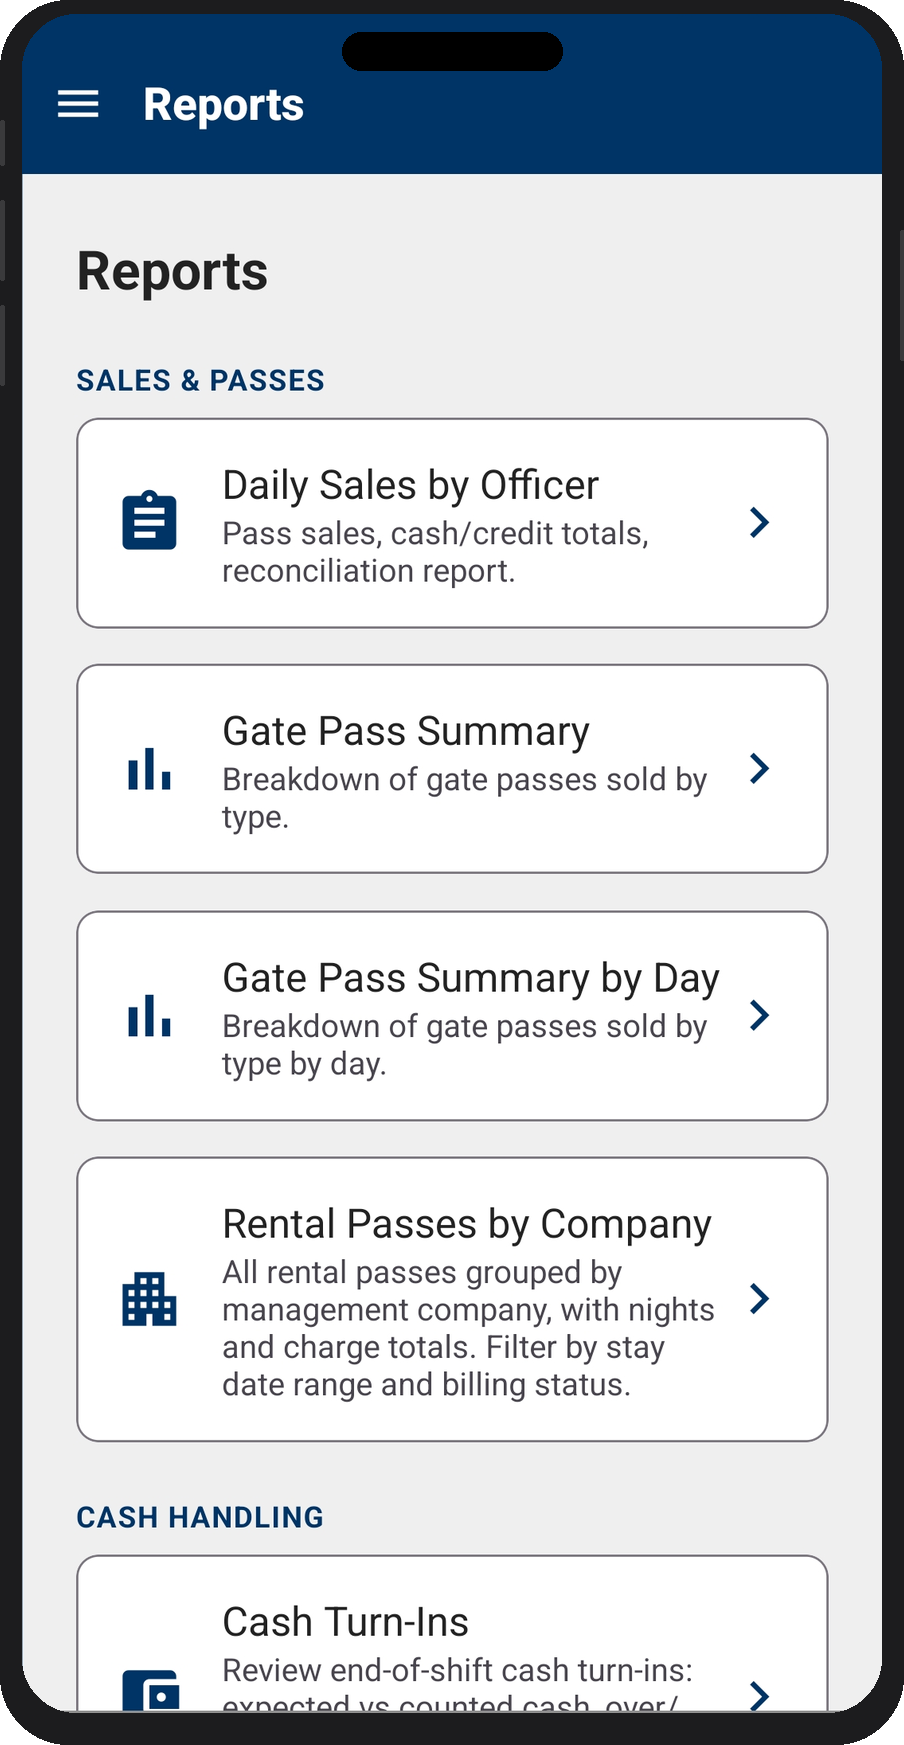
Under Reports you'll find day-to-day summaries:
| Report | What it shows |
|---|---|
| Daily Sales Report | Passes sold and revenue for a day. |
| Pass Type Summary | Volume by pass type. |
| Pass Type Daily Breakdown | Pass-type volume over time. |
| Rental Passes by Company | Rental activity grouped by company — useful for billing. |
Quick reference
Getting help
Stuck on something mid-shift? Start with your community administrator — they can adjust your role, correct a passcode, or void and reissue a pass without waiting on anyone else.
For problems with the platform itself, reach the Palmetto Guard team at info@palmettoguard.com.
Separate guides cover community admin setup, the resident app, roles & permissions, and the booking API.